Contour Cut prints without an optical eye cutter

Contour Cut Prints without an optical Eye Cutter
Most people believe that a plotter with an “optical eye” ( OPUS ) is required to contour cut prints.
I regularly contour cut prints on my non-optical Chinese plotter, so I thought I would share how I do it.
I use Flexisign 8.1 but believe this method can be adapted to work on most sign software packages.
Step 1
Open/import the image you want to print and contour cut ( if it is a bitmap you will have to vectorise it) and select it.
Step 2
From the effects menu in Flexisign select ‘contour cut’, in the design central box adjust the gap between the image and the contour line….here I have used 10mm.
Click on the green tick to apply the contour.

Step3
Send the image to your printer, In the rip & print manager ensure that in the advanced tab, you have selected registration/contour marks to be printed, I always use 4 marks for accuracy.

After printing your image will have 4 numbered registration marks printed at each corner of the image. Insert into your plotter with registration marks 1 and 4 lined up so that they are just to the pinch roller side of your cutting blade.
Remove your blade and insert your pen attachment ( this is easier to align than a cutting blade).
Step 5
Open the production manager, in your plotter queue the file you have just printed will be listed, right click on this file and click send.

Step 6
As soon as you send this cut file your alignment box will appear, select interactive alignment and click ok.

You should now see the interactive alignment box, use your mouse or the up/down/left/right arrows on your keyboard to move the pen tool until it is exactly in the centre of registration mark number 1 ( a small torch makes this easier), click ok….the plotter will move so that the pen is close to registration mark 2, align it, move on to registration mark 3, then 4.

Step 8
When you centre registration mark 4 and click ok you will be prompted to refit the cutting blade, after refitting click OK and your image will contour cut.

In practice, this is quicker and easier than it seems.
The more accurately you align the pen with the registration marks the better.
Hope that all made sense…
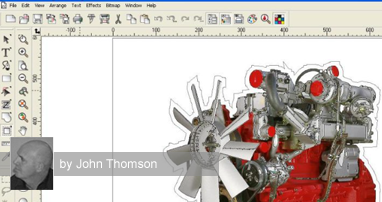
John Thomson


Responses