Hi Hugh
I think I am looking at a different bonnet from you mate. :smiles:
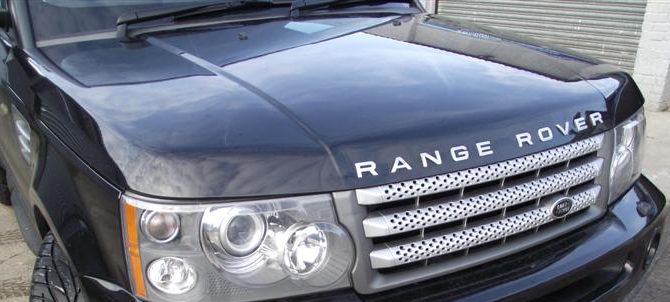
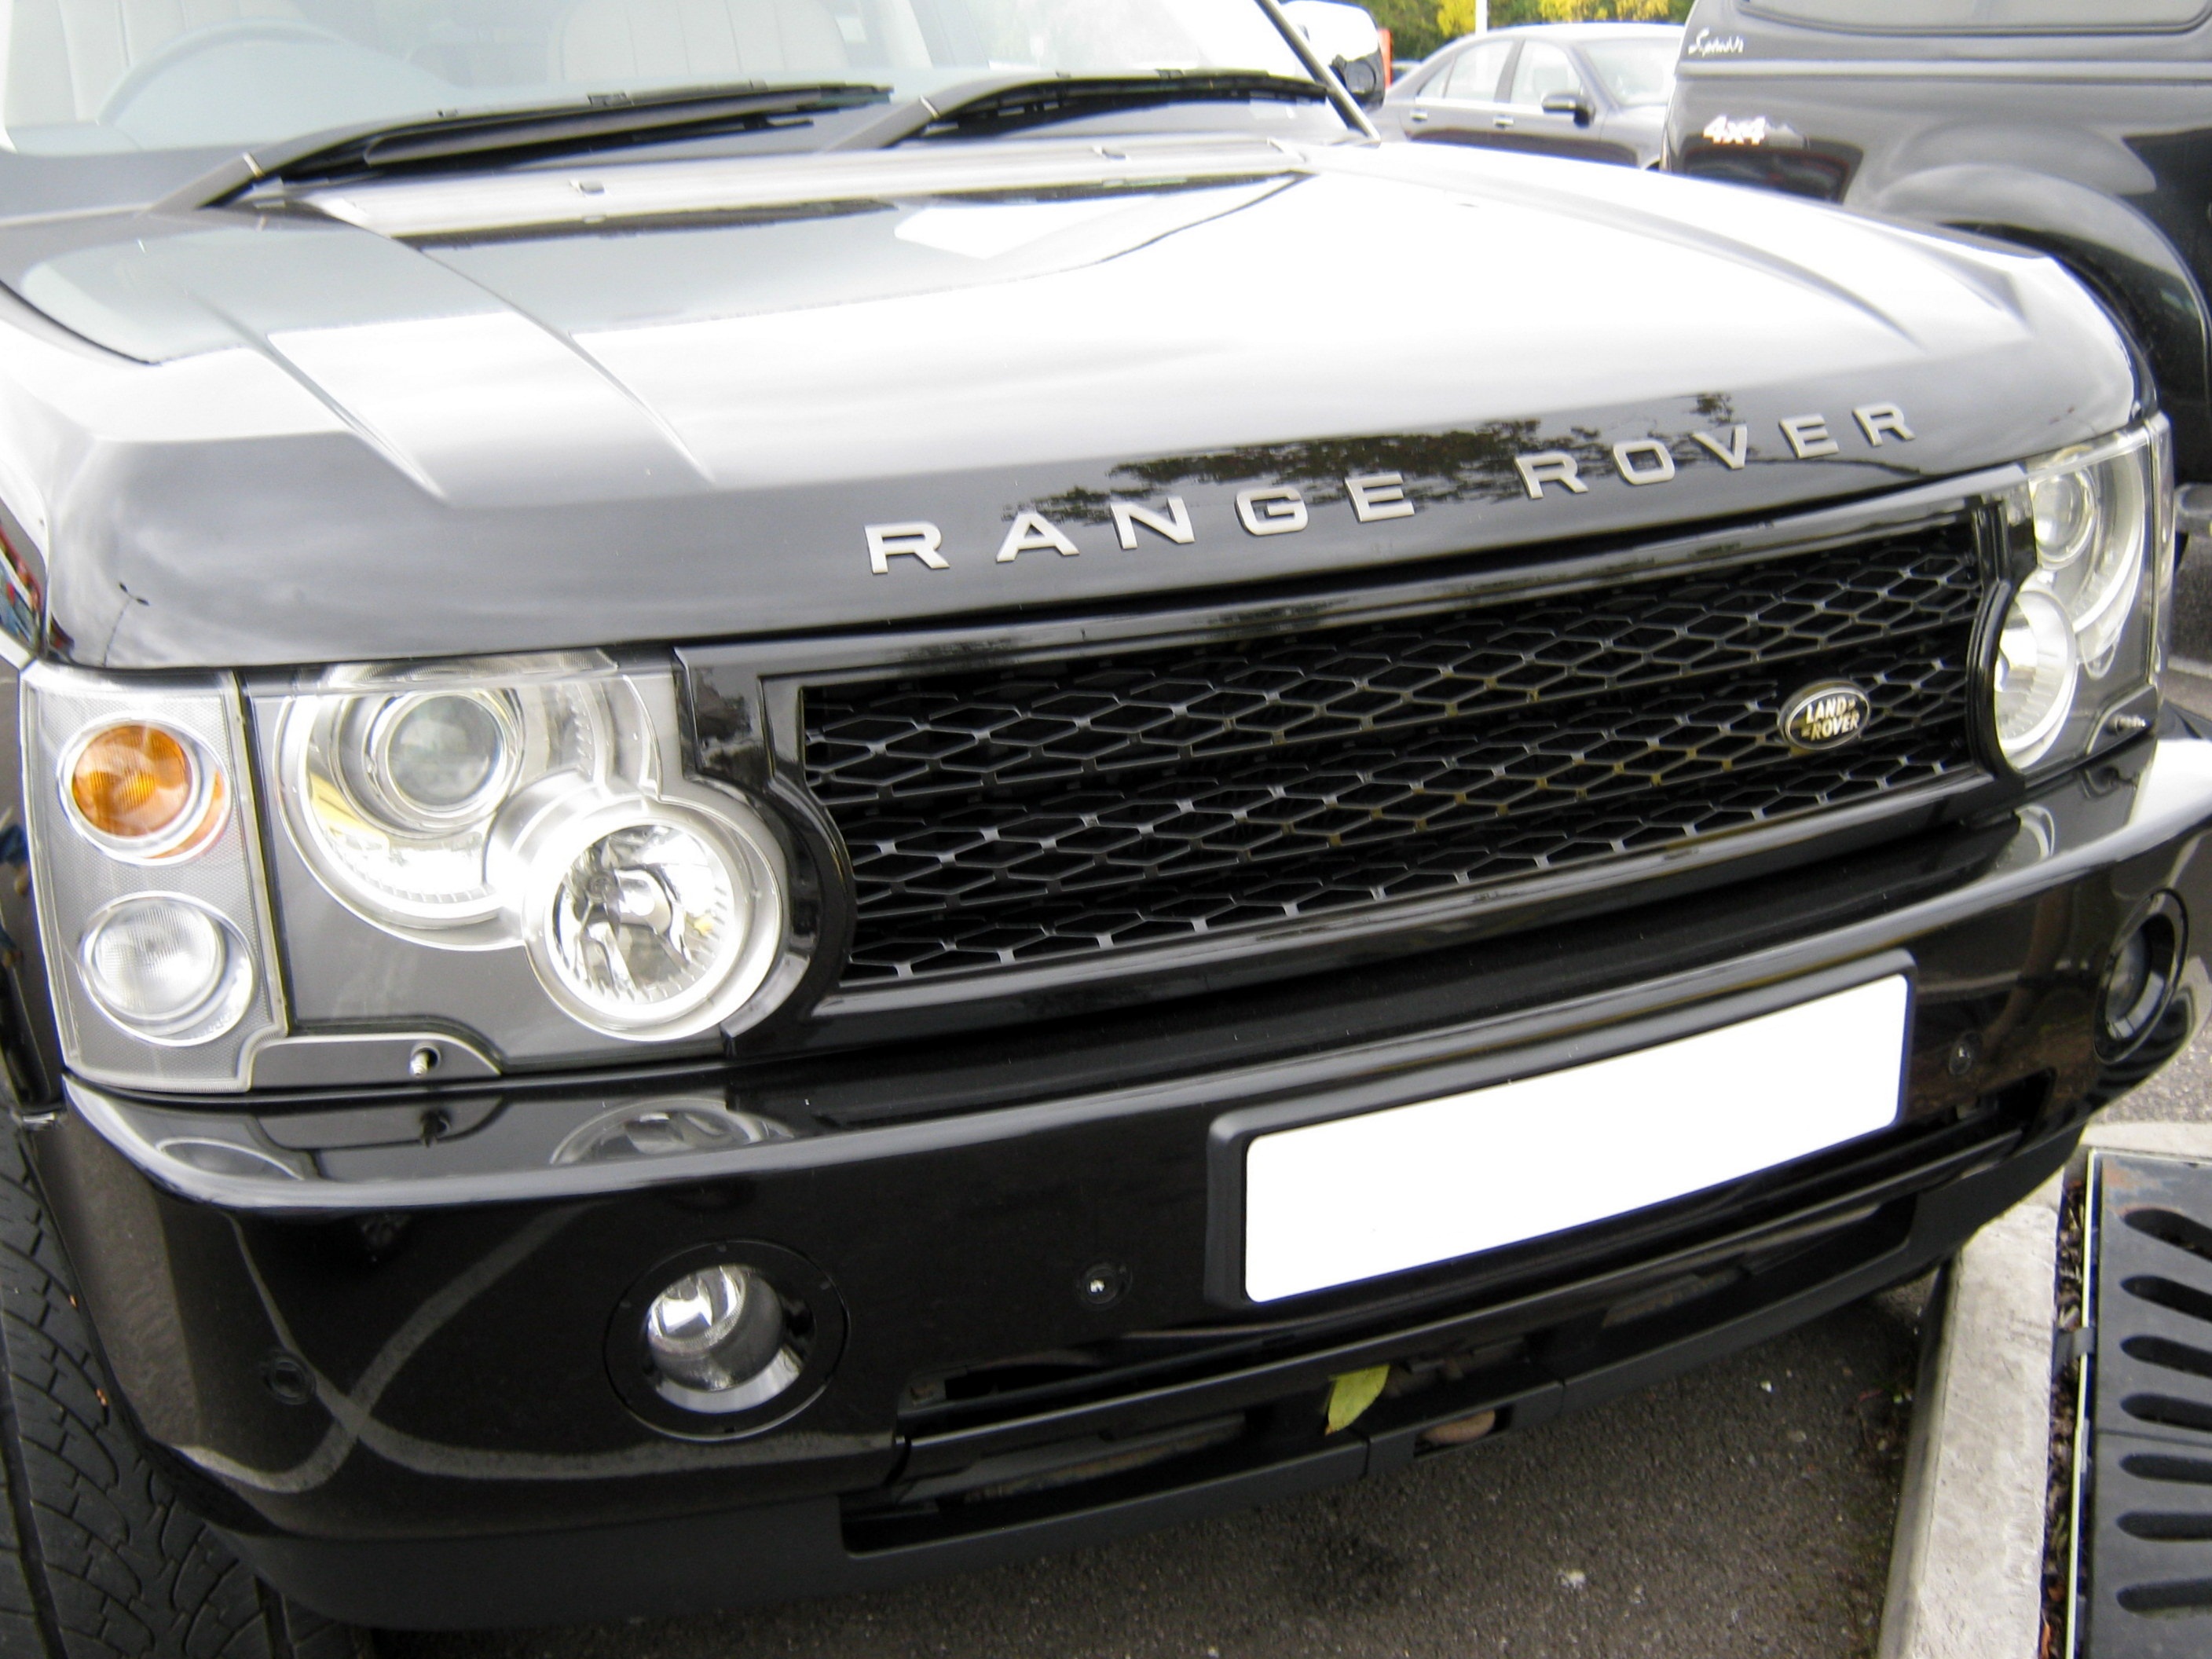
As you can see from those i have attached, the middle areas are risen, sloping down onto the areas left and right of the bonnet. If you did the centre section first, your side areas joins would be overlapping and facing up towards you making it easier to see.
With the knifeless tape, I think i would run with a butt-join, where you lay the tape firste and apply both layers over the tape pulling the filament string through both layers and carefully removing the excess tape below the lower layer. If this is done correct and at the turn, base of the dip, it would be hard to notice. be sure to be using a decent cast wrap though as you dont want shrink back and exposing the vehicle colour.
As Jon says, you should be able to do the bonnet in one go anyway. happy days! :thumbsup:
What I will add, if you have to rotate the vinyl horizontal to do the bonnet, be careful.
You said that the customer wants a bright "glitter" pink…
This being the case, the glitter runs in one direction, a bit like the grain in wood.
If you rotate the panel to get it to fit the bonnet, when its fitted and the sun is out, the glitter will sparkle in a different direction to the roof and sides of the car. This is because you should run the grain of the glitter all in the same direction when fitting. this type of thing is over looked for many when pricing jobs because you end up using more vinyl trying to keep the grain consistent.
I noticed you mention Orange in your last post, has she gone with sections in Orange also now?
If so, the bonnet should be easy enough.