Activity Feed › Forums › Sign Making Discussions › Vinyl › which way to overlap tiles to minimise the joins please?
-
which way to overlap tiles to minimise the joins please?
Posted by Simon Worrall on May 28, 2018 at 5:48 amHi
I am putting up a large wall graphic in printed vinyl.
It will have 6 drops, and I am overlapping by 10mm
The light comes in from a large window on the right hand side of the wall.
Do I apply them left to right or right to left?Thanks. 🙂
Simon
Robert Lambie replied 5 years, 11 months ago 6 Members · 8 Replies -
8 Replies
-

Right to left – we always lay panels working away from light source where possible [emoji106]
-

As a paperhanger, I concur with the advice given :smiles:
If a matt laminate is applied this will also minimise
the result of tiling—less reflection.
Regards,
Barry -
I should also mention that you could use the "double-cut" method and
with a short straight edge,
cut thru the overlap. This will result in
a but-joint.
Only outcome might be that over time, the vinyl may contract
a fraction of a mil.
Barry -

I guess its a preference thing, but if this was an issue for the customer i would do the following.
Create Butt-Joins, which will be flush.
Butt-joins can be created in a few ways, but not just as easy doing walls with self adhesive vinyl, as it is doing it with wallpaper. This is because with paste, you can lift and lay multiple times. with self adhesive vinyl, you run the risk of lifting little bits of plaster, or plasterboard paper tacking to the rear. still very much doable though. just keep it in mind.
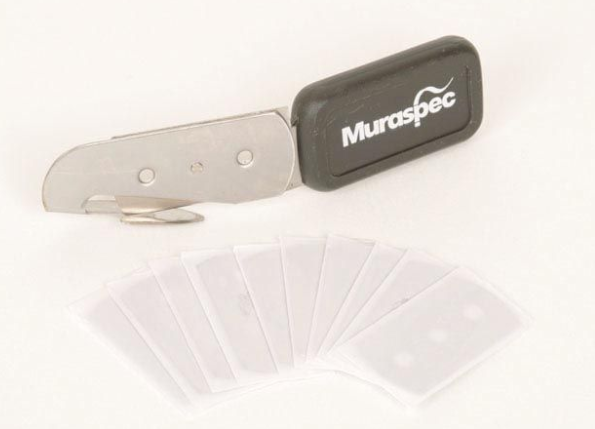
also with butt-joins, the type of vinyl you use could shrink back a little.The Muraspec wallpaper join cutter is the original cutting knife for this type of thing, but the new teflon versions of it has been recently introduced so as not to stick to the rear of the adhesive side of vinyl.
If i was overlapping the vinyl, i think i would prefer to start on the left working towards the light source.
This is because the hard line of the join would not be caught by the light and enhanced, but the actual overlap which would appear as a softer line. -

Never given the way we overlap a thought to be honest.
What we have learnt is to hinge from the centre, using the tool rob shows, work from the centre of the drop up, then down.
We found it doesnt run out, or stretch as much compared to hanging the top and working down. :thumbsup:
-

I didn’t actually know that’s what that knife was designed for Robert. Like yourself David we’ve only used it for cutting the backing sheet to create a hinge.
-
quote David Stevenson:I didn’t actually know that’s what that knife was designed for Robert. Like yourself David we’ve only used it for cutting the backing sheet to create a hinge.
It was for slitting, butt-joining wallpaper easily without scoring into the wall. the foot/flat metal glided down between the wall and the paper while the blade cut in between it.
i have been using it for about 6+ years now, only on occasion though. the trouble back then when using it for vinyl was the metal foot would occasional tack to the adhesive side of the vinyl. this is why just recently the teflon foot has been introduced for vinyl applicators and wrappers to use.
There is also the double bladed version which cuts away about 25mm of backing paper to allow you to create the centre hinge on large applications. this is a good idea also, but you STILL have to fold back and and create a flap before starting or you run the risk of shearing the paper when you remove it or leaving paper fibres trapped behind the media down each cut instead of a single one.
Log in to reply.
