Activity Feed › Forums › Sign Making Discussions › Gallery › Vehicle Graphics – Entertainment Warehouse
-
Vehicle Graphics – Entertainment Warehouse
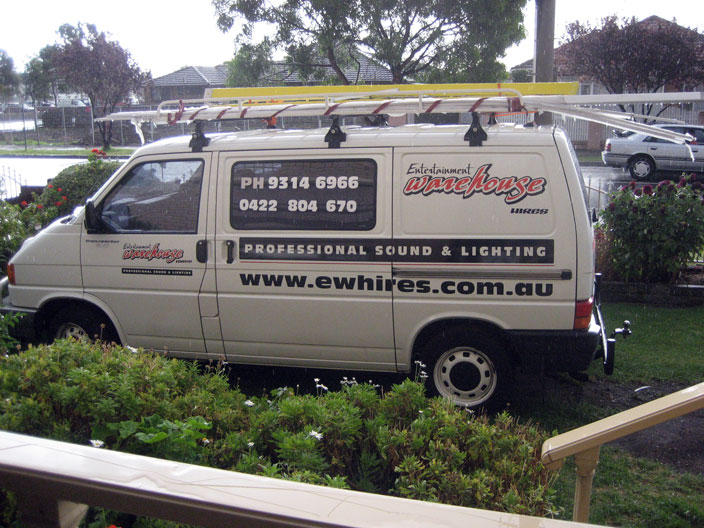
Posted by Jason Xuereb on February 13, 2007 at 8:09 amWell what an interesting day. I had to strip this van of the old graphics. I gave it a cut and polish so you couldn’t see the old graphics imprint.
I then nearly died from the heat and got a bit burnt. Then the heavens opened up and the big fella decided I should do some wet application.
Glad this one is done now at least I don’t have to wash it before giving it back to the client.
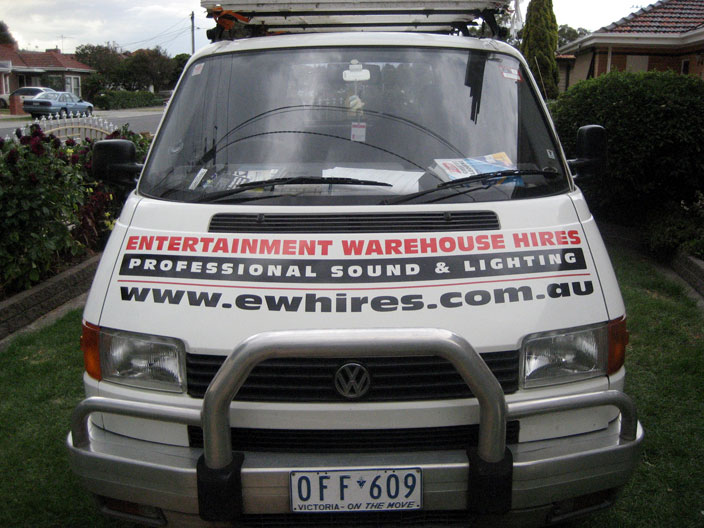
PS The front pic looks like its pinched down in the middle. Don’t know why it turned out like this in the pic but I traced the curve by hand then measured and recreated it in illustrator so its perfectly curved to make the top part of the front body.
Attachments:
 Warren Beard replied 17 years, 2 months ago 6 Members · 11 Replies
 -
11 Replies
-

nice job that, weather can be a pain but we seem to get the job done in the end..well done mate
Ade
-

I would have liked to see the logo a bit bigger, but I realize you are limited by those recessed panels.
It’s a bit hard to read mate.
But I am so pleased that you actually took the time to do the bonnet RIGHT, with the right curve.
I get so p1ssed when I see a frowning decal on a hood….
Love….Jill -

Cheers Jill,
I actually first designed it with the logo going over both panels, so it was really large. The client didn’t want it going over two panels and just wanted the one. They wanted to emphasis the PROFESSIONAL SOUND & LIGHTING and the website address mainly.
I’m doing their truck aswell and the logo on that will be huge. About 1.5 metres wide.
Cheers
Jason -

Looks good!
can you explain in more detail how you traced the curve exactly.
Jimmy
-
Hey James,
I got tracing paper and put it over the car. I then followed the curve.
Once I had this curve I then joined the top left point and the top right point with a horizontal line. This gave me the width of the panel.
I then measured from this line to the curve to give me reference points. I then used the pen tool in illustrator to create one nice curve to the middle portion. I then closed it off. After I had the reference curve in illustrator I just used the ARCH effect to bend the text so it matched the curve.
I’ve attached a pic of how I did it. This pic isn’t to scale or the one I used because I discarded the other guide lines I had created.
You don’t need to trace the curve either on the vehicle. I found after I had done this I could of just taken measurements straight off the vehicle.
Explanation of the pic. The black line is what you measure first. The red line is the curve you want to replicate. On the van choose points and measure from either the left or the right across the black line. Then measure the distance between the black line and the red curve. Take down the measurements. This is for one or two points on each side of the centre including the centre.
Once you have all the measurements take them to corel or illustrator and create the black line. Then replicate the blue lines in the right positions. Then use your pen tool to create the curve for the red line. Once you have this arch your text in illustrator its under Effect->Warp->Arch and adjust it to match the curve.
And your done.
Attachments:

-

Jason, looks pretty good but you should have got them to change their name to something shorter so it fitted within the panel a bit better !!
What made you curve the text on the bonnet? Was this something you were aware of or something the customer said to you? Just interested because most people don’t bother which apparently upsets Jill !!!!!
I get so p1ssed when I see a frowning decal on a hood….
Jill I know what you mean, I had a customer ask me once if I could put some text on his bonnet without it looking like a grumpy face !!!!!
Not quite sure if I follow your description of how you did it Jason, I don’t understand what you mean when you say you traced the curve. I do it a different way which works for me. We both end up with a curve on the screen of a known length so the end result is the same and the result is text that curves in the opposite direction so it looks straight once applied.
-
Hey martin,
I used two methods the one I describe and I also traced the curve using tracing paper. I traced it first by taping tracing paper to the van drawing the curve by hand then measuring it. I figure I would be more accurate this way. But then I measured it just on the van without tracing anything and taking the measurements straight off the van as opposed from the tracing paper.
Both ways gave me nearly the same measurements.
As for why I curved it I chose to do it this way. On a previous job I didn’t curve it and tried bending it a bit when applying. I personally prefer how the letters on the sides line up straight makes it easier to read I think. It also impressed the client when they see you’ve taken the time to do it even though it doesn’t require any changes in cutting or application. In fact I find it easier to apply because I can nearly align it by eye by following the curve on the vehicle. I still mark down the center of the vehicle and graphic though 🙂
Sorry for confusing the two different methods I used. Should of explained the tracing more properly.
Cheers
Jason -

Hi Guys
another tip in case you don’t know (although I’m sure you might) when drawing the curve, only draw half the curve, then copy and flip over, butt them together and join. This will ensure both sides (curves) are identical.
hope that makes sense
Warren
-
Warren I think you have picked up what Jason was saying wrong. He traced it on the vehicle just to get the sizes that he needed for the length and the height of the curve. On the computer he then took a straight line the same length he got from his tracing and curved that line to the height he got from his tracing so both sides of the curve would be the same. But you are right in what you say if you want to trace and scan a symmetrical shape to ensure both sides are the same.
-
Good tip warren.
In Illustrator I only have three points on my curve. The starting middle and end points.
When I create the middle point, not sure of the terminology here but when I click the end point it creates a symmetrical curve.
-
Ah, I see, OK then. The trick works nicely for more complicated graphics that are identical left and right sides, trace one side only and duplicate to left, I know you understand what I mean so that is cool.
keep up the good work.
Warren
Log in to reply.
