Activity Feed › Forums › Sign Making Discussions › Vinyl › Tips and advice for applying large graphics onto a concave wall?
-
Tips and advice for applying large graphics onto a concave wall?
Posted by Myles Brewer on May 8, 2023 at 11:36 amHi All,
* I’m just wondering if anyone has experience fitting wall graphics onto a concave wall and if so do you have any tips you could share?
The wall is approx 4.5m (W) x 2.5m (H)
I am thinking that the usual way of taping it up and applying it in vertical sections with a hinge in the middle will not work because the graphic panel will not sit flat on the wall.Also.
* I would like to know if anyone has used Mactac WW300 High tack matt and could share their views on it.
* I would also consider Avery 8626 High tack wall film as an alternative.
Has anyone used either of these materials?TIA
MylesKaren White replied 1 year, 1 month ago 7 Members · 9 Replies -
9 Replies
-

Hi Myles
A curved wall, concave or convex shaped, presents problems in as much as many of the traditional methods of installation will not work.
To answer you properly, I would really need to see the wall you are installing onto, but in the absence of that, I will generalise my reply and hopefully that will be enough for you to make up your own mind on the best approach.You are specifying high-grab wall materials so I must assume there are reasons.
I.E. The surface is textured or has some sort of surface that requires a higher bond.
If it’s textured, then the positive is that it’s not going to just stick solid on contact and positioning should be easier. Tiling onto rough surfaces also hides a multitude of sins, tears, patches, miss-alignment etcYou have given me the length and height of the wall, but I do not know how tight a radius the wall is to form its concave shape. The tighter the curve the harder it might be to install.
I do not know your level of confidence/experience in installing large-format prints, so I am not going to
suggest the safest way I think for you.The main issue will be the positioning and handling of the vinyl when trying to remove the lining paper on a concave or convex surface.
The easiest way for me to explain this is to tape each panel into places as normal, and as you progress, but once in place, tape a apply the vinyl vertically from the overlapped edge, down one side the entire depth of the panel. once that leading edge has a few inches tacked on, the full way down, you will simply squeegee all the way up and all the way down in small increments while someone is teasing out the application tape as you go.
-
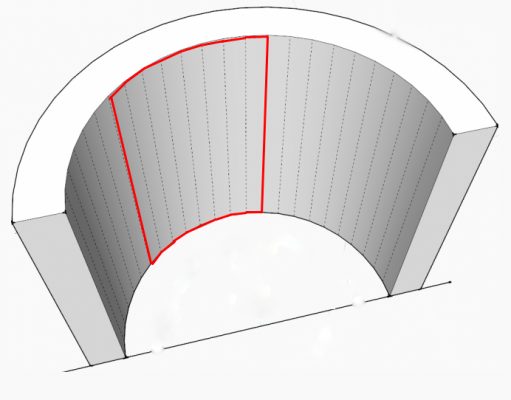
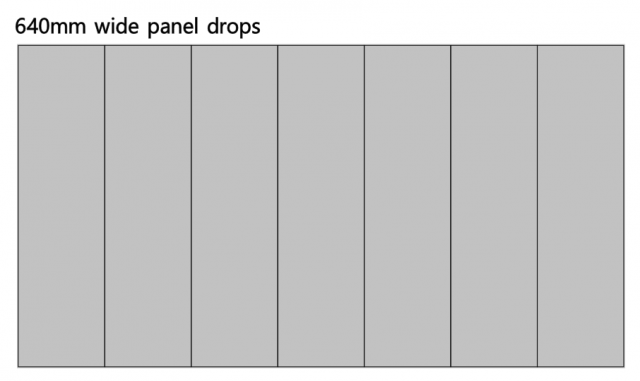
The grey panel I have illustrated is set to the dimensions you have given.
you can see multiple “panel widths”. the tighter the convex shape, the narrower I would advise making each panel. I am allowing for something like a 1360 machine printing two panel drops up the width of the machine.
-
also, I would advise maybe starting in the middle of the wall and working out to each end.
working on a curved wall can make the panels start to run up or down more easily.
If you have narrow panel drops, you will find handling the panels much easier and gives you more allowances to make adjustments as you progress.
Yes, you have more panel joins, but if the wall is textured, you should not see the joins.for walls, I would suggest always going for a matt finish.
-

I agree with rob, he is bang on as usual. I think the most important thing is having a pair of hands with you to hold the panel as your laying it. Im assuming you would normal do a graphic like this on your own but i feel that i would need an extra person to make it manageable.
-

Both materials suggested will be fine for this, aslong as the curve isn’t too tight.
I would totally agree with Rob, a matte finish for hitack wall graphics is a must! Hides all sorts of imperfections.
And yes, defo a 2 man install if using hitack.
-

Hi Guys & thanks to you all for your replies. Apologies on my part for not responding but I was up the wall (Literally & metaphorically!!🤣) at the time & for some reason didn’t get the usual email alerts to let me know of your replies.
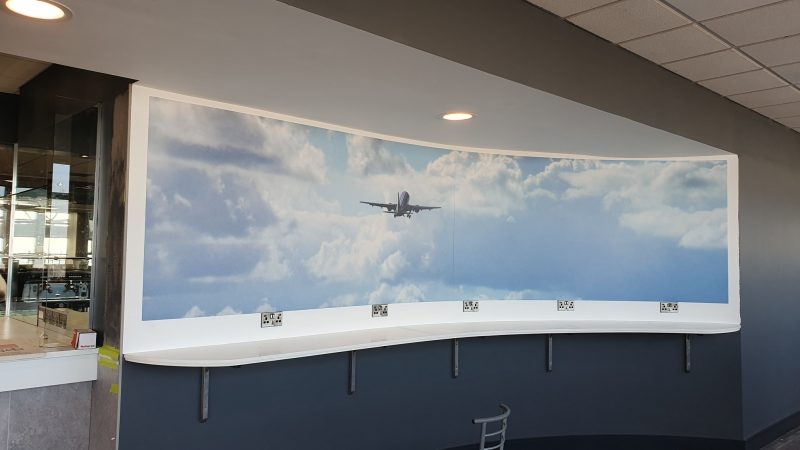
Anyway, in the end I decided that it was best to go with mounting the graphics onto 2.5mm Polycraft sheets with double sided tape on the back. This made it much easier to make sure the alignment was perfect initially in the workshop & then fitting onsite was also much easier with a second pair of hands (The wife 😄) to hold in place whilst removing the tape strips.
The walls were actually smooth newly built partition stud walls primed. The curve wasn’t really too extreme on any of them (there were 3 in total) & it wasn’t a consistent radius either. I probably could have used the high tack but any slight mistake would have been disastrous as if you tried to lift off to adjust it would just rip the primer off the surface so really too risky.
I have plenty of experience doing similar sized graphics on flat walls, windows etc. so it was really just the curve that threw me here. So thanks again for all your suggestions.
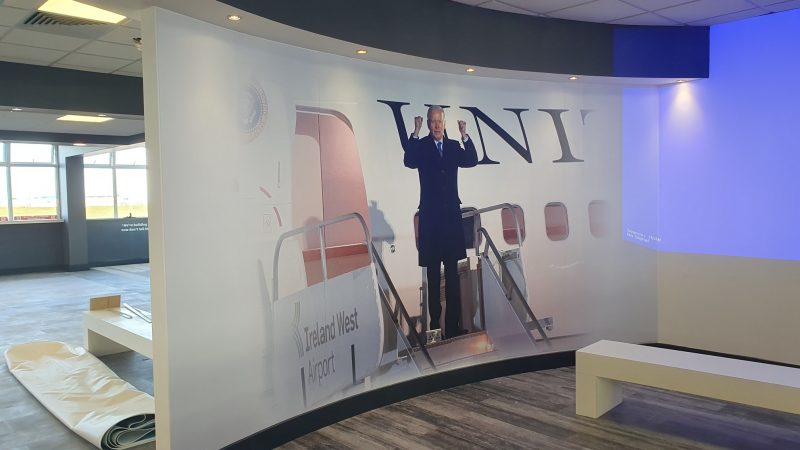
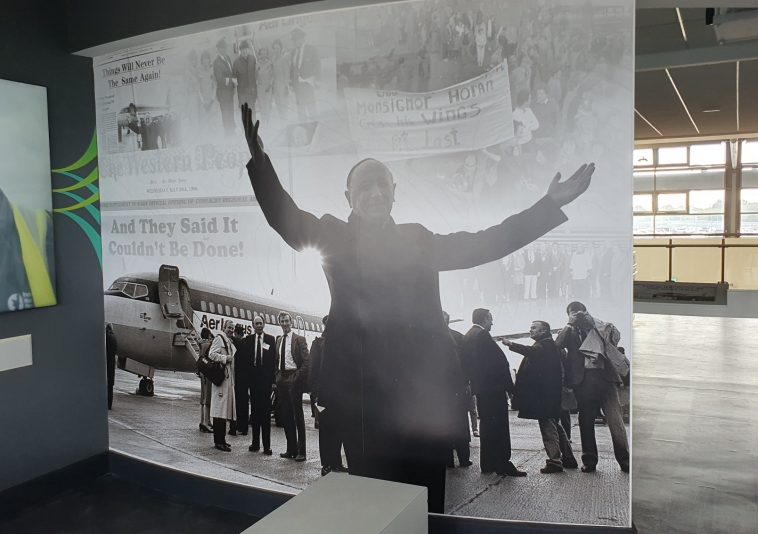
Here are some pics of the finished job now & actually the wall with Biden on will actually have a load of framed photos going on it at either end, hence why the image was faded out like it is.

Log in to reply.