-
Tiling three large vinyl strips
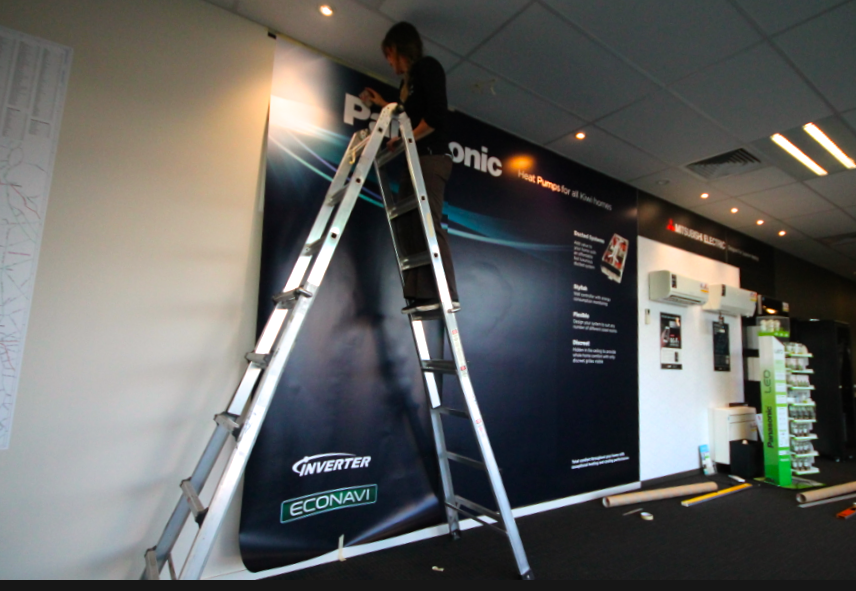
Hi
I have been asked to print and install a large indoor graphic in a showroom measuring 3.6meters x 3 meters.
The print is mainly a very dark blue, fading into a white flash, with some text.. I have printed it in three vertical drops using Avery Easy apply, with a 10mm overlap all round, but I am undecided on whether to A. trim them and butt them up against each other, or B. to overlap them, which I suppose is the safer route considering the size.
What would be the industry standard practice in this case?
My knife skills are probably not quite up to cutting 3 meters perfectly straight, but I suspect the overlap will be very visible and quite ugly given the location under bright lights in a showroom.
Simon.

Log in to reply.
