Activity Feed Forums Printing Discussions Mimaki Printers Opal Tiara 64 (Rockhopper) – dx4 manifold

  • Opal Tiara 64 (Rockhopper) – dx4 manifold

    Posted by David Rogers on June 30, 2014 at 10:15 am

    I had a whoopsie this morning. Can in to find bank 2 ‘CM’ had drained every last drop out of the bulk tanks..over a litre of ink…just gone.

    Now, having suffered this before I assumed syphoned at the waste tank but no…even with the litre of ink added it was still well under.

    Pulled ink / air through manually for AGES at the pump but doing nowt so went further up the chain to get a better flow.

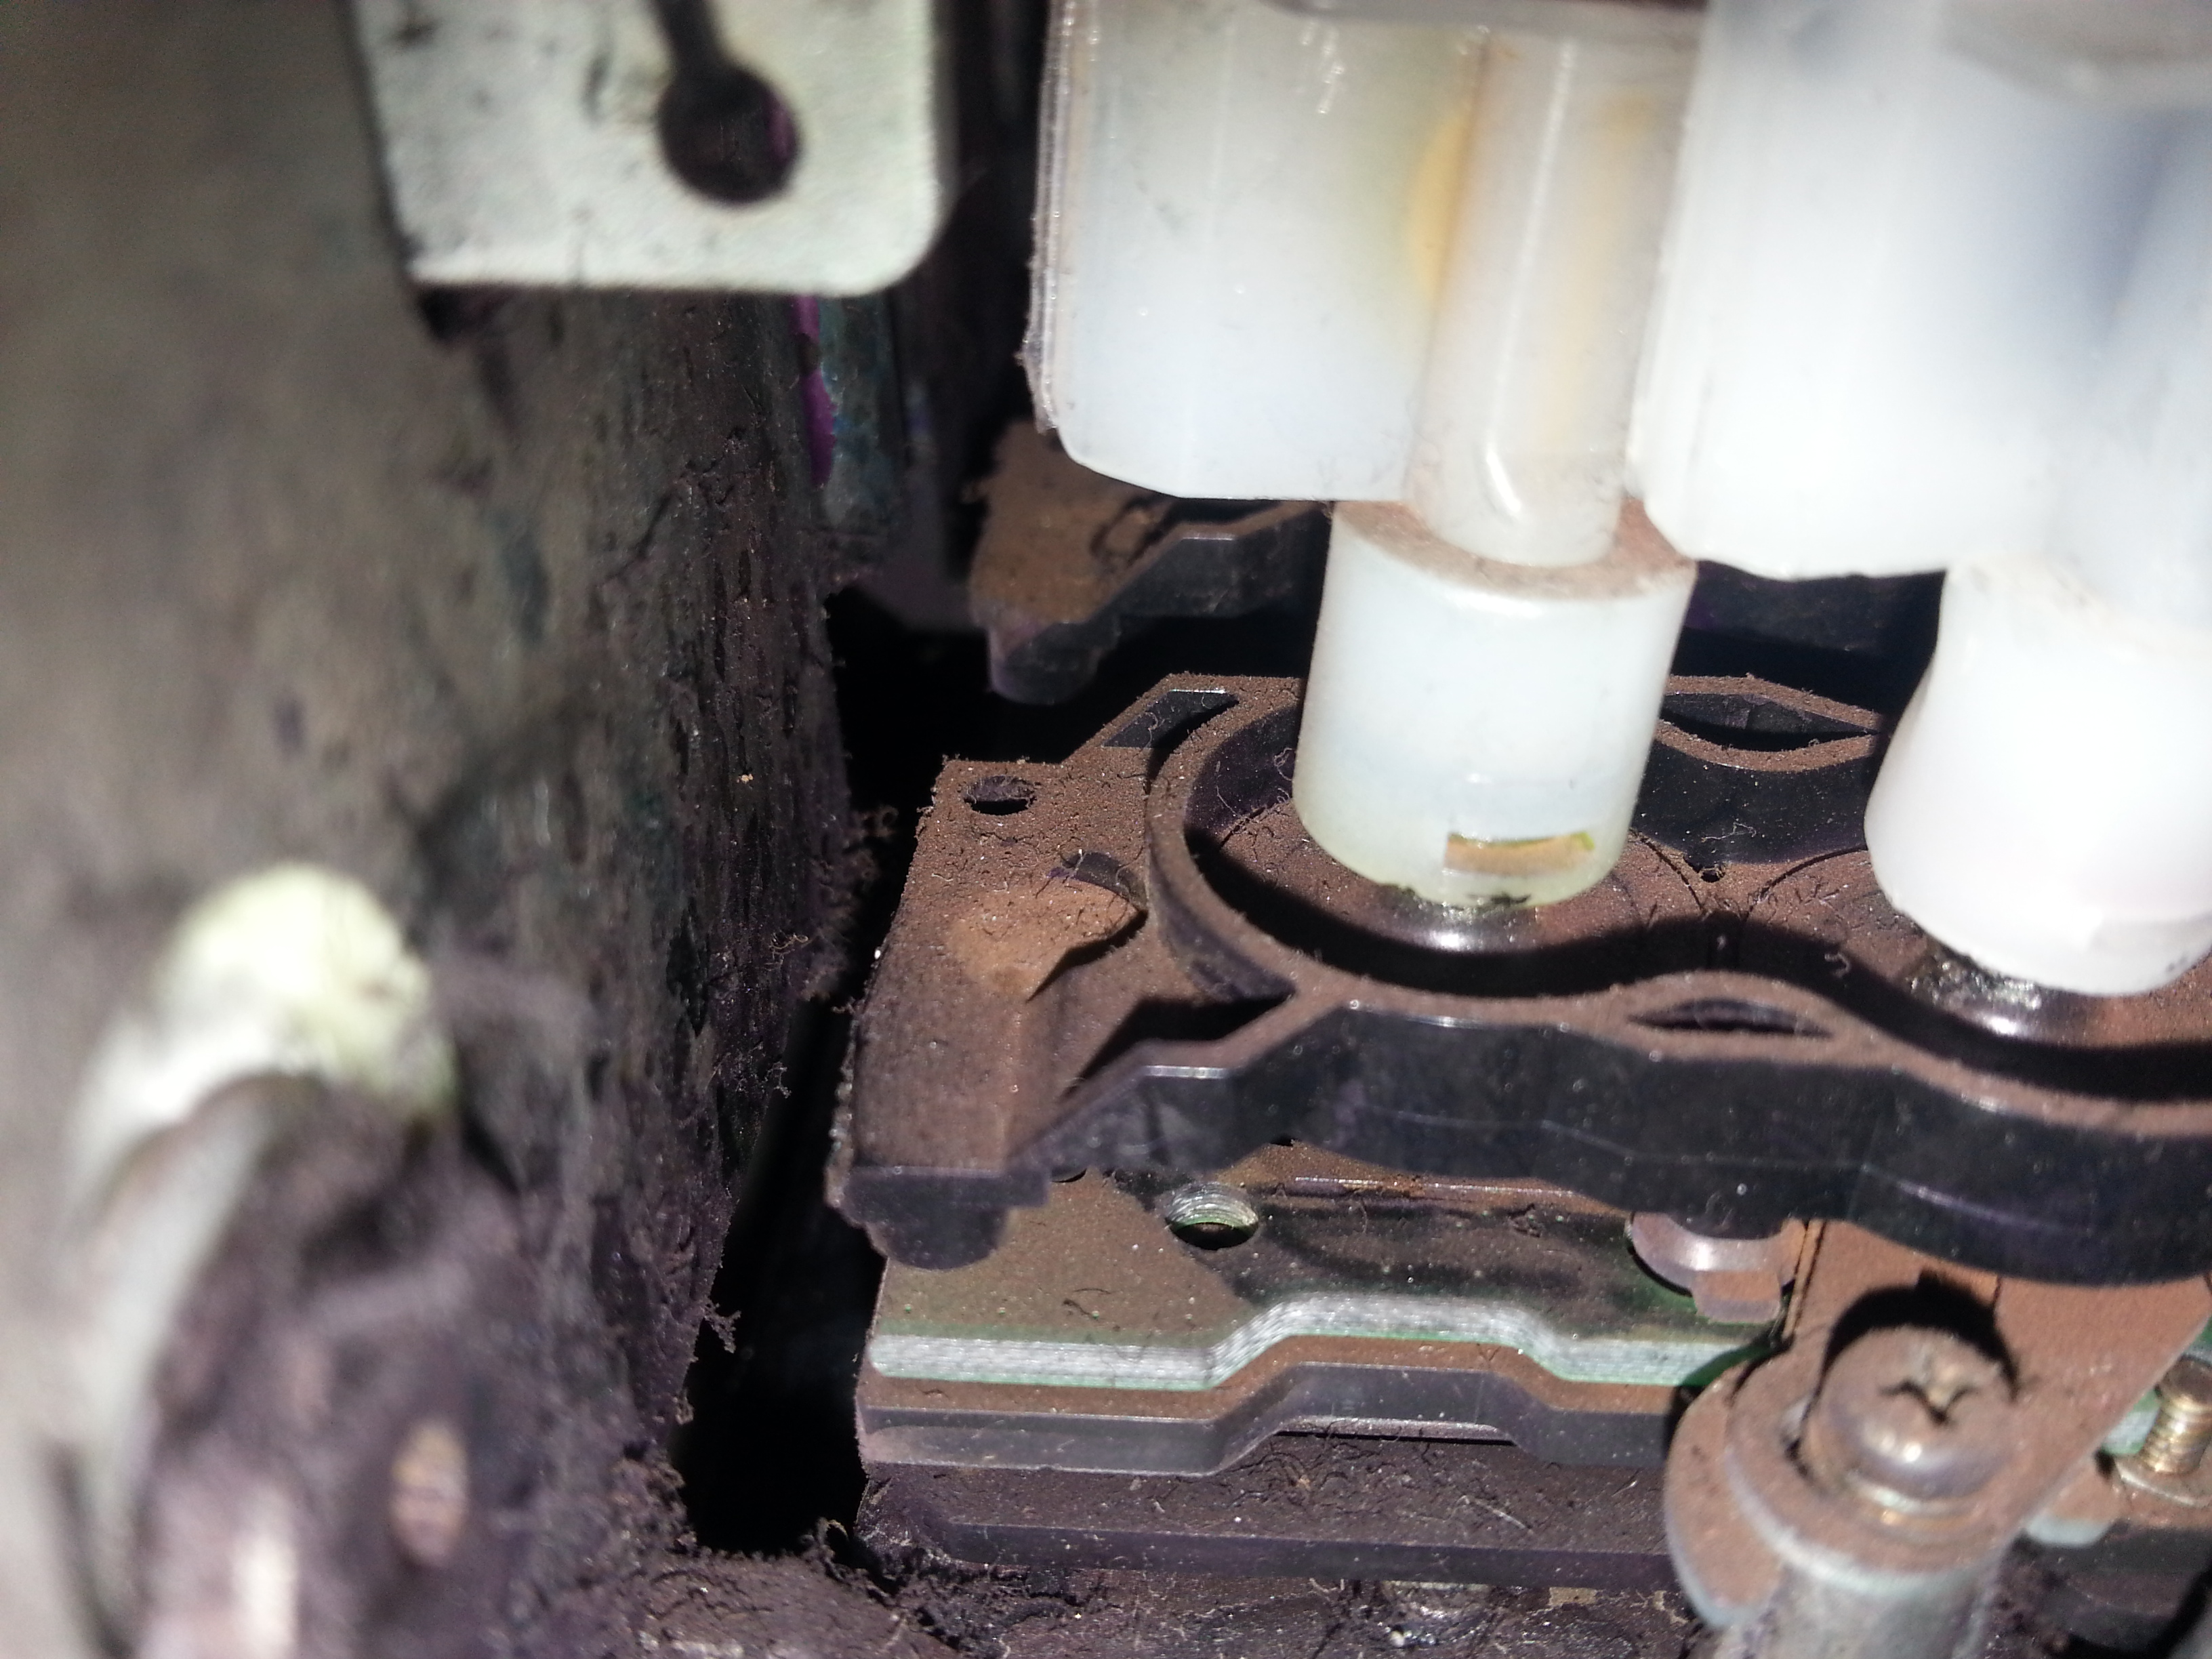
    Very carefully pulled off the damper and drew the air off & ink comes through…went to refit and no, it’s snapped half way down.

    Ordered up a new manifold etc. to arrive tomorrow.

    I’ve not fitted one of these before so any pointers would be appreciated.

    dave

    David Rogers replied 8 years, 10 months ago 3 Members · 7 Replies
  • 7 Replies
  • David Rogers

    Member
    June 30, 2014 at 1:38 pm

    Anybody?

    just to make it more interesting, the manifolds for the DX4 head get ‘modified’ to fit my machine (ends sawn off)…yay!

    Really just need best method for removing heads – splitting off the manifold etc.

    Ta


    Attachments:

  • Martin Pearson

    Member
    June 30, 2014 at 1:51 pm

    If I can find my disk I will post something for you Dave but not sure where I saw it last.

  • David Rogers

    Member
    June 30, 2014 at 4:04 pm

    Thanks Martin,

    It all looks pretty straightforward…famous last words[/b][/u]

  • Martin Pearson

    Member
    June 30, 2014 at 11:57 pm

    Not sure if this is what you were after but might help

  • Mark A Brown

    Member
    July 1, 2014 at 7:08 am

    Hi David

    I’ve changed 3 lots so far on my soljet. A good set a screwdrivers will help. Don’t drop any screws, put them in something safe that wont tip up and scatter them everywhere. Hands shake every time still lol

    Hope you get in ok

    From Mark

  • David Rogers

    Member
    July 1, 2014 at 12:30 pm

    Thanks Martin & mark.

    Turned out I’ve got the service / main manual for the Rocky II but thanks anyway!

    The advice to use GOOD screwdrivers was appreciated too.

    So, all done – hardly any mess and working to 99.9% of what it used to do before (got a minor nozzle deflection in the offending head now).

    So here’s my step by step on how to replace the manifold…the bit that we’re all terrified of breaking when you change dampers.

    It might not be the ‘technician approved method’ but it worked as I was winging it.

    Trimmed down the excess plastic on the manifold to suit the odd fitment issues on a Tiara.
    Popped off the damper(s), wiggled out the ribbon cables marking L&R
    Undid the two head retaining screws (metal bridge with plastic under it) and noticed that the spring to push the head over (alignment) made removal trickier.
    Head out & on bench.
    Flipped it over & ALMOST take out two tiny screws holding manifold on.
    Push on screws to eject the nuts from the recess & take out screws totally.
    Lift off manifold.
    Decide whether or not you fancy replacing the wee gasket (comes with the kit).
    Put screws back in a GENTLY do them up – do NOT tighten, it’s just enough EVEN PRESSURE between them to hold it down.
    Reinsert head into the holder and gently tighten it up.
    Now for the spring…yes, might have been easier to fit it between the head & the holder during the head install but easy enough to insert from the bottom, compress it up with a finger and pop it over the tab with a small driver.
    Dampers on & ribbons in.

    Power it up & offer up a prayer.

    Pull ink through, test it…go ‘yay’ and vow to never do it again.

    Dave

  • David Rogers

    Member
    July 9, 2015 at 8:57 am

    Can’t believe it. Almost a year to the day and I’ve had to do the manifold next to the last one.

    Doddle of a job now 🙂

Log in to reply.