Activity Feed › Forums › Printing Discussions › Roland Printers › new cutting problem with versacamm help please
-
new cutting problem with versacamm help please
Posted by Dan Osterbery on October 26, 2012 at 8:21 amMorning All,
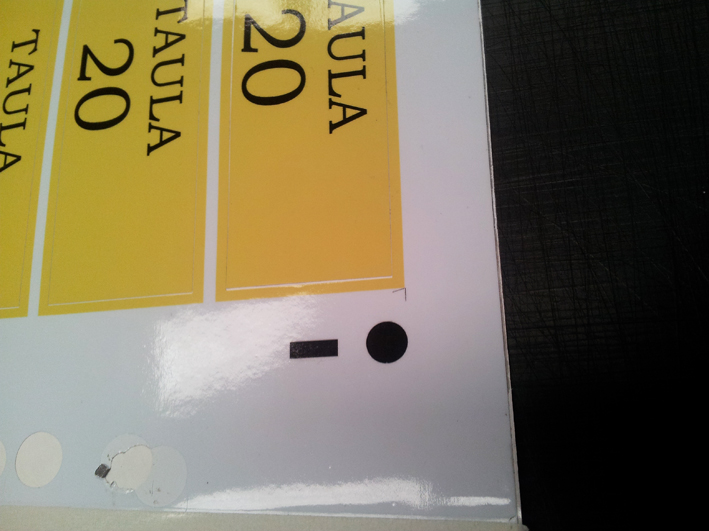
my verscamm SP540v has developed a new cutting alignment problem. If i am standing infront of the machine, at the right hand end the cuts are fine, by the time the head cuts the other side (the left hand end) the cuts have misaligned by about 90mm front to back (see photos), and as the cutting continues it gets worse? I have done this batch of printed / laminated stickers three times now. After the first set we checked print cut alignment, manually and automatically and it appears spot on (see photos) and after the second batch we removed the wheels in case they had issues? Can anyone give me any other things to look at? It is finding the crop marks no problem, we then do an environmental match and cut, but this is going way out, we are cutting about 1.6m long but by the end of the first row it is out??thanks in advance
Dan
Attachments:

 Steve McAdie replied 11 years, 6 months ago 7 Members · 16 Replies
 -
16 Replies
-

Hi Dan,
Might be able to offer some advice 😕 First just want to check a couple of things…
Are you moving the pinch wheels in between the print and after lamination?
Are you using the centre on media function in the Layout tab?
Are you clicking on ‘get media width’ again after lamination?If you are doing the above things then this could effect your cut post lamination, however it is strange for you to have the cut line correct on one side and not the other.
I am not 100% whether your machine has this feature or not (the newer ones do)- but you could check your crop-cut, not print-cut alignment.
One thing you could also try to check whether or not your problem is to do with the laminating/crop-cut process or not, is to try printing a similar or the same job with the crop marks but just run it as a print cut job without removing the media.
Initial thoughts though are to check the 3 things I mentioned at the top as these can effect your alignment.Let me know and we can hopefully get rid of this problem for you!
-

I’ve had this problem on my 540 as well, it helped to take the encoder reading eye off the carriage and clean the lens, also use a clean soft cloth to clean the encoder strip.
Steve
-

Hi Joe, no to all of the above! Dont do any of those as we know they cause issues! I think this is a technical problem, I ran some t-shirt material that didnt need laminating and the cuts were out on this and it was not removed from the machine.
Stephen, thanks will give that a go! had to clean the encoder strip a couple of months ago because the print edges went wobbly! Is it easy to get at the encoder reading eye?
Thanks guys
Dan
-

Dan I had a problem just like this and it turned out to be that the rubber sleeve on the pinch roller had become detached from the wheel. Ordered a new wheel and fitted problem solved.
Peter
-
Thanks Peter, removed the middle wheels so only operating on the two by the media clamps, but will check and swap those out now and see if it improves!
thanks
Dan
-
Dan don’t forget that the outside wheels have a slight bevel on them and should only be used on the outside.
-
It’s a little fiddly to get at but as long as your mechanically competent and careful you’ll be fine.
Take the main cover off and you’ll see it screwed onto the back of the print head carriage with the encoder strip going though it.
The ink mist must get into it eventually and cover the lenses.Steve
-
Didnt know that! scrap that plan then!!
thanks again
Dan
-
Hi Stephen, what do i clean it with? Can i use roland cleaning solution or is it best to use alcohol?? Please advise
thanks
Dan
-
I just used a clean lint free cloth, the micro fibre cleaning cloths seem good, I didn’t use any fluid at all, def don’t use the head cleaner it’ll damage the lens.
Steve
-

The pinch roller bracket can also split meaning that their is not enough grip on the media – this is quite a common problem
-

If you do need to change the outside roller Dan then replace the opposite one also, keeps it balanced.
Steve
-
Hi Stephen,
back in the office today and trying to sort this out, can you give me instructions on how to remove the encoder sensor from the carriage so we can give it a clean?thanks
Dan
-

Dan, just try cleaning it in situ. If you take a cleaning swab and bend it so the swab is pointing down.
Then just run it from left to right front and back – you’ll be amazed how much gunk comes off. Then do environment match when you’ve finished. Is the print out too or just cutting?
Andy
-
The encoder strip isn’t used by the cutter so i don’t think you will solve the problem by cleaning it although it is good practice to keep it clean.
Log in to reply.
