Activity Feed › Forums › Sign Making Discussions › Neon, LED, Lighting › Milling Bit for Neon Flex
-
Milling Bit for Neon Flex
Posted by Warren Beard on March 7, 2022 at 3:34 pmHi
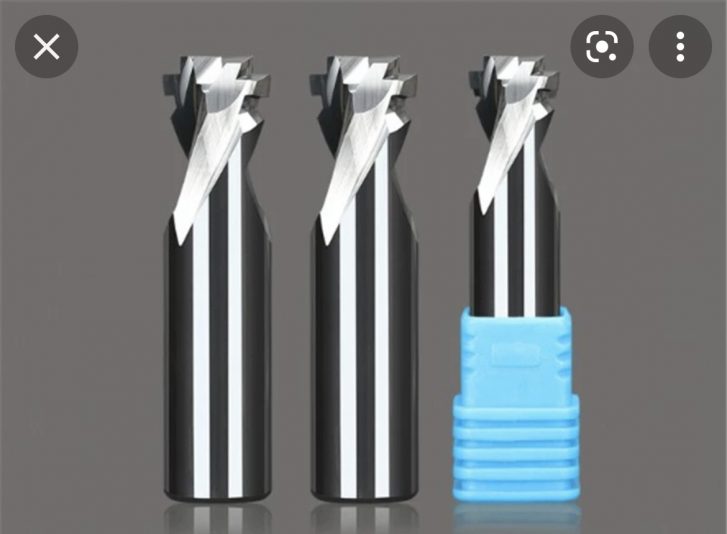
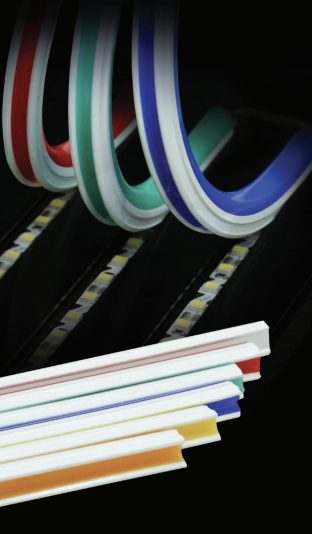
We’re just starting to make up some neon flex signage and experimenting with both the single and 2 piece options. Our issue I’m battling to resolve is we have a Kongsberg cutting table and the milling bit is maximum 6mm and we can’t find the bit in a 6mm shaft.
Does anybody here have the same issue, I’m trying to find a company to machine down our 8mm bit to 6mm and hopefully will work in our Kongsberg otherwise we may be stuck using the one piece neon which we do not prefer.
So if anybody can help with the special milling bit for neon flex in a 6mm shaft or a company that could mill it down for us.
Many thanks
Warren
RobertLambie replied 1 year, 5 months ago 7 Members · 21 Replies -
21 Replies
-
would you mind telling me where you go the bit for the two part neon flex from including the actual flex its self?
-
I don’t think I am understanding your question properly, mate.
I am guessing you are trying to cut a channel into a material to hold the neonflex?
If so, is the neonflex narrower or wider than your bit?You can buy bits with a broad shank and narrower head?
Or you should be able to get a narrower bit holding collet. but your Kongsberg may use a different type to a traditional CNC.You can also buy U-shape lightweight channel that holds the neonflex, so no routering is required.
Sorry, what do you mean with single and two-piece neon option? do you have a picture at all?
-
-
I see what you mean no, Warren.
As I thought, the Kongsberg bit is different.The neon flex is also different. I have used the z-Led’s on the rear of flat cut letters but not as the two-part system with the silicon face, though I have seen it used a few times.
Hard to tell from your photo, but do you really need a channel routered? does that not have a rear plastic casing that the silicon pushes into? so you fix the rear casing to the surface and the silicon pushes/clips into that? hard to see if thats a black casing or just a strip of LEDs.
-
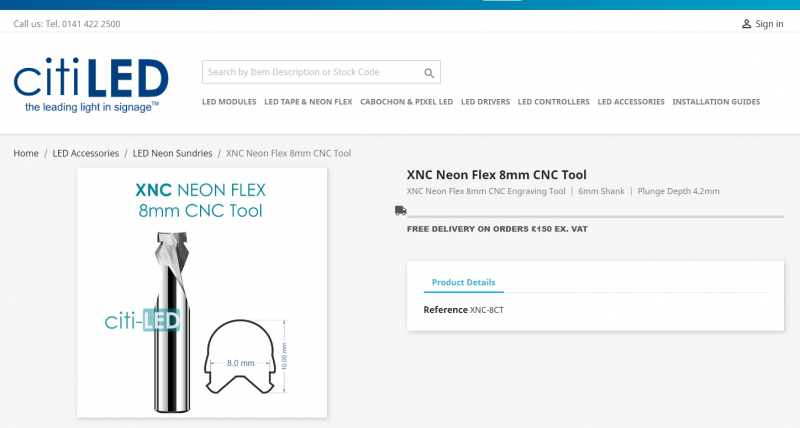
No that special “T” shaped milling bit creates the groove in the acrylic that the beading “clips” in to. We’ve made one up and works great, better IMO than the complete unit like in your video but we can’t do in house because we can’t source the 6mm shaft to fit our machine.
I’m speaking to The supplier you mentioned to see what they can do to help.
Cheers
Warren
-
Hi Warren
Hope you are keeping well and busy.
Did you ever get anyone to successfully grind down that bit to fit the 6mm collet on the Kongsberg?
We have the same table and we really want to try the 2-piece neon flex.
Having made a few in 1-piece it just seems like the 2-piece will be so much easier.
If you’ve started doing the 2-piece in house how are you finding it?
Cheers
Dave
-
-
OK, I see what you mean now. overall, it will look a better finish, but the thing is with this system is you are then limited to the surface and materials you can fit it to.
-
Hi Rob
Yes you’re correct and will possibly be using both options but majority will be acrylic neons so this suits us best for ease and speed. Just need that 6mm bit lol 😉
-
-
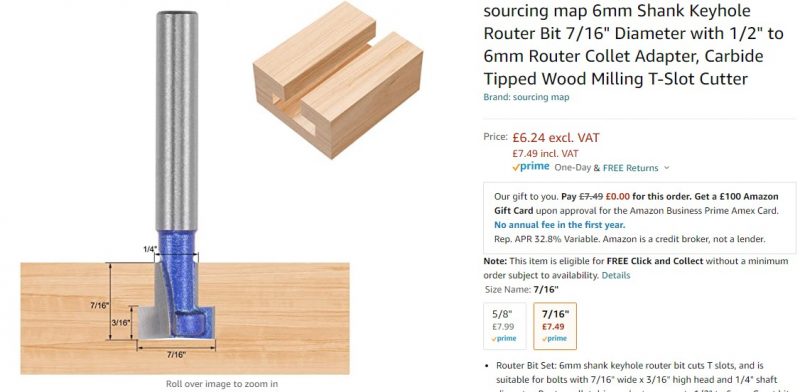
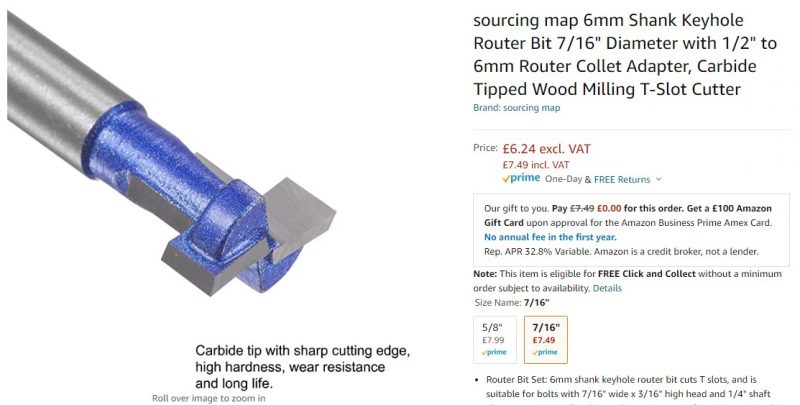
Thanks Rob, not sure if these will work as think it’s a bit more specific then just a T groove as the beading edges fit snuggly into the groove but it doesn’t hurt to try. You never know they could just be selling these as a “special” tool so they can sell it themselves at a higher markup so is worth a try 😉
Cheers Rob
-
-
Hi Warren
Think we have the same table as you so this one made me spend 2- hours googling!
Can’t find the manufacturer of that bit, only someone else, SALED, in Australia selling the same system. It does give a cross section with measurements though so you can see what finished slot profile you are trying to achieve.
The beauty of that bit is that it looks like you can plunge with it and then start to move through the material and then lift back out – so can ‘up cut’ back up. Plus it chamfers the top edge which presumably helps with pushing the sleeve in but you might be able to get away without that, and it’s also spiralled for chip removal, a marvel of engineering.
Anyhow you could achieve all this with 3 tools.
First off cut a 6.7mm wide channel, so a closed loop and cut on the inside with a 6mm acrylic bit – you cant get a 6.7mm bit.
Cut a circle 8.1mm at the start and finish on the centre line of the channel so the t-slot can plunge in without cutting. Use an 8mm full radius t slot mill to plunge into the the hole to the depth required (need to work that out) and follow the centreline of the channel. I’ve found a few with a 6mm shank on line.
Change the tool to the really wide V angle tool kongsberg do and cut very shallow on the centreline which will chamfer both sides.
Might work, what do you think?
Downside is trebling the cut length and 3 tools, upside is might be the only way unless they launch an 8mm collet or a 6mm shank version of the tool. Big unknown is lack of spiral for chip removal might mean it all just melts in the groove?? Much experimentation with feed rates and RPM. (We usually go for 45k on everything but that’s not going to work on slotting)
I’ll let you buy the tools and let me know how you get on? This method is copyrighted by me!!!
Datron.com have the t slot but not sure if they sell in the UK, I’m sure there will be an equivalent in the UK though
Cheers
Dave
-
Dave you genius …….. come up with an idea and let others iron out the details lol
unfortunately we won’t be trying it 😂
ITC have however said they are happy to grind down an existing tool … cost is more than the tool itself and don’t yet know how long each will last but it could be the way to get started so we will see.
Once I’ve sussed it I’ll update.
Cheers for the reply though 😉
Warren
-
-
Hi Warren
Yes, let me know as I really like the look of the 2-part system
Cheers
Dave
-
what is the name of this neon stuff from Applelec Warren?
are you able to share the approximate length and cost for it please? -
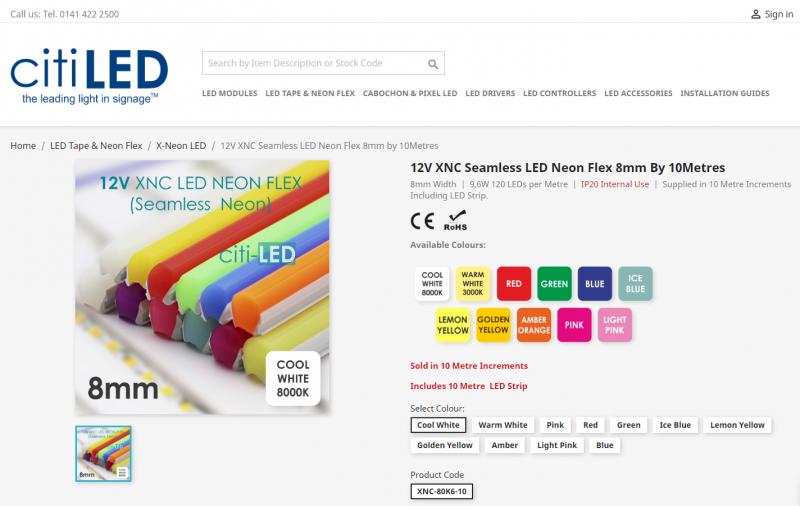
Hi Guys, just thought I would update this post because I have just ordered some of the neon flex that you are using @Warren Beard including the CNC router bit from CitiLED.
Once I get the chance to have a play I will post some results and views on it.
-
Do you think it would be possible to use a hand held router and be accurate enough to follow the outline of vinyl letters. or am i being silly? 🤔 i mean if i traced the letters i would then want to then insert the neon in the groove i routered.
-
I think your best option for this would be a router trimmer.
it is a smaller easier to handle type of router and would allow you to manoeuvre it better to follow a path. -
I didn’t realise there was a smaller version of a handheld router, Jeff. Good to know! 👍
-
Log in to reply.


