Activity Feed › Forums › Sign Making Discussions › General Sign Topics › lining up multiple colour vinyl
-
lining up multiple colour vinyl
Posted by Daniel Evans on November 3, 2017 at 10:14 amHey board members
Any tips lining up multiple vinyl colours on the backing paper ready for application?
Normally I tend to do it on the van but I’m wanting to speed things up a little and get it done before I go so its just one smooth application.
With small images or where the colours overlap the entire images, I put registration marks in each corner, put app tape on the top layer and then apply the next layer and so on.
When you have wording like Free Fighters (Free in red, Fighters in Black) adding registration marks to each corner wastes a lot of vinyl. I have been playing about with the idea of adding registration marks on the corners of the where the overlay will go i.e. around [free] but adding application tape to cover the whole graphics is proving a little difficult to manage.
So I’m thinking… Add application tape to the small part and put to one side, then apply the application tape to the large part and peel the backing paper away, once done, align the small graphic to the large one and cover the whole thing with the backing paper again.
Not sure if I’m over thinking this now but just trying to find a smarter way without wasting materials.
Would like to know who you guys do it?
Thanks
Jamie Hunt replied 6 years, 6 months ago 11 Members · 14 Replies -
14 Replies
-

Here’s how I would do it from my understanding.
Add registration marks to the base layer, but locate them along the length of the text, then use the reg marks for that colour.
I also use weed borders to great effect, where we trim the vinyl to the weed border, then an the next later fits inside a cut out, or part of the design, no measuring just pop it in once the base is in. It uses for material, and takes a little longer but installing is a doddle.
Attachments:

-

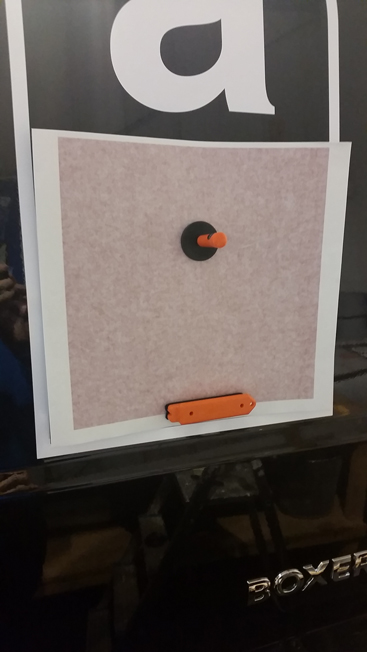
We use this method on all multi colour jobs, you can place the circles anywhere to reduce waste.
Gil

-

I just use solid blocks of colour, much as per a demo done by Phill some years ago on here.
make the file and separate the wording, add in two blocks between the words and one at either end, those at the ends just serve to be sure the over-all level is correct, the ones in the midde can be used to position the spacing etc.
as per…
Attachments:

-

We kind of do something similar to Gil by looks of it. I would cut the last E in free with the black. Then just place it in place. Make sure the rest is straight/on its likes and scrape the black down, excluding the extra E. Nine times out of 10 that E comes off with the application tape.
-
Actually got a van in now, where I make use of weed borders-
We’re putting a red square in this logo. Save messing about measuring we use the weed border we trimmed to, to align the graphics.
Attachments:

-

I create a solid template in 1 colour and spray mount all the colours on top then put application tape. Haven’t got any pics to show so will try and explain:
If you have – UK signboards 2017
. telephone number.
So you want top row in black, bottom in red. Duplicate the text, put a weld box over the red part but still showing tops of letters and weld and turn to black. Then cut it all in black, cut your red number as normal and spray mount on top of black welded box. Then when you apply to van its just one piece of vinyl. -

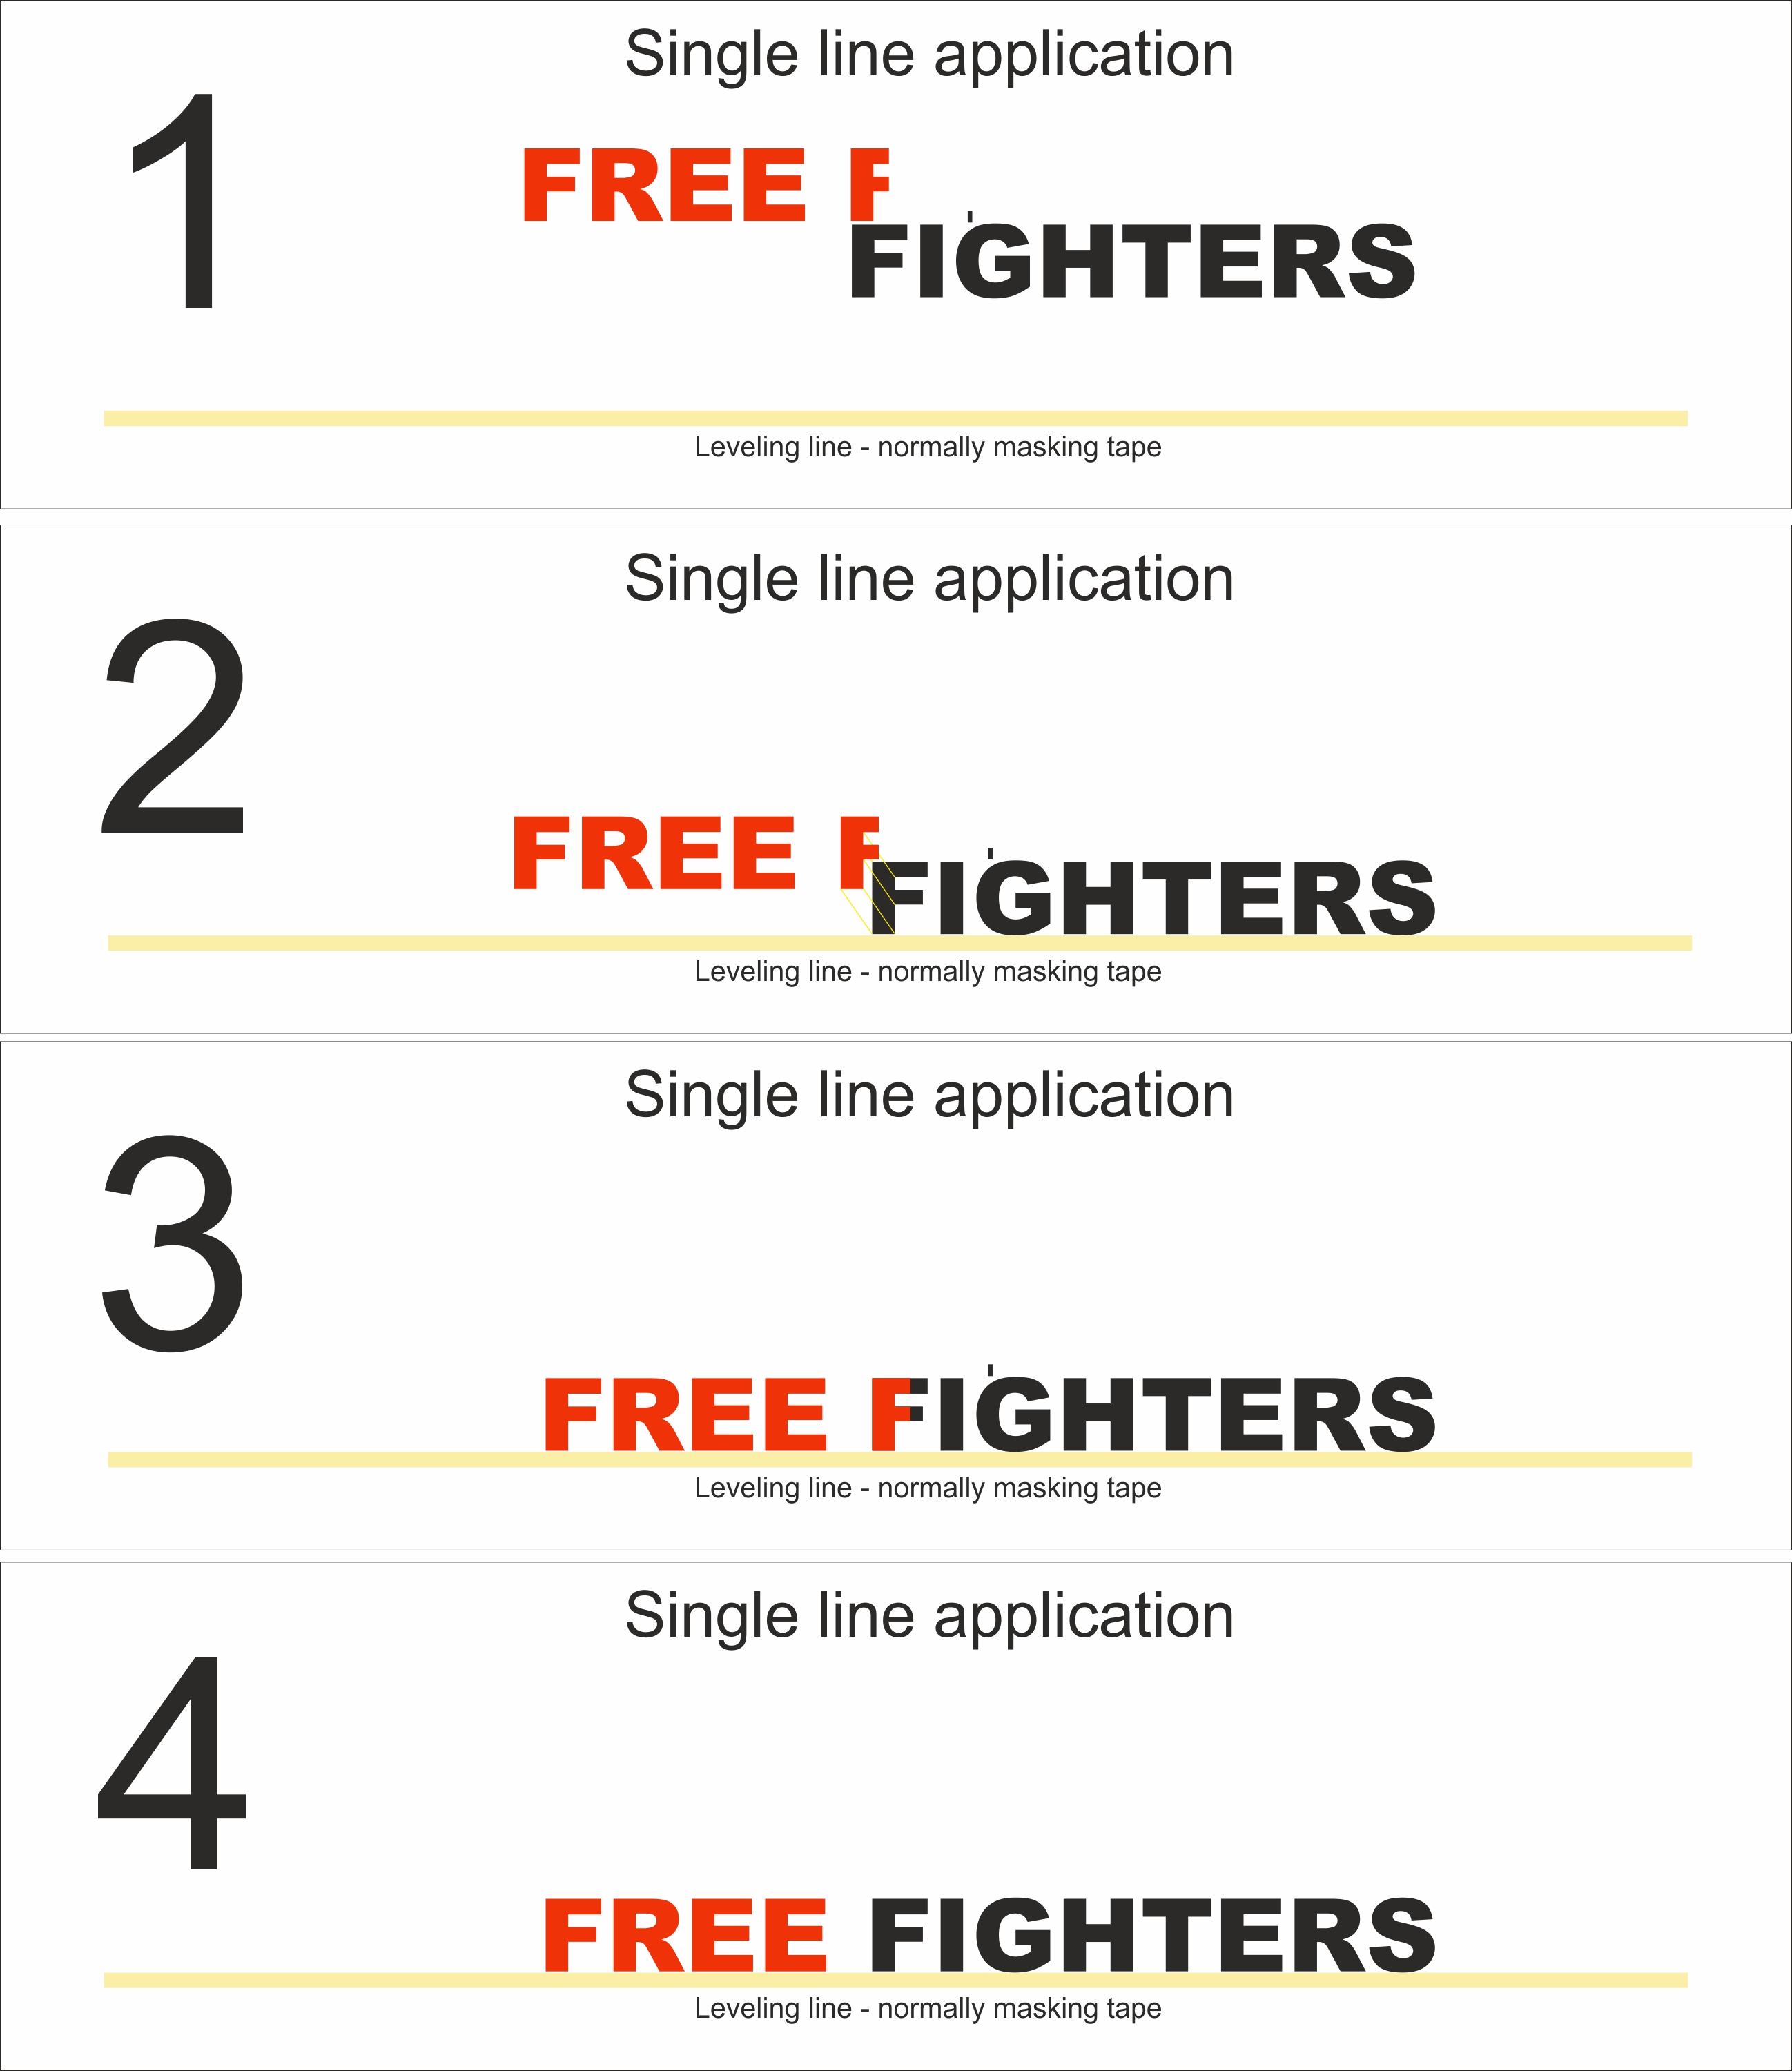
My method for single line application.
- Write out the text you want and then cut part of the first (or last letter)
with the preceeding/followng word. In this case I copied and chopped the ‘F’ in fighters and cut with the ‘FREE’. - Fit the first word (I usually fit the longest word first). The small mark above the ‘G’ marks the centre of the completed application so I know where the middle of the whole sticker is.
- You then apply the second word aligning the part cut letter over the whole letter of the other word.
- Remove centre mark, part cut letter and level mark. Job done.
- Write out the text you want and then cut part of the first (or last letter)
-
Just had another read of your original post and think I grabbed hold of the wrong part.
If I understand you right, you want to make a multi-element/colour application and somehow fit it onto one piece of backing paper and apply it in a single go?
In which case, I would imagine that you would have to cut a master template in a single colour to start with. Lets say white.
This ‘master’ would have to be the actual size of the completed design once fitted to the vehicle. You would have to create registration marks around each of the elements that are not going to be white, cut it and then weed out everything other than the white bits you want to keep and all of the other registration marks.
You then cut each of the different colour elements with the registration marks. Apply transfer/application tape to that element and then apply it over it’s corresponding place on the ‘master’ template.Once you’d done this for all the parts you wanted, remove the registration marks and then put application tape over the complete design. Then apply it as normal.
Hope this is what you meant or I’ve just typed this all for nothing :blushing:
-

Daniel
I have used most of the methods people have suggested, they all work fine.
However:
I have found it is almost impossible to apply multiple layers of vinyl all at once to a vehicle without getting a severe case of air bubbles, unless you use air release vinyl.Simon.
-

All really good techniques and I use a similar approach.
Rather than circles or rectangles, I just use + signs.
Peter, fair play to you on your method. If I did that I can pretty much guarantee that my ‘Free’ would be at a slight angle and not inline with the rest of the text.
The issue is not so much aligning the graphics up but more about applying the application tape so that the multiple colours are in one piece and not applying one at a time.
It’s just a nice thought hoping to save a little time while fitting.
I like the weed border idea and I may try that
-

Just my opinion but whatever little time you save in application will far be outweighed messing around piecing together on the work table, I much prefer to mark out & apply each piece as required. Unless of course you mean a bubble cut first pice with an inlaid letter in which case I’m with Simon. Nightmare with bubbles around the top layer.
-
I didn’t say it in my post about building up the whole design on one piece of backing paper, but I totally agree with Simon, air bubbles would be a huge problem on multiple layers. But if you’re only creating a multi colour, single layer design, this ‘one piece’ method could work. It isn’t something I have ever used, and I probably wouldn’t bother with it either. There are far too many variables that could go wrong and ruin the whole thing. I just thought I’d suggest it as a possible way of doing what you wanted.
And as to not quite getting your words all on the same level, that is what the levelling line underneath is for. The actual part cut letter just ensures that the next word is at the same height and correctly spaced. You actually level it up with the line below.
-

Was going to post earlier on but had to go out, I would agree with Simon on the bubble issue when trying to apply multiple layers in one Hit, if you search the forum your question & the issues with bubbles has been mentioned a few times in the past, using a registration method that wastes the least amount of vinyl is helpful but you need to think about the fastest registration method as well, the cost of some extra vinyl on a job shouldn’t really be to much of an issue if you are charging correctly in the first place 😆 😆
I’ve probably tried most methods at one time or another, another method I use quite often is to use clear application tape on each layer other than the first layer to be applied & then just apply by eye, you can be pretty accurate with a bit of practice but wouldn’t use that method for anything like the free fighters that is being discussed in this thread. Only really when you have layers of vinyl on top of each other 😆 😆Something else that I find can sometimes help is to draw reference lines on the application tape, kind of hard to explain so I will see if I can find an example of where I might use it & post a picture 😆 😆
-
 quote Peter Johnson:My method for single line application.
- Write out the text you want and then cut part of the first (or last letter)
with the preceeding/followng word. In this case I copied and chopped the ‘F’ in fighters and cut with the ‘FREE’. - Fit the first word (I usually fit the longest word first). The small mark above the ‘G’ marks the centre of the completed application so I know where the middle of the whole sticker is.
- You then apply the second word aligning the part cut letter over the whole letter of the other word.
- Remove centre mark, part cut letter and level mark. Job done.
This is how we do it Pete as well but I suppose it doesn’t matter if you try and get this ready in the workshop or not its easier to put it straight on the panel and if your worried about getting a measurement I would mark the panel where the centre line is and mark the centre line on the graphic for positioning
- Write out the text you want and then cut part of the first (or last letter)
Log in to reply.
