Activity Feed › Forums › Sign Making Discussions › Vehicle Wrapping › Ford Transit custom, wrapping advice needed, please?
-
Ford Transit custom, wrapping advice needed, please?
Posted by Martyn Heath on July 4, 2022 at 5:43 amHi folks.
I don’t get many of these jobs to come about and it’s been nearly 2 years since I did my last so I want to cover a few bases before I make life harder than it should.
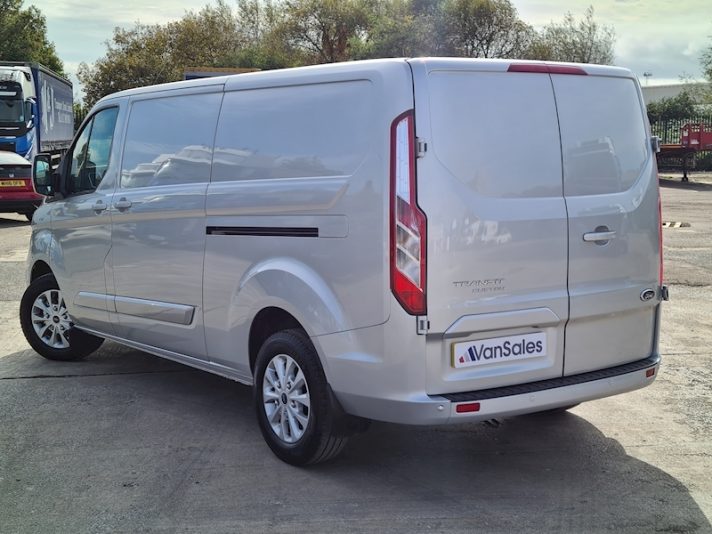
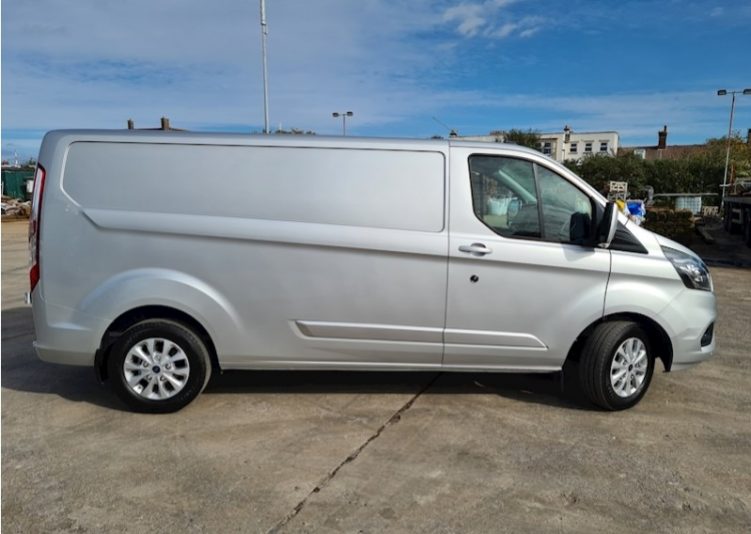
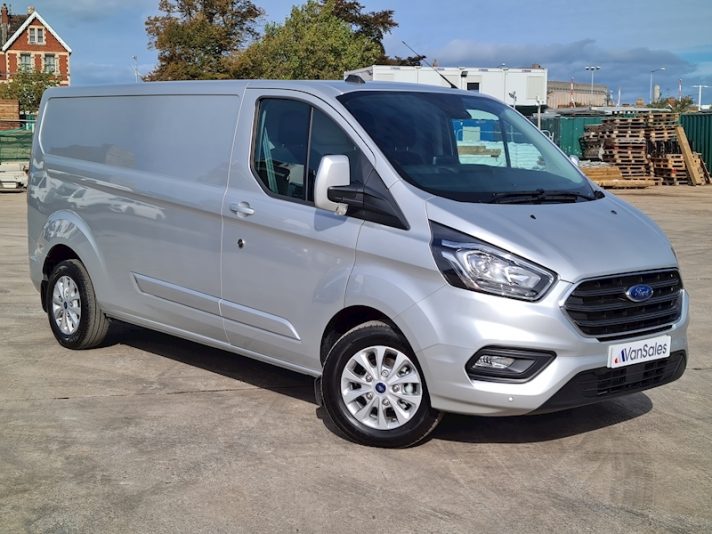
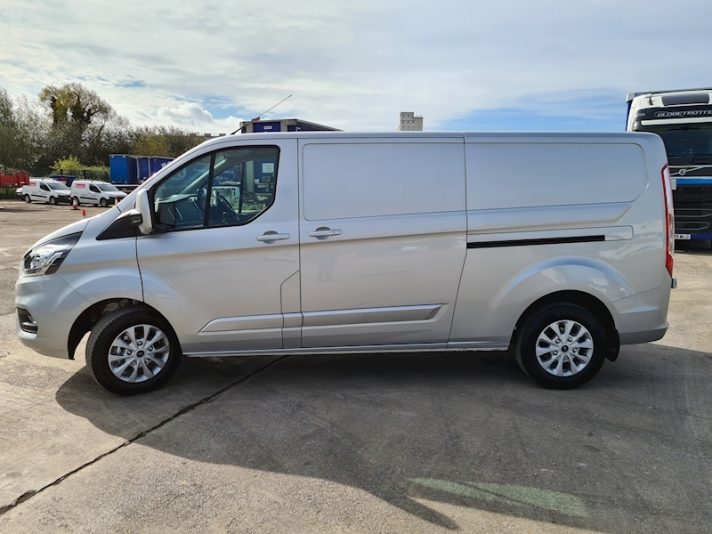
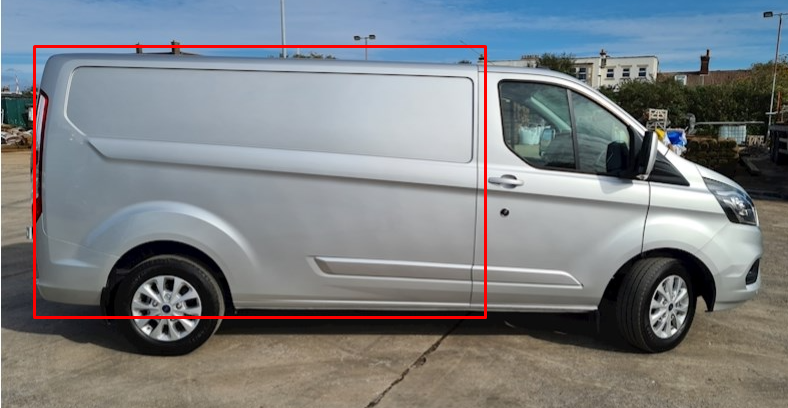
I’m doing a part wrap design on a transit custom LWB. The side is getting wrapped in matt black, in one piece, being 1500 by 3m.
Normally I use Avery SWF which gives me confidence working on my own but stocks are not available so I’m using another film which is less forgiving.So my question is, “would you split the backing film and work horizontally or vertically on the vehicle?”
Leslie Anderson replied 2 years ago 6 Members · 18 Replies -
18 Replies
-
-
Thanks rob, its everything behind the front doors to black with vinyl graphics over the top.
One side has a side door the other not so in theory on one side you could do the back section on its own but the other side must be one piece from the front door to rear door
-
Martyn,
Have a look at the arlon pcc film, a nice matt black and lovely to work with 🙂 Cheaper than3M / Avery, low initial tack, WS had it on offer recently too.
-
-
-
I am not sure what vinyl you are using, but If the panel can cover the full side, depth-wise, in one go. I would most likely do it in one piece. I know you are thinking this will be more difficult, and it will, but as long as you have a game plan of how you will approach it, you should be fine.
I always suggest taking a cutting of the vinyl you will be using and actually fit it to the most difficult area. then lift it off, heat and relax the vinyl back to almost flat, and apply it to another difficult part. repeat the process until you have an idea in your head, how you will tackle the job.
there is zero point going in cold. you will just stress yourself out and make mistakes. just do what i said above, and repeated it with the same bit of material or any old wrap off cuts you have in your workshop.
you can do one side in a full sheet, and the opposite side in two sheet sections.
-
-
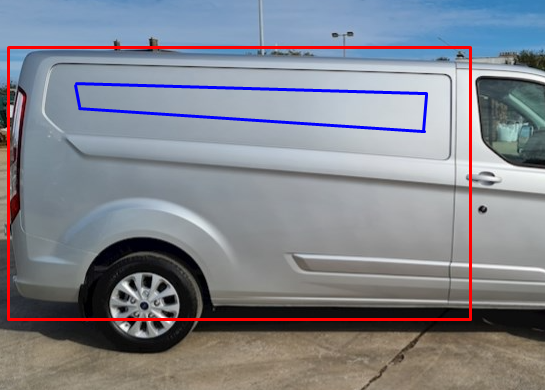
if you apply the side in one section. when it comes to the recessed area, do not apply any more than what’s shown in the blue line. this will leave plenty of slack vinyl to stretch into the recess without creating too much tension, which can pull back out after it’s been applied.
also, make sure to clean the recess very clean with isopropanol alcohol or a manufacturer’s surface cleaner if stippulated.
-
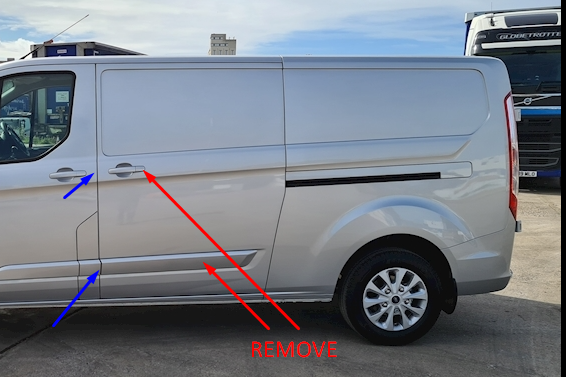
You DO NOT need to remove the entire rear lining paper to do this.
Use plenty of magnetics to hold it in place on the side. double up in areas with masking tape for the areas you will remove last. as long as its all firmly in place you are good to start.
you will see the areas marked in red, this is all the “high ground” it is arguable that you should work the vinyl in and out some areas, but there is nothing demanding here, so the vinyl should cope easily.
the areas marked in red and generally the areas to take into place first and work the vinyl down into the lower sections.
personally, i would anchor my vinyl along the blue line.
fold it back and remove the tape from behind.
apply the vinyl to all the red high ground above the blue line.
then work into the recesses.
if you mess anything up you can recover. lift it, heat gently to relax the vinyl back to shape and apply to the high ground again. and repeat the recess.if you manage the recess and all the top section is in place. simply lift the lower vinyl, pull the paper out from behind it and begin to work your way down the vehicle.
as i said, do not go in cold. get some scrap vinyl and try each area you think will be difficult and repeat until confident you have in your head, your approach. THEN, and only then work on the live job.
-
Brilliant robert!. you have covered a lot of things ive been thinking in my head and ive been on the right track but clarification is what you have given me, i appreciate it.
With regards to what you mention about “working the vinyl”, i see this as a common talking point and having watched many a wrap videos, fitting seems to differ. Ive used both methods but i prefer the glass method, pulling triangle, glass, fitting. Working the film i can see is necessary on certain jobs but surely this is what wrap film was invented for.
-
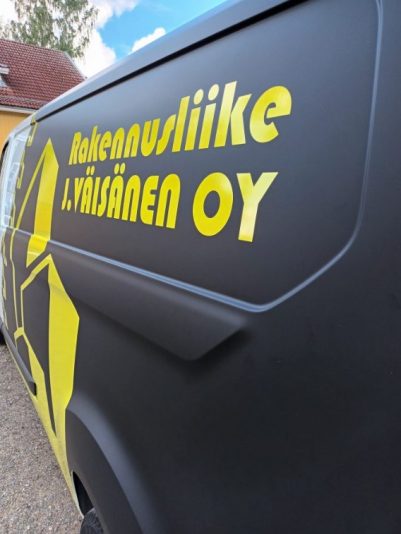
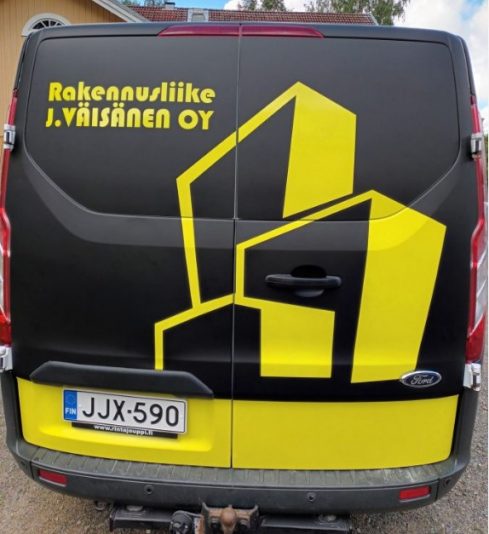
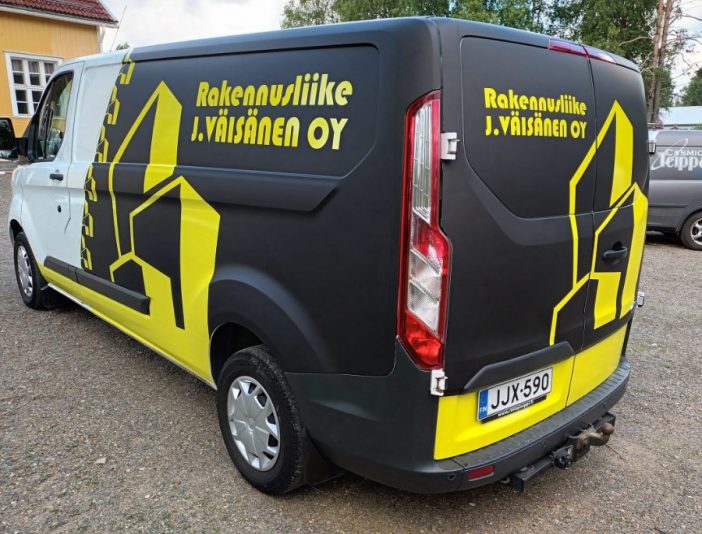
Hi. Thought i would post an update now the jobs complete. Im pretty pleased with it.
materials used:
mactac colourwrap black
Mactac 9700 side yellows
Mactac 10700 wrap back yellows.
The hi viz yellow was printed.
18.5 hours fitting (2.5 days)
Price i charged including design 2450€ 2100£ in proper money.
I personally feel that for the amount of work another 3 or 400 euros could be justified but then i might be wrong and just a bit slow.
-
-
That looks great mate, very smart! 😎
how was the mactac to wrap with? i have never used it.
-
Hi mark. Not too bad, i dont think its as easy to work with as Avery but then its half the price.
-
Ha, my reply was too late I see!! Still, the Arlon PCC is worth looking at for future ref.
-
Thanks hugh, unfortunatly thats not a option out here. 3M, AVERY or MACTAC wrap films are available
-
-
-
-
Hi Martyn
Thanks for posting up the pictures of the finished results. It makes posts like this, much more valuable to readers finding it, from here onwards. 👍
I think for someone that was very unsure on this one, due to experience and trialling a new, more difficult vinyl. I think you have done exceptionally well, mate. and it’s great to see more of what you do. thanks for taking the time to come back to us on this.
-
Thanks rob, thats much appreciated aswell as the time and effort you put into your replys. I dont think you realise how much it helps us out. 👍
-
Log in to reply.


