Activity Feed › Forums › Printing Discussions › Sublimation Printing › Dye Sub Mug Printing help.
-
Dye Sub Mug Printing help.
Posted by David Hammond on March 11, 2016 at 4:08 pmSo our new Sawgrass Dye Sub printer has arrived, it’s all set up and working.
Being a child at heart, we couldn’t wait to get printing and making some mugs.
Sometimes the Blacks came out brown (After Speaking the TMT, I believe they’re burnt), whilst others came out with the colours really pale.
The mug press is set up as per their instructions – 160 idle, 170 top, for 120secs.
The time starts only once it reaches 170, however as the mugs are colder, the press drops down to 150, then climbs back up to 170, before the timer starts.
What settings have you found to work best?
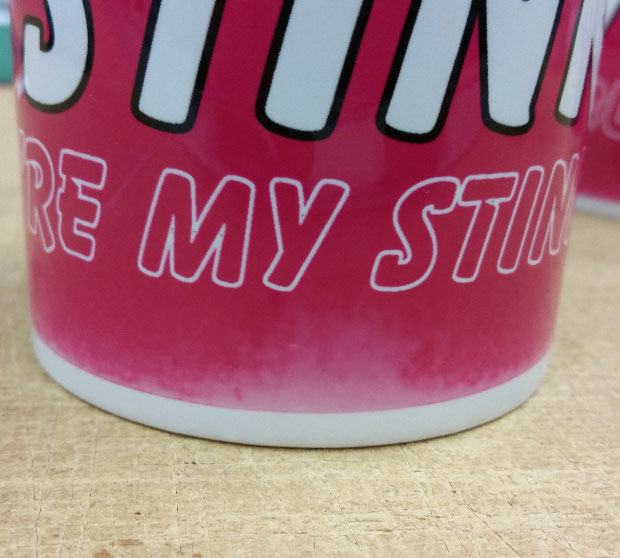
Also getting an uneven print like the photo attached, any suggestions what’s causing it?
Completely new to dye sub printing.
Attachments:
 David Mitchell replied 8 years, 4 months ago 5 Members · 11 Replies
 -
11 Replies
-

David
rules for dye sub are same as printing, keep you mugs in a damp free reasonably warm storage. Plus ensure you pull your transfer tight are you taping it to the mug, are you cooling mugs in cold water to stop the process continuing. Is the mug press set up correctly, don’t take timings as gospel because environment as a lot to do with it, plus the mugs you are using some do come out of shape or with bad coatings.Kev
-

Cheers Kev,
The mugs were cold, and the uneven print was evident across most of the tests we did with lots of coverage.
Yes cooling the mugs in cool water once pressed.
I assume the press is set up ok, with reasonable pressure. The timings are hit & miss, as it starts once the press reheats to the set temp, which may take longer between one and the next. 😕
Can you press a print onto mug, then apply another print in another place on the same mug? Will save me wasting a load of mugs.
-
Dave
full coverage is very dependant on press pressure you are transferring a gas in to porous surface so a slightly uneven pressure because in correct set up or mug shape will give you a faded look. It is normal for temp to drop keep your mugs in a warm dry location will help. Doing spot transfers to save mugs will be different in time sometimes due to not having to heat the entire mug ie the bottom takes longer to warm. To test your press put mug in 1 way & test then use another mug the other way around if the fade stays on the same side its a pressure problem if the fade swaps sides its a temp problem. Hope that makes sense unfortunately you use a few mugs in testing.Kev
-
Good idea Kev, will be popping into work later to experiment, and see if it’s pressure or heat related.
Not sure if to start the timer from when the mug goes in as it’s surely going to start tranferring before it gets upto to temp.
-

If are doing to do full wraps you need to make sure the mugs are square and not tapered, put a square edge against the mug side. Some people keep a blank mug in the press until you are ready as this keeps the press from dropping in temp when you are ready to press your actual mug. Also pre heating the base of the mugs before pressing helps as the base is thicker and requires more time to warm up.
If you have a look at the Dye Sub Forum there is loads of help on there and several videos.
-

Looks like a pressure issue to me or the temp is not consistent at the edges of the mug press…..a laser temp gauge will confirm this.
I do mugs at 210 degrees for 3 minutes and always leave the press heating for a few minutes before I start the first one.
I drop them into water before removing the print to stop the transfer process as quickly as possible.John
-
Cheers guys, is that 3mins from going into the press?
From what I have read so far, seems the Sawgrass inks don’t need as long as epson inks.
-
Yes…….my timer counts down 180 seconds till the alarm goes.
John
-
Cheers John,
Will try that, our press starts timing from when the press reaches the set temp, after the mugs put in. Obviously the temp drops once the mugs in, then needs to heat back up before the timer starts.
Will try from as soon as the mug goes into the press. :thumbup2:
-
Cheers for the advice guys!
Just done a few mugs this evening, set the idle to 170, max 180, and started the timer as soon as the mug went in the press. 2:30 seems to be giving better results, loosened off the pressure and re tightened it, and all seems good.
May try and up the time a little see what happens.
-

i use sawgrass inks in a ricoh sg3110
blacks coming out brown ? had that to start but hadnt set up the colour profile and driver correctly??
when u switch the press on leave an old mug in it, when u place ure ready to print mug the temp wont drop as far.
160 degrees for 90 seconds works perfect for me,
im sure ures is A3?? i have an A4 and the width of a4 seems to be perfect for full wrap, although i try to keep designs roughly 75mm in height away from the edges. as some mugs are not the most square and level, keepingit away from top and bottom edge prevents soft/ faded print.
i only use mugs and paper from xpres, tried cheaper paper before and it wasnt worth the hassle.
Log in to reply.