Custom cut feature in versaworks


Custom cut feature in versaworks
In the screengrab below I’ve imported a decal that I want to print a load of copies of, in this instance its 250 pieces (the maximum Versaworks will set)
I’ve found the Versacamm handles print and cut beautifully if the “pages” are kept to reasonably small sections. The current page is approximately 750mm long – too long.
To blow up the size of the picture below, [Click on it]
Load your media into the machine as normal. In Versaworks click on the “Size” dropdown and choose “CustomCut”. CustomCut allows us to break down one large run of decals into smaller more manageable sections.
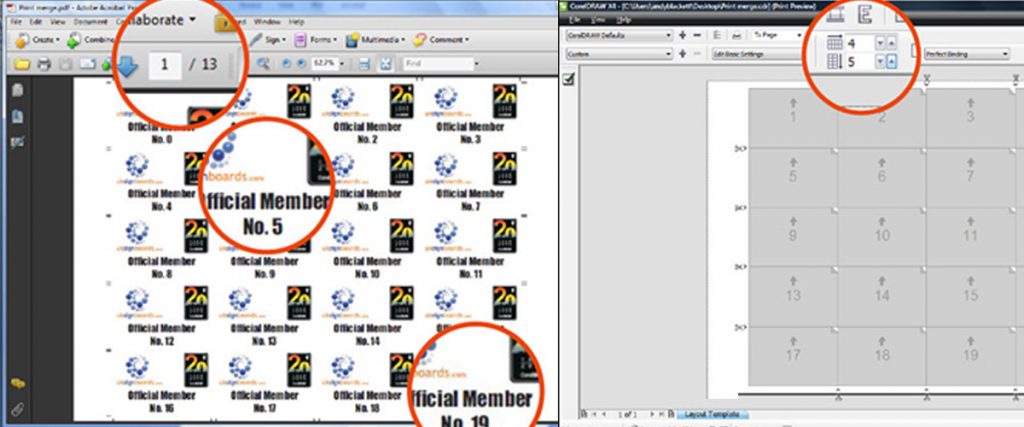
Enter the width shown on the machine LCD panel into the “W” box in Versaworks. The height can be set to whatever size we want our “manageable size” to be, I never exceed about 400mm but tend to work at 300mm. Enter 300mm in the “H” box. In the next screengrab, we now see how the machine has split the document into small sections.
To blow up the size of the picture below, [Click on it]
Set any other settings as normal, centre on media, tile spacing etc.
If this is just a print-and-cut job (no laminate) the machine can automatically cut each sheet before printing and cutting the next. To do this go to “Printer Controls” and then tick “Cut Sheet After Output”. You can of course leave this as standard so that the media winds on to a take-up after being cut (check that your take-up is compatible with print/cut as not all are)
If laminating you need to adjust a few other things;
Before Printing
In the “mark” tab tick “Crop Marks (Print and Cut Alignment)”
In the “cut controls” tab, in the “Operation Mode” dropdown choose “Print Only”
In the “Printer Controls” tab, put a tick in “use custom settings”, in the page space dropdown choose “60mm”
Laminate as normal after prints are thoroughly dry
Before cutting
In the “cut controls” tab, in the “Operation Mode” dropdown choose “Cut Only”
In the “Printer Controls” tab, in the page space dropdown change to “80mm”
“Tricks” I use to help with the accuracy of print/cut alignment;
I find that doing an “Environment match” on the machine calibrates the encoder strip and helps with accuracy. I do this before printing and again before cutting
A sharp, correctly adjusted blade reduces drag on the machine.
Before actually printing the job I run “Print/Cut Alignment” using the automatic setting, this prints a black square and then detects its positioning to correct its cutting position.
When loading the media back in after laminating align the first set of “print/cut” circular marks with the cutting strip. I try and ensure the centre of each circle (left and right circles) falls in the middle of the cutting strip – just gets everything straight before I start. Basepoint the media so the tip of the cutter is at the extreme right and halfway down the optical circle.
If not using a takeup, ensure there is nothing in the way of the machine that will cause the vinyl to jump/bump when cutting as this will kill the accuracy.
If you need more than 250 pieces simply duplicate the prints in your design program (keeping in mind the maximum width of print on your media) and export. Then just simply carry out exactly as above multiplying the copies appropriately.
Well, thats all there is to it, I hope this demo is of some use to you all…
Andy