Create your own Faux Marbling Paint effects.

Faux Marbling made easy, by Jill Marie Welch. How to create an unconventional background using non-traditional methods and colours.

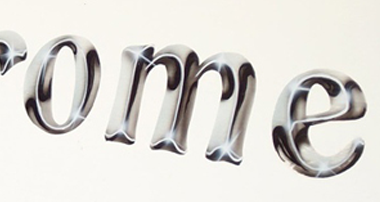
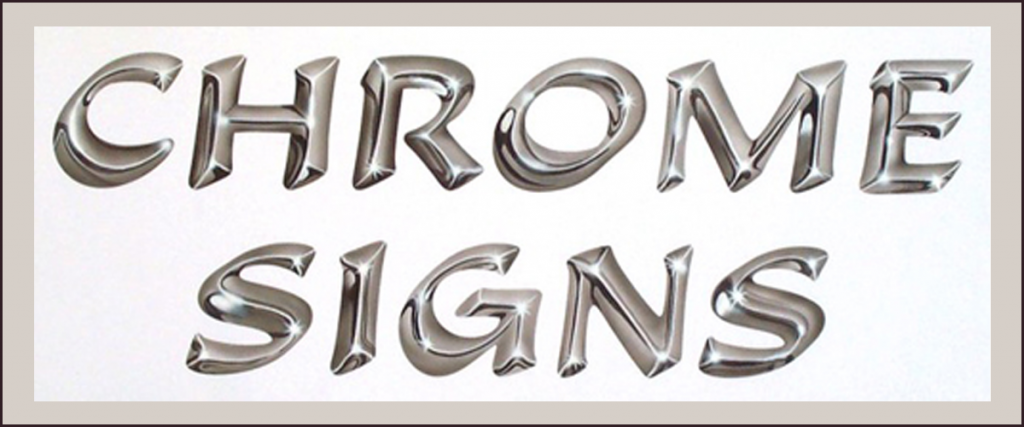
FAUX MARBLING MADE EASY (Champagne Signs on a Redneck Budget!)
Anyone can create an unconventional background using non-traditional methods and colours. Add value and eye appeal to everyday signs.
Photo 1: Supplies
You will need three shades of paint (I use 1-Shot Lettering Enamels) Choose a dark, a medium, and a light in the same range of colour. Don’t be afraid to try crazy colours. If you want to have a traditional look, stick with creams and tans or shades of grey. You will also need white and black or dark paint.
Any substrate will do, from a primed piece of wood to an aluminium panel.
Also have on hand latex gloves, a few plastic store bags or saran wrap, and mineral spirits for clean-up.
You will also need a large clean soft bristled brush and a small detail brush or a feather.

Photo 2
Make sure that your substrate is clean and dry. Put on your gloves. Open up your paint. I am a Redneck and I pour it right from the can, but you might want to put it into a Dixie cup and pour from that. Drizzle over the panel in a circular pattern. Repeat with the other two colours. Don’t use too much or too little, after a while, you will know how much to pour.

Photo 3
Photo 4
Repeated using different shadows of paint.
Photo 5
With a wadded-up store bag or even the plastic masking from an aluminium panel, daub and blob your drizzled paint together until it covers the panel. Turn your piece of plastic frequently. It should not look like a puddle of mud, you should be able to see bits and pieces of all the colours and they should be wet-blended.

Photo 6
Photo 7
Take a sheet of Saran Wrap or a clean store bag, and cover the entire panel with it. Press down. Peel off. This removes the excess paint and also gives it some texture.

Photo 8
Photo 9
Now add the veining. You can either use black and white or white and a darker version of the colours you’ve drizzled, as I have done. I take a very thin brush (here I’m using a long-handled Mack sword striper but you can also dip the tip of a feather in the paint and use that) and make thin wispy diagonal lines. The more crooked these are the better! Don’t worry about your hand shaking as this adds to the effect. Add a few branches here and there but not too many. I do the dark colour first and then the white, both in the same direction. Then with a VERY soft clean DRY brush, feather gently over the veins to soften them down. This step is optional but makes a more realistic look.

Photo 10
Photo 11
Photo 12
Photo 13
Softening the viens with a dry brush.
Photos 14
Let dry at least two days. Remember that there is a lot of paint on that panel and while it may be dry to the touch after 6 hours, it takes much longer for the paint to completely cure.
Then you can either hand-paint something, as I’m doing here or stick vinyl lettering on the finished panel, as I also did. I like to mix both methods when I can. I mixed up the base colour using Brilliant Blue and Kansas City Teal 1-Shot. I painted the letters with French Masters lettering quills, then used a Foamie on the bottom part! Then I added a bit of Aqua to the paint and highlighted the lettering. Then I added a few white-hot spots with a small Langnickel brush.

Photo 15
Photo 16
Photos 17
For added impact, I mixed up a bit of varnish shade using one-ounce 1-Shot super gloss tinting clear (NOT UV Clear) and a few drops of black 1-Shot. This would be equivalent to a drop shadow in Corel using about 40% black.

Photo 18
Applying the shadow.
Photo 19
I cut the high-performance Gerber white vinyl on my ancient Gerber 4E, using Arthur Vanson’s Chesham Sans from Letterhead fonts. (The part I painted is a modified version) I even stuck it on dry!

Photo 20
Backfilling with paint, the section for vinyl text.
Photo 21
Applying the vinyl text.
Photo 22
Here, i am applying some highlights in white.

Photo 23
Don’t forget to add your signature, also known as a bug. We all should mark our work as it can bring in more customers!

There you go! Why not give it a try? It’s messy and fun, but it does liven things up.


Love….Jill Welsh
Jill Marie Welch of Jill’s Custom Signs
Butler
PA USA