It’s all gone a bit Austin Powers !!

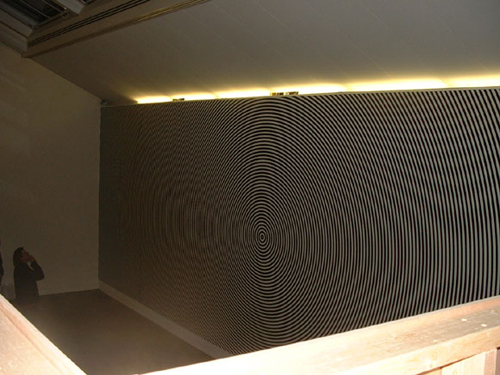
A single vinyl graphic that is almost 70 metres square and resembles something out of an Austin Powers movie.
The task here was to create a black, cut vinyl graphic and install it onto an interior wall of a Glasgow Art Gallery. Easy enough done, but this single-cut vinyl graphic measured seventy square metres and because it was ever-evolving circles, the tiling had to be very accurately cut and applied.
The graphic itself was not too hard to create but the tile “cutting” of each section of the job had to be very precise. As did the alignment of each panel or the entire job would not line up further along the wall.
Materials:
* Oracal 751 Black Polymeric Vinyl
* Oracal medium tack, paper application tape
* Graphtec 54″ wide vinyl Cutter
The graphic itself was a one-inch white dot with a 1-inch black outline around it. The black outline had a 1-inch white outline and around that, another 1-inch black. This carried on and on until the entire wall space was covered, measuring around seventy square metres.
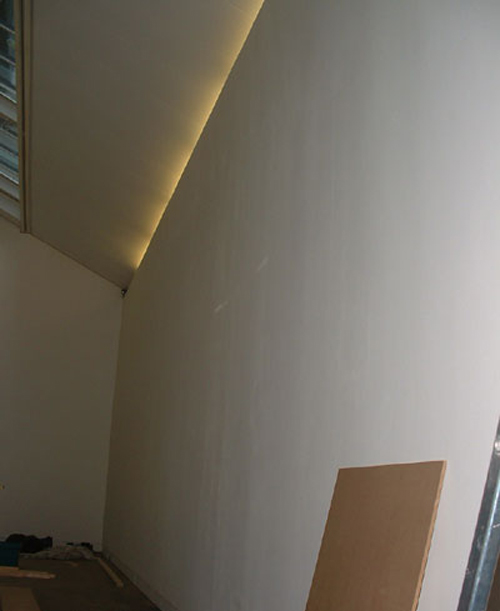
Below is a picture of the white-painted wall.
Unfortunately, due to boxes and stuff on my left and behind me, i could only get part of the wall in the shot.
Where to begin?
To help with alignment accuracy, with something like this, I wanted to start from “the middle”.
Working from the middle halves the alignment issues you will have.
First, I found the exact centre of the wall.
Each vertical hanging tile will be 46 inches wide. So, from my centre mark, I moved to the right 23 inches and made another mark.
From here, using a spirit level and a pencil, I made a line from the top of the wall to the bottom.
Light enough to rub away with a pencil rubber. I would normally have used masking tape but didn’t want it to possibly lift the fresh paintwork when I removed it.
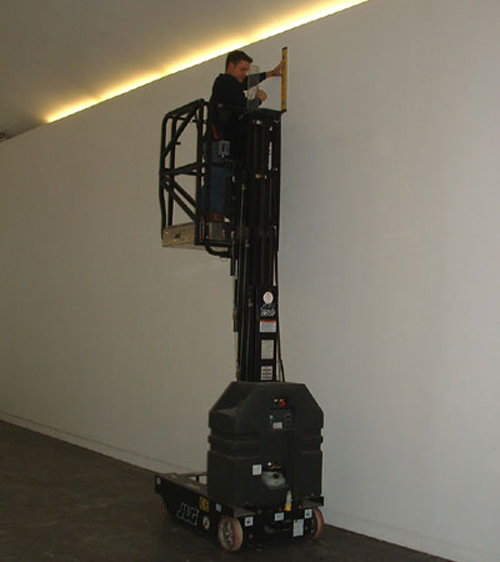
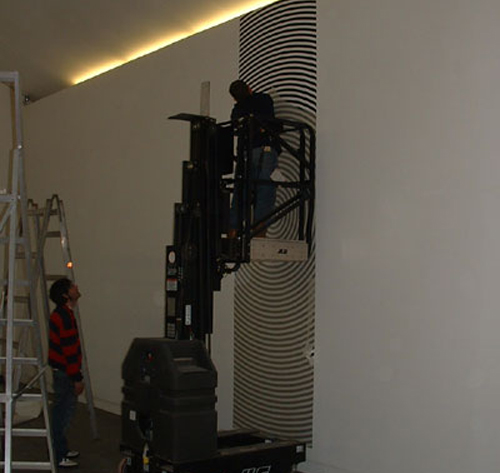
As you can see I had the help of a mini-cherry picker that came in very handy.
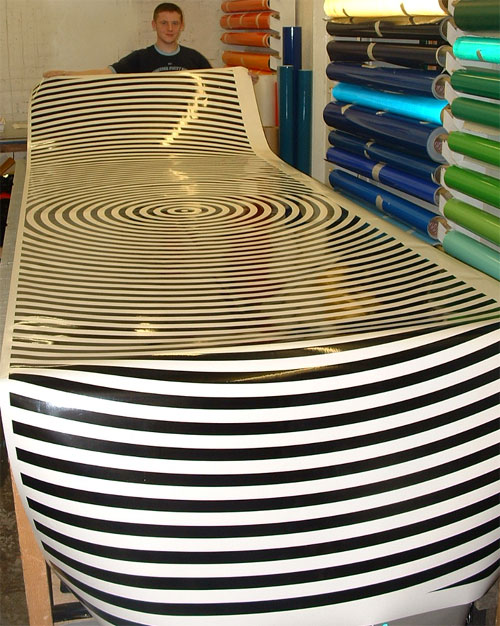
The next picture shows one of our apprentices holding one of the cut vinyl tiles.
The vinyl used was Oracal 751 and the job was cut on a 54-inch wide Graphtec cutter.
We had to slow the machine down to less than half its normal cutting speed to ensure that all the cuts were 100% accurate. If one line was out a little it would throw all the others off also.
Once complete we applied backing tape in the normal fashion.
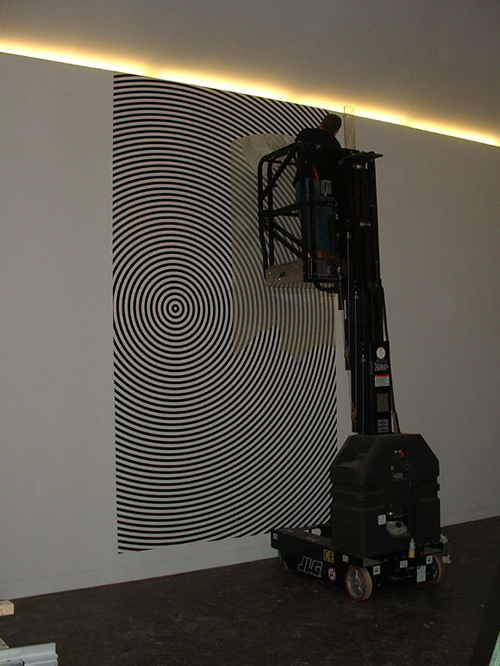
The next picture shows tile one in position with me, removing the application tape. Closely watched by my brother. (How come I’m the one doing the work if he’s the artist? Chancer! )
From the centre, I began to move to the right applying each tile along with 3 other guys. Applying wasn’t hard at all. More a case of lining up was where problems arose.
I used a felt squeegee for this application.
It probably took longer to remove the app tape than it did to apply the tile.
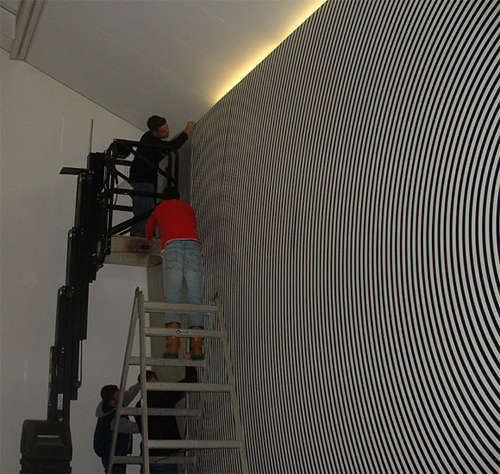
I would line up the lines at the top, while another guy lined the lines in the middle & another at the bottom. While we did this a fourth man was pulling the slack back keeping the whole thing taught while our minds were elsewhere lining up.
Job complete!
I was impressed by how well this came together. If one part was out the whole job could have been wasted. Time was not on our side and if a tile did not go down right the first time we could not have removed it. If we did we would have stripped the late emulsion paint from the plastered walls. In turn, we would have to re-paint – dry – and re-apply a new tile.
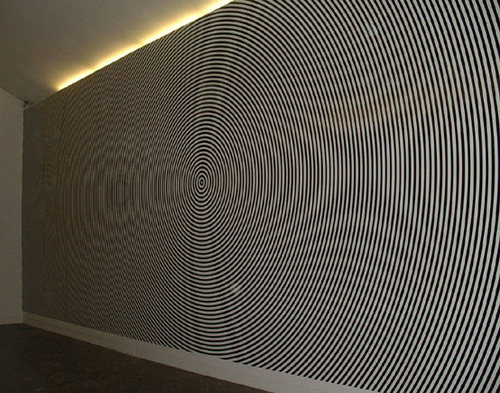
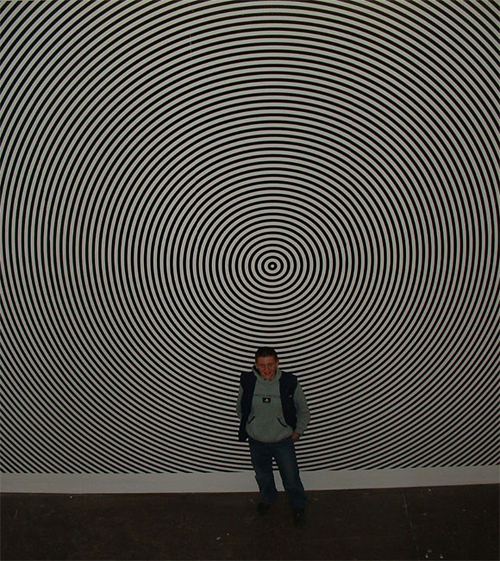
If you scroll down the page while staring at the wall you see lots of different shapes appear. This is exactly how it is in real life. If I looked at the wall while walking it made me very disorientated and the shapes appeared to be almost moving.
Robert Lambie