Building a 3D dimensional Sign from offcuts
Building a 3D dimensional Sign from offcuts
This is a small sign that I made and I thought that I would share how I went about making it.
I decided to make a 3D ( three dimensional ) sign for my sign company showroom out of some scraps, I had some MDO board, HDU and a gold leaf, and I decided to take some pics of the project along the way.

Please excuse that I have not used lots of photographs. I had a memory card issue and lost most, but salvaged enough to put this short demo together for you.
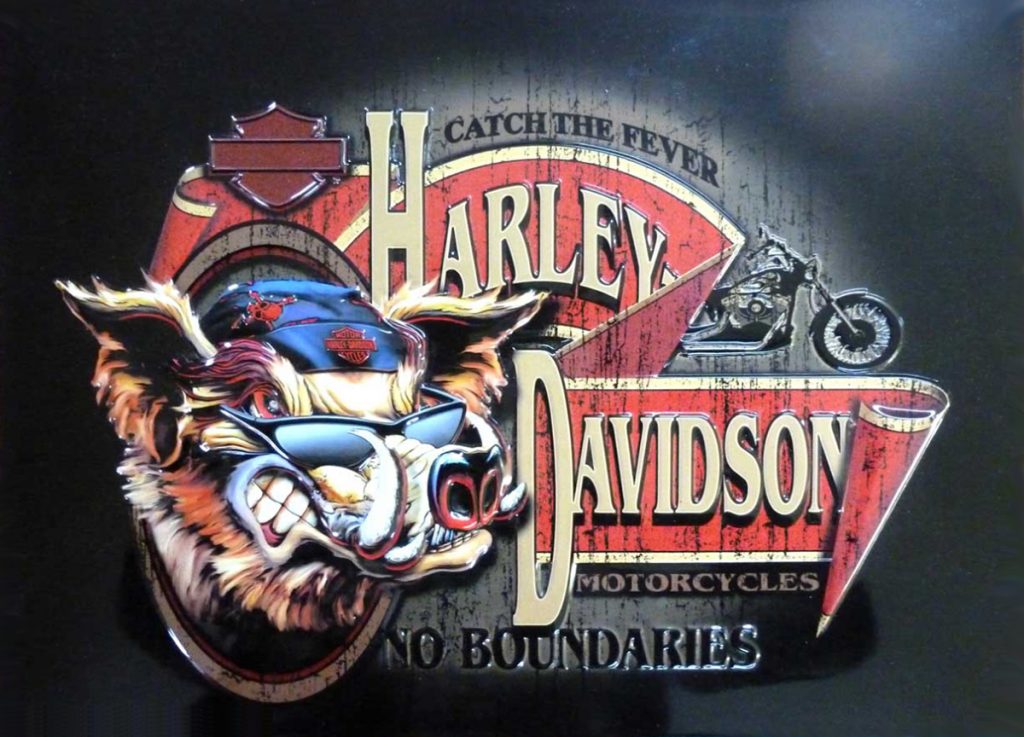
It was the Milwaukee World of Wheels show, I was walking around and I stopped at one of the booths where they were selling a Harley Davidson embossed aluminium panel with a hog on it, it caught my attention and I told myself that a hog would be nice to carve and modify to make a 3D sign.
Step 1.
I started by taking a picture of the aluminium panel then I scanned it, once it was on my computer I did a rough sketch of the shape and took the dimensions of the sizes that I would need. Once I had the shape ready, I sent it to the plotter & pen to draw the shape and then I transferred the shape onto my scrap material
Step 2.
Here I had a 24” x 24” x ¾” MDO (overlaid plywood) scrap that I cut out to make the main background as well as using some HDU (High-density urethane) foam to cut out the Ribbons.
Step 3.
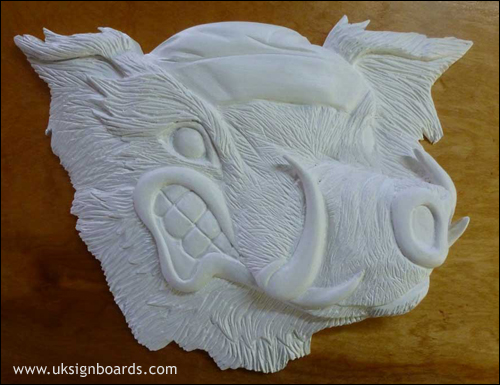
The hog face has been carved & primed, for this, I used one 2” & 1” HDU scrap and glued it to have 3” thick material to carve.
Step 4.
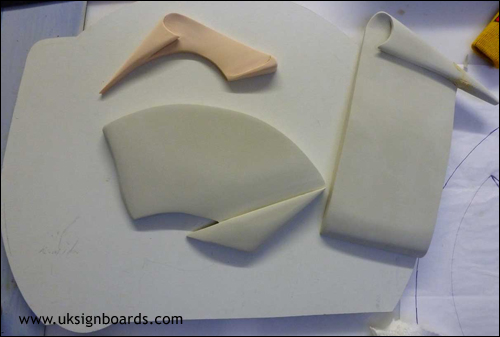
I used 1” HDU for the ribbon and then I cut and primed the shapes, while they were drying I painted the Hog. Here you can see them primed.
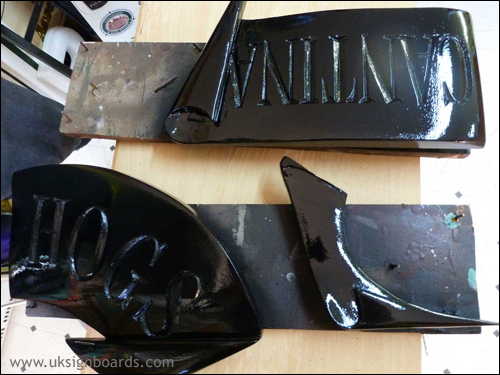
Step 5.
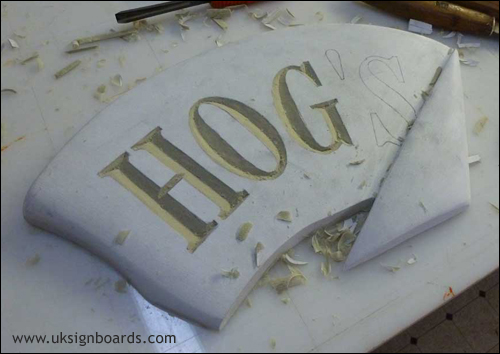
When the primer on the ribbon was dry, I transferred the letters using carbon paper. Next, I began to hand-carve the letters, as you can see in the picture. Since I don’t own a CNC table I still do it by hand to keep my handcraft alive.
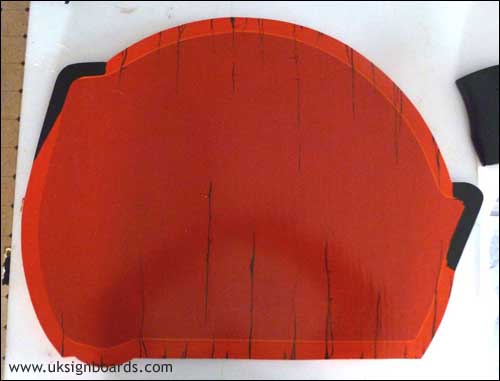
Now painted the background of the main panel with hot orange and the ribbons black. I let them dry for a day or so and meanwhile, started working on the board that will hold the hog in place as a trophy. This is going to be placed on the top of the main panel.
Step 6.
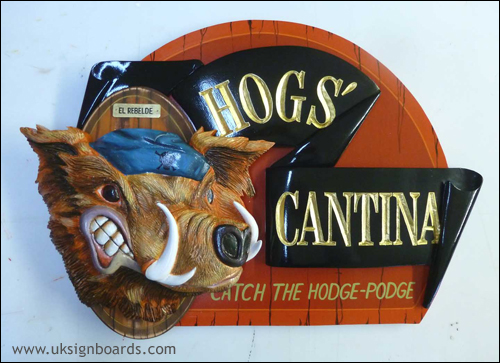
The Ribbon has been painted, now is time to gild the letters on the Ribbons using a little gold leaf. While this is drying I cut a small piece of aluminium and sized that too. This is going to be mounted above the hog and I will soon be hand-painting. That will say” EL REBELDE” which means rebellions. So far I’m having a good time with this project.
Step 7.
The hog has been painted as you see in the picture. I also did the lettering on the main panel and also added a fine line as a border giving it all a little faux rustic look. OK! So here are all the parts, almost finished, but not put together.
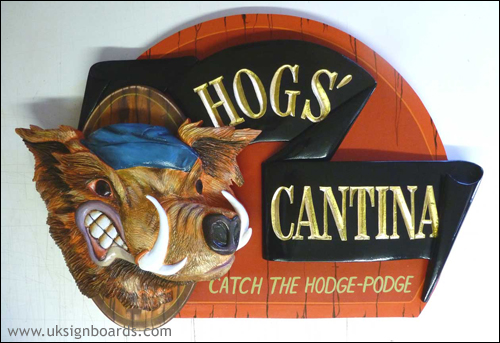
Step 8.
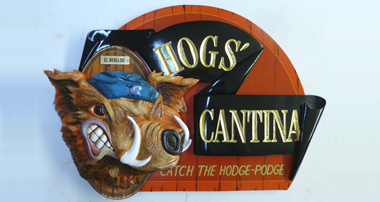
Now it’s time for me to assemble the sign and here is the final stage, ready to be hung on the wall.
Below is another 3D sign made using the same type of MDO material.

I hope you guys enjoyed this project and maybe you too, will use up your off-cut materials and turn it into some sort of interesting sign that you make money from.
Sal
The above content is the property of Sal Cabrera & is Protected by © Copyright, all rights reserved.
The above text and associated pictures are copyrighted material and may not be altered or reproduced in whole, in part, in any print or electronic form without direct written permission from Sal Cabrera of Signs By Sal.