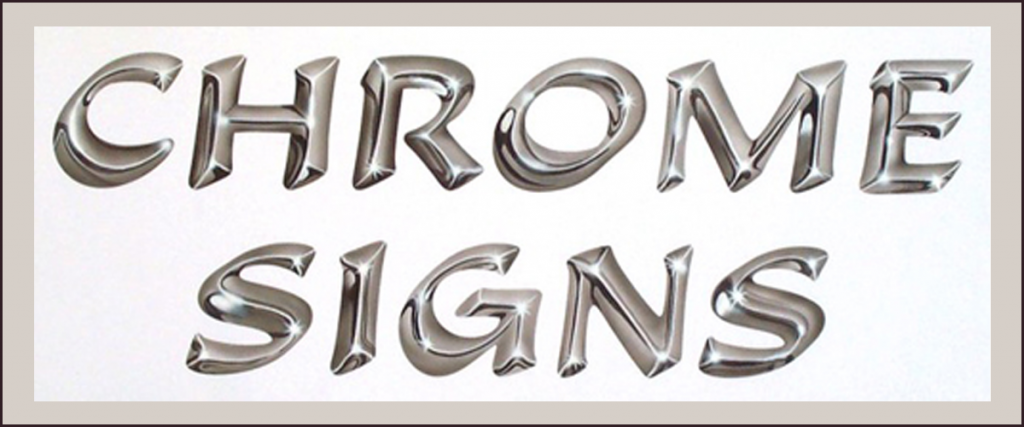
Turning Flat Cut Vinyl into 3D Chrome letters
This chrome effect isn’t too difficult to achieve and is very
eye-catching. Although this effect uses some airbrushing, it also
requires a steady (ish) hand for some brushwork.

________________________________________________________
Materials and equipment:
* A pointed writing or artist’s brush.
* Airbrush.
* Isopropyl alcohol for cleaning the vinyl.
* Paints. I’m using Halford’s touch-up paints and white Deka sign enamel.
* Frog Juice or similar for a final protective coat.
White vinyl.
First, cut the lettering but do not weed.
(For the benefit of this demo I’ve plotted a line 1.5 millimetres
outside the cut line so the shape of the lettering shows in the
pictures).
The dark reflections:
With the lettering cut and the vinyl cleaned with the isopropyl
alcohol, take a brush and black paint and paint in the dark
reflections. Try to keep these dark areas simple and fluid in shape.
By thinning the paint for some of the strokes the paint becomes
translucent and adds to the effect. I’ve tended to place the
majority of the reflections on the shaded side of the letters, this
seems to produce a reasonable effect, but is by no means the only
place that dark reflections might occur.
You’ll be pleased to know that you don’t need any great degree of
accuracy with this brushwork; some of the best results are
accidental.

Airbrushing:
Once the dark reflections are in place its time to break out the
airbrush. Using the black, to which you may wish to add a small
amount of clear lacquer, spray lightly keeping the majority of paint
on the outer edges of the letters to give a domed effect.
It looks rather messy at this stage but it’s progressing nicely.
More brushwork:
It’s time to add a fine line representing light reflecting from the
centre high points of the letters. I’m using white Deka sign enamel
here because white cellulose would pick up some of the black and
turn it grey, and I want these lines to be as bright as possible.
Now it’s starting to come together.

Adding those all-important hot spots:
The hot spots are those small areas where the light dazzles your
eyes. Some of these are applied through star-shaped masks cut from
thin card; others are done with the airbrush on its own to create a
softer flare.
Once this process is complete a coat of Frog Juice is applied for
protection.

The finished lettering:
Once everything is dry, the lettering is weeded, taped and applied.