Jigsawing a 10mm Foamex Sign with Vinyl Graphics.


(1)
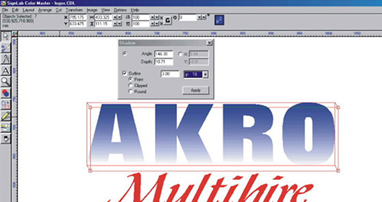
First, as you saw in a previous post, the design was drawn up in SignLab v5
PICTURE 1
(2)
Two sheets of 10mm “Maxi-T” board (you folks up there may call it Foamex) were laid on styrofoam ready to lay the vinyl down.
PICTURE 2
(3)
The outline and shadow were cut, weeded, taped and applied to the sheet. I used an extra outline as Rob suggested, not weeded, but left on to give a line to cut to. That line was weeded later, leaving a nice clean edge. Here was muckup number one! I forgot to include the inline, and at first just cut a big black shape as if I was laying the next colour over instead of inlaying, I wasted $40 worth of vinyl on this!
PICTURE 3
(4)
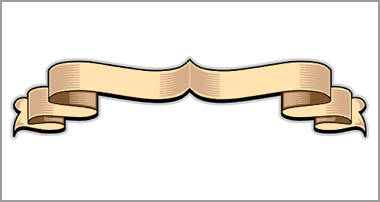
Likewise, the scrolls had an extra outline, the smaller bits were cut on this benchtop bandsaw, it worked a treat!
PICTURE 4
(5)
The larger sections were cut with a jigsaw using an acrylic cutting blade.
Muckup number two here, with limited bench space I had sections of the job piling up. Be sure that nothing important in underneath before cutting! yes, I cut into another part of the job and later had to patch it up.
Obviously, the styrofoam cushions the blade cut and makes the whole job quicker and easier.
PICTURE 5
(6)
So the black vinyl made a great template, no drawing or projections to worry about. The app tape did a good job of protecting the vinyl.
It is now taking shape!
The edges only required hand-sanding to finish them, the job will not be viewed close up.
PICTURE 6
(7)
Finally, the other colours were cut in inlaid. this was a bit fiddly because I no longer had a flat sheet to work on because the shape was not cut out.
(8)
Job complete! I used gold leaf vinyl for the tree logo, and “H” type joiner strip between the sheets, this will be ‘touched up’ with strips of vinyl to cover the white.
I have allowed a 10mm expansion joint.
PICTURE 8


