Home › Forums › Sign Making Discussions › Vinyl › ive had a glass etch ftting disaster help please?
-
ive had a glass etch ftting disaster help please?
Posted by Derek Heron on 10 August 2005 at 18:48here goes
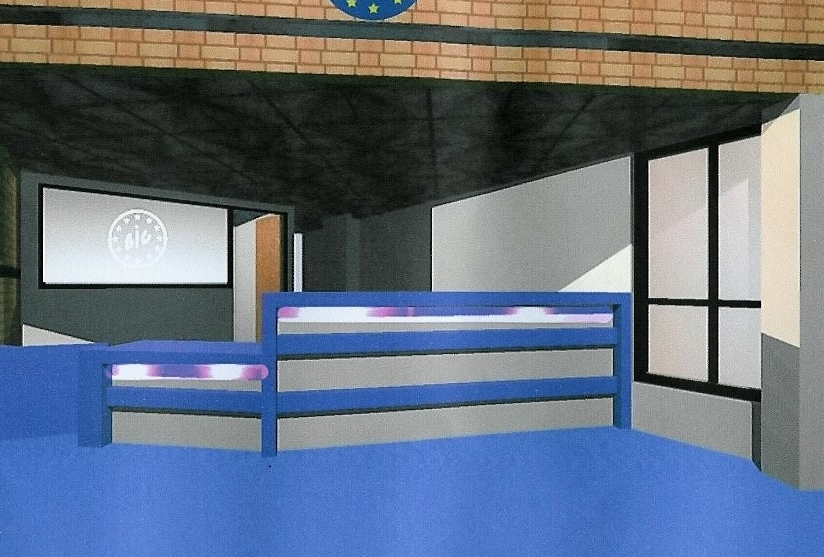
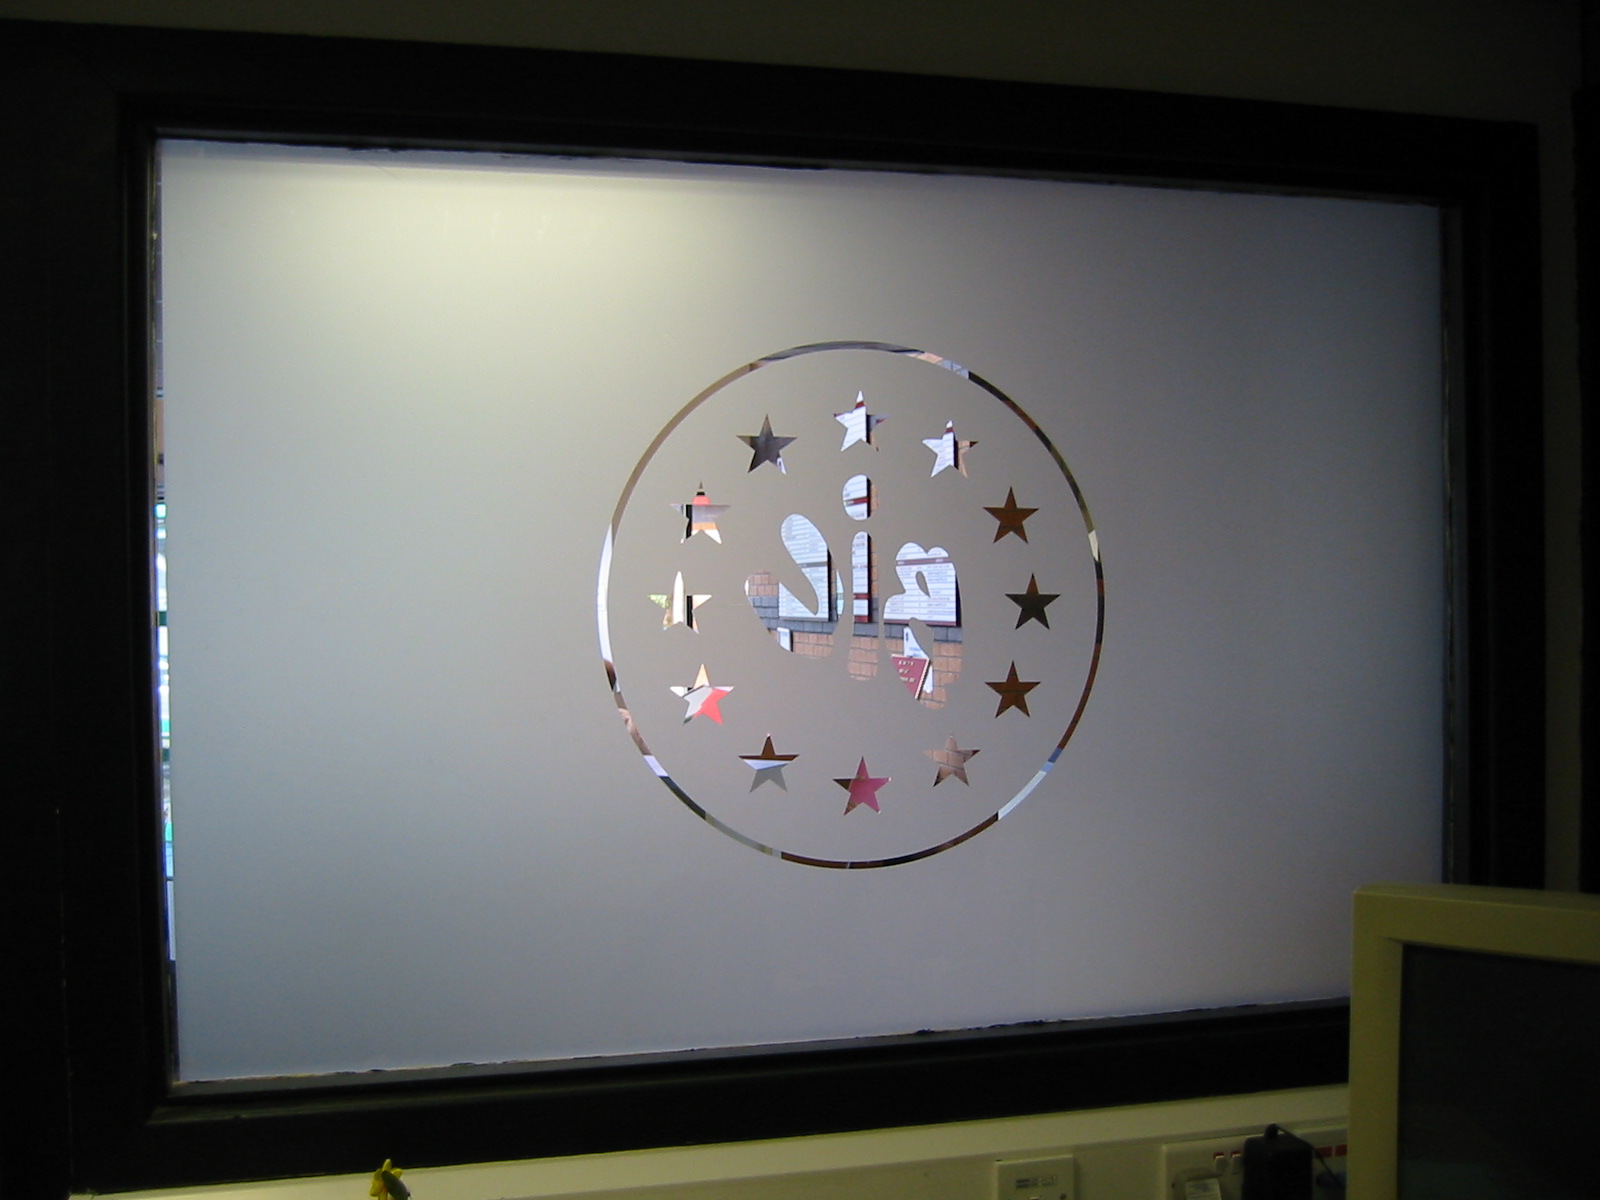
frosted vinyl on office window which looks out onto reception area
first time on this and it went a*** up
used frosted vinyl from pyramid 798-02
applied dry from top right hand corner nice and gentle with a felt squeegee seemed to go on ok manged to chase a few bubbles about
and then trimmed into the bottom left corner after removal of transfer
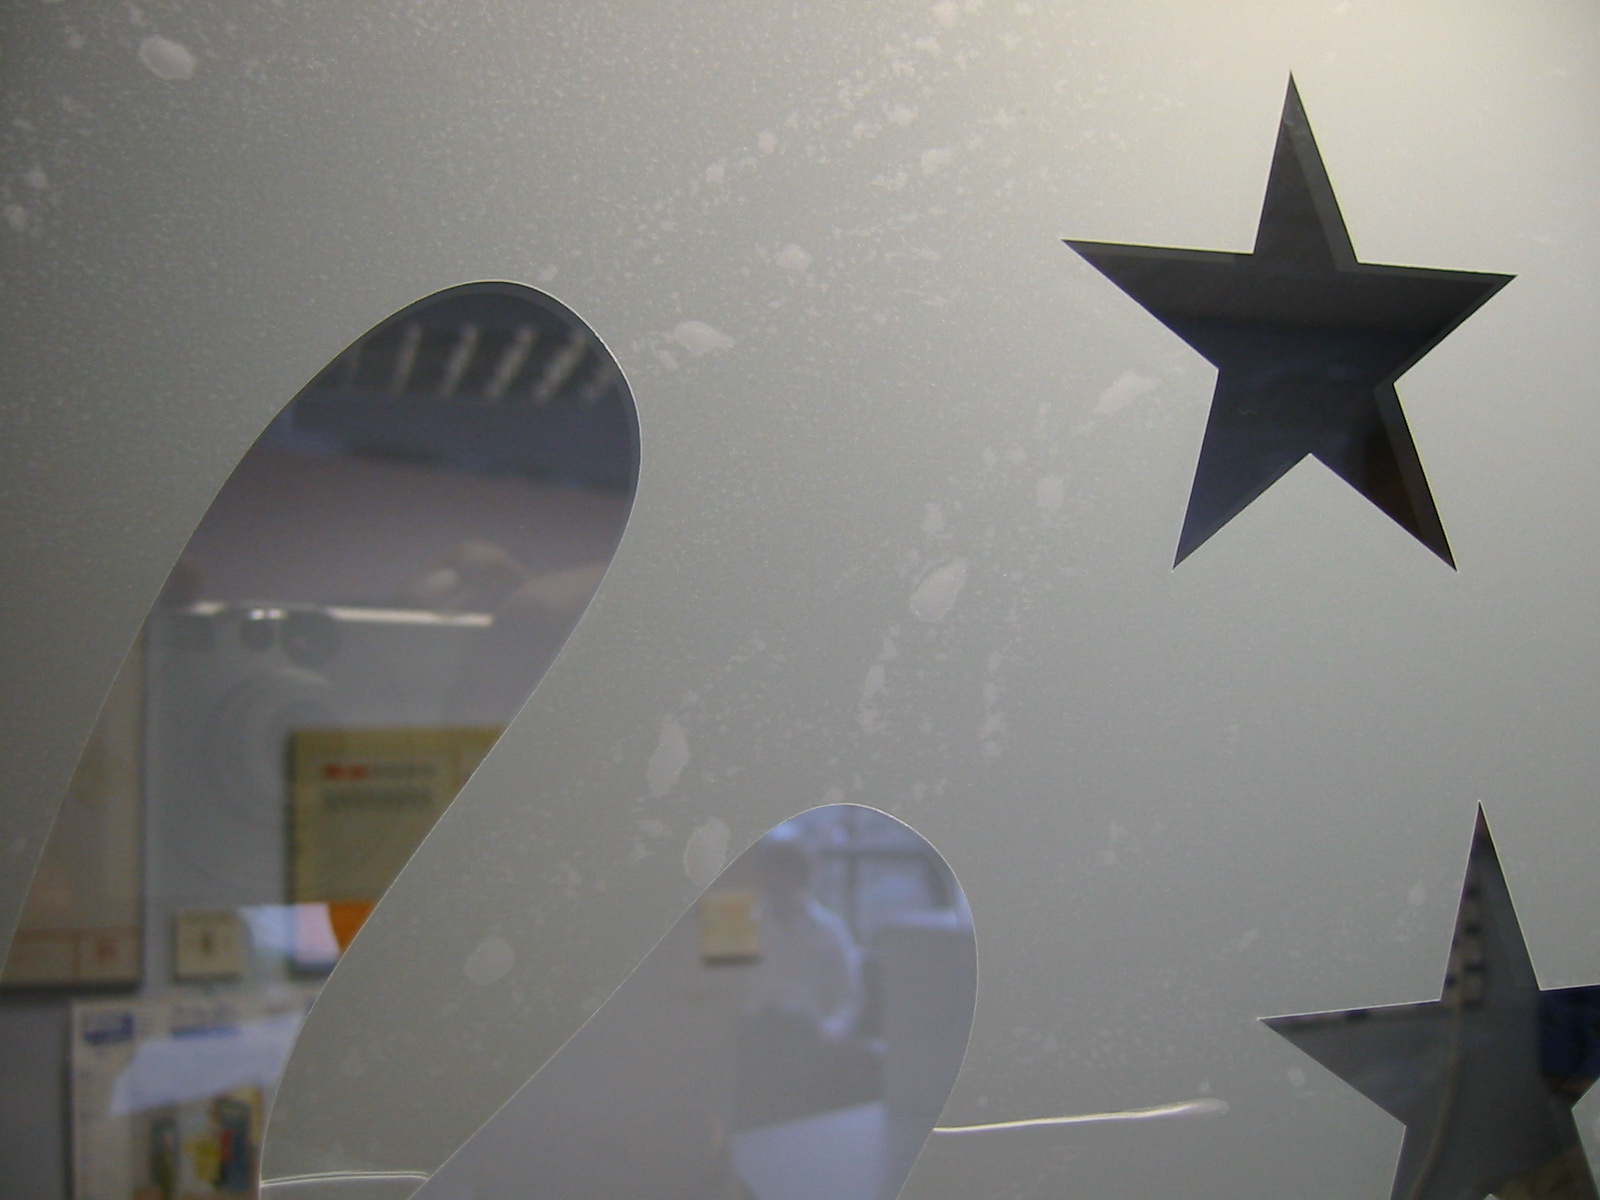
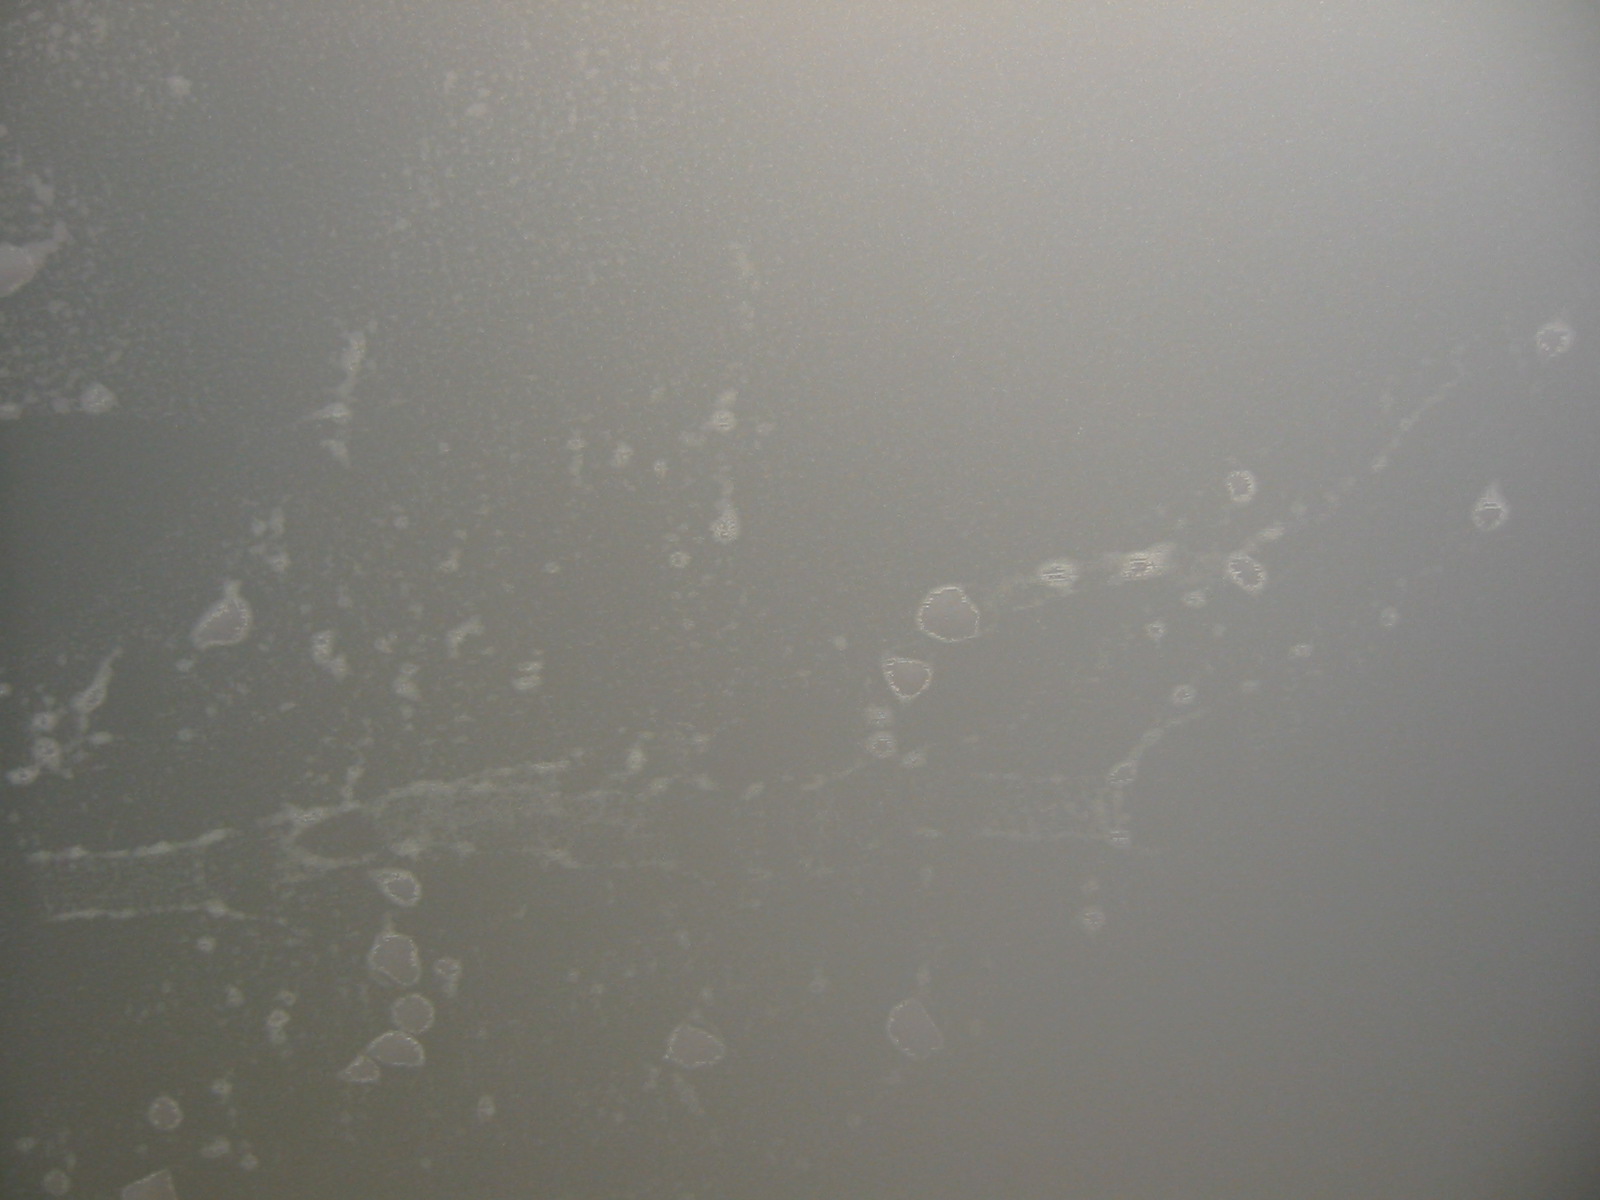
aaaaaarghhhhhhhh loads of marks and bubbles on the side facing out
went into the office and it looked not too bad decided to take off and go back so what did i do wrong should i have reversed the cut image and applied to the other side of the window is the vinyl one sided i.e best viewed from one side thats what it looks like have posted some pics
to try and give a better picture
Attachments:
 cre8web replied 20 years, 1 month ago 22 Members · 40 Replies
 -
40 Replies
-

step two the image above you can see the window i applied to the side you can see second pic is what it looks like up close and the third
Attachments:
-
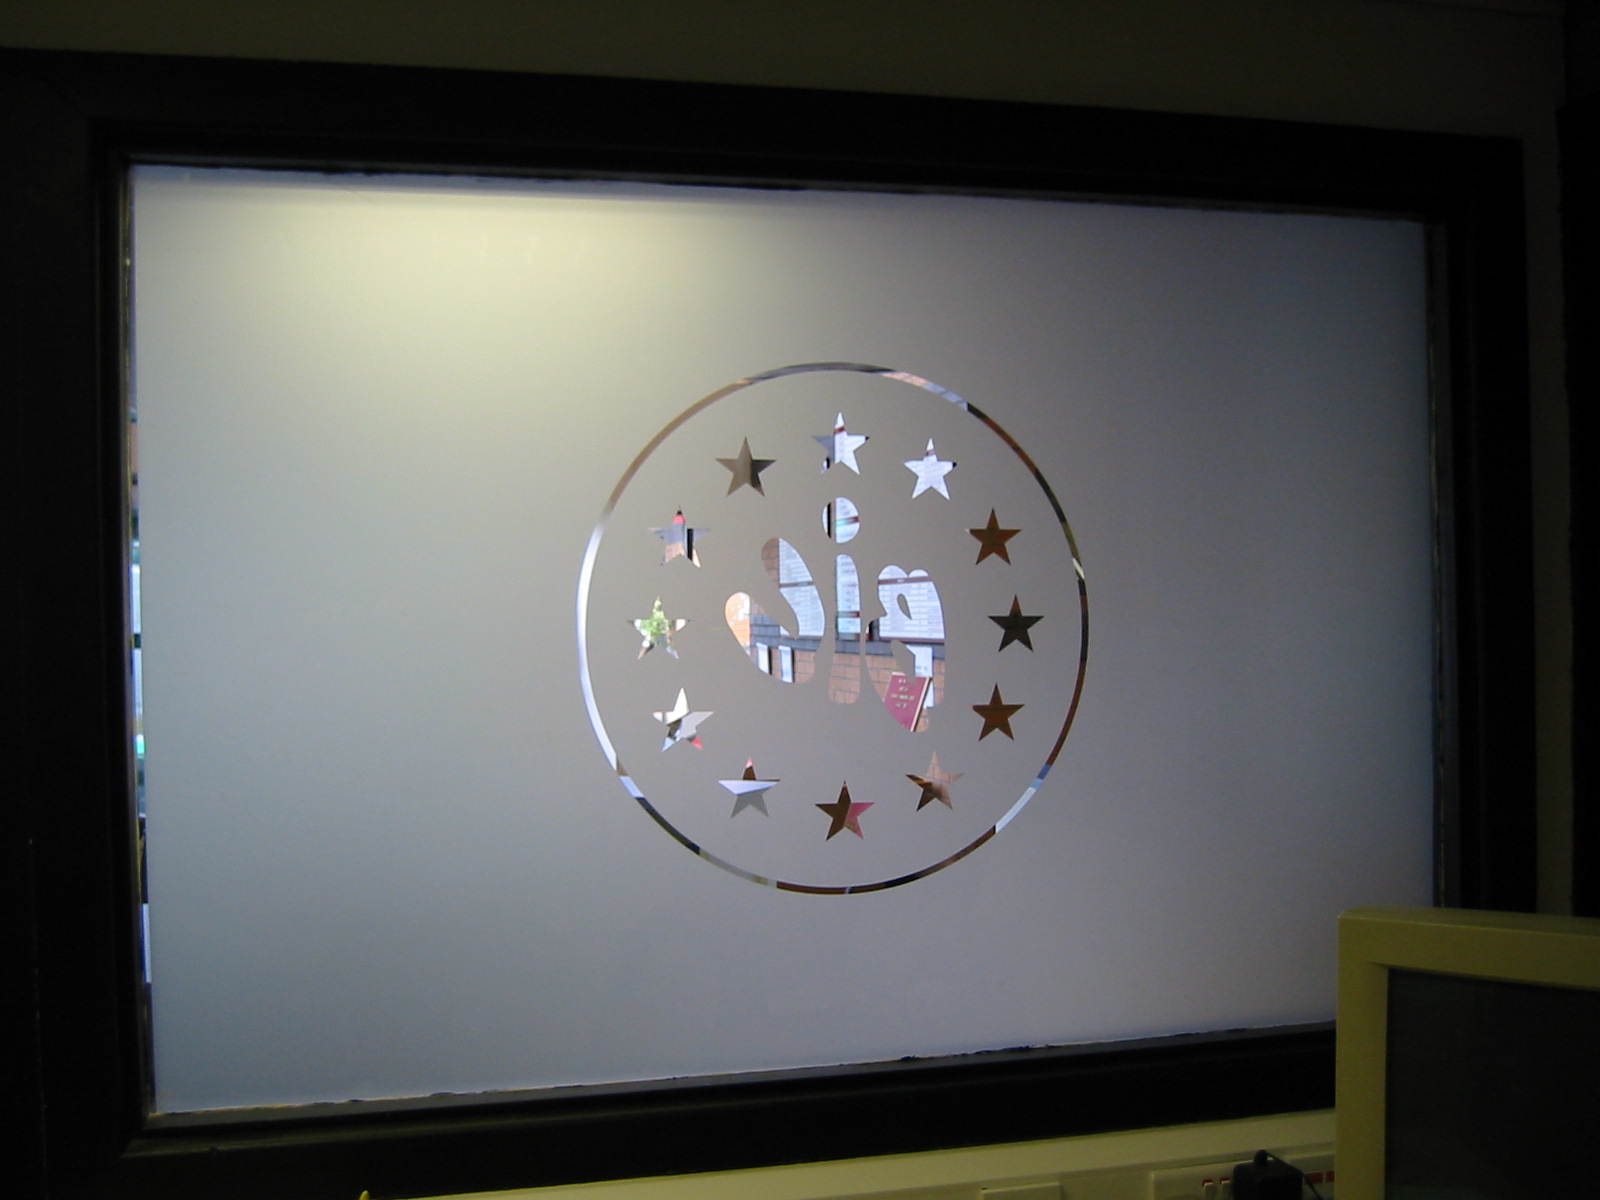
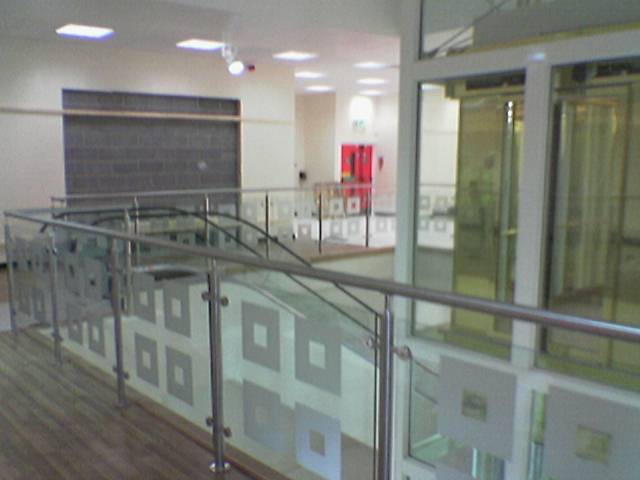
and heres some pics from the other side which look ok although there is a light directly above on the other side
confused ! not as much as me
any help appreciated as i am going back to do again tommorow
dex 🙁
Attachments:
-

just incase you missed first reply mate… 😀
is this applied wet or dry mate? i am guessing dry….
also, how many folk are fitting these. just you or you and a lad?
-
aye rob dry had cleaned the window with soap and water and dried off with isoppropanol so it was squeaky clean also didn’t have any 1200 transfer tape so had to run two 610 pieces on big mistake creases right on the line through the logo will get a full log tomorrow and do in one piece to eliminate that prob
-
this was by myself but will get help tomorrow as we can go in after 6
i was pulling back 1 or 2 inches at a time and going nice and steady
dex -

I had exactly the same problem myself today..applyed dry and it looks like a dogs dinner..only small windows so will have to redo them WET
Funnily enough i did experiment a while ago and all seemed fine
iain
-
another question, is it humid there just now? muggy hot outside, even though your in the shade there?
-
thats the thing iain tried some on the window here no bother
i rember it was realy hot not sure if it was me working hard
or not would that be a factor
dex -

Dex, doing it dry is the only real choice in my opinion. I think your problem is purely technique. You have let the tape touch the glass before you have got to it with a felt squeegee.
Get someone to hold the tape away from the glass as you apply. A bugger to do on your own.
Doing it wet, will make it hard to remove the application tape. you may have to leave it overnight and come back to remove it next day, especially as you have cut outs to worry about.
Cheers mate, all the best with it.
Shane
-

Looking at the size of the bubbles it is clear that the vinyl is touching the glass before you have squeegeed it. I’ve said this before and am sorry if it sounds like a stuck record, but……don’t let the vinyl touch the glass unless the squeegee puts it there. This is not basic vinyl application, it is slightly more advanced than that as etch vinyl only gives you one chance, so the result you have had is understandable.
Small marks like the one from the application tape join will disappear in time, especially if you give them a firm press with your finger or the corner of a felt squeegee, so don’t be too critical of minor blemishes.
-

Dex, it was really hot today at Dundrod as well :lol1: 😉
-
 quote big G:don’t let the vinyl touch the glass unless the squeegee puts it there. This is not basic vinyl application, it is slightly more advanced than that as etch vinyl only gives you one chance, so the result you have had is understandable
Good advice G.
“Air Floating” vinyl on in this weather is a huge no no.
-

We seem to be doing a lot of frosting recently and my personal opinion is
WET WET WET!!
I have tried applying dry and it sucks, if its wet you can get rid of every single bubble.
We recently did some 300mm squares on a new shopping centre about 300 in total, much easier and more forgiving if done wet, make a mistake dry and its good night vienna!!
cheers
stephen
Attachments:
-
I’ve just been out to the garage and flooded some glass with etch about 2ft square. 1 dry,1 wet.
The wet one was a lot easier and the tape came off straight away, no bubbles or marks
Couple of marks in the dry one
Decisions,decisions
Iain
-
No Iain, not decisions decisions……practice, practice. 🙂
Believe me, it’s worth it when you master dry application onto glass. So much quicker.
-

Me I’m on the fence.
most window tints are applied wet but without app tape. the problem seems to be when cutting is involved and app tape has to be used.
I do wet when on my own for large stuff, although there can be a problem waiting for the stuff to dry. Dry when I can get an assistant that knows what they are doing, its not just down to a helping hand. needs to be an experienced type.
Petet
just edited to say that titchy squares like stephens would be far quicker done dry, No offence stephen just my opinion
Peter -
cheers peter, i tried some of the first ones dry, ended up ripping them off and starting again.
i found applying wet worked well, although i didn’t use application tape, a quick swipe over once positioned and job sorted.
the only problem i find when applying wet is as everybody says getting the application tape off, takes a day or so to dry to allow you to remove it, however, much better results experienced.
cheers
stephen -

Like most shops we install a heap of etch films. If its small, dry and large we use wet apply. We have had too many failures with large areas trying to dry apply. We make up a “sharp” mix of application fluid (10% iso and only a few drops of baby shampoo) this allows the vinyl to go down quickly, we also wet the application tape and leave it for a few minutes then we have no problem getting it off. As for edges if you use a paper tower wrapped around a squeegee to force the moisture to the edge this helps to remove any remaining moisture and allow you to trim.
This may not be the best method but works for us. :lol1:
Cheers
Johnny -
Steve
if you didnt use app tape, and I can see why you didnt need to,
how did you get all the square aligned, Did you use some sort of template or just do it by eye?
Peter -
peter, by eye?? i’m the only person i know that can see both ends of a bus!!
just kidding
no i used a piece of forex 100mm wide equal to the height of the glass panels, marked with positioning for pieces of frosting either side x4 and clamped at the top of the glass panel to hold the forex in place, wet panel and applied frosting.
EASY PEASY, LEMON SQUEEZY!!
cheers
stephen -
morning thanks for all the replies
i think i may do this one wet
it has a protruding frame all round which was difficult to get into corners to start and finish also i am going to cut quarter inch bleed away from frame all round so should be able to remove excess water etc
do you think its better to go on inside of window with reversed image cut
also what is the best wet mix
isop, baby shampoo, water, per litre
i have a quote in for some large panels with the same company so want to get this one right the panels should be easier as no frames
and i will practice my technique before
dex -

Another option, until you get the hang of dry application is to” pounce” cut the frosted vinyl
This allows you to apply wet without using application tape
Admittedly, I would only use this method for basic designs but it does work
-
Sorry Iain,
Pounce cutting in signlab (not sure which other software has the option) enables you to set a cut length & a miss length allowing you to perforate the vinyl instead of cutting right through it as you normally would
Eg. you could set a cut length of 5mm & a miss length of .5mm
This then allows you to remove the perforated vinyl from the backing sheet intact – position on the glass, wet, without the need for application tape – squeegee out all the water (carefully) – then weed your design once in place
It probably sounds a lot more hassle than it actually is
-
I always use dry application when there is any sort of image cut from the vinyl. Although if it is one solid panel I will do it wet as it is so much faster and easier to position.
-

in my opinion…
every job is different…
this job
premask only the centre logo plus a bit
wet the window
remove all backing paper on the ground or against the window and wet [but not wet wet, good bottle, good mix]
lift up to window, position and apply
will be able to remove in 10min and final squeegeeCheers
Andrew
-

I have done quite a few etched panels and in most cases have applied the vinyl wet and on the inside of the glass but mainly to stop little fingers picking the vinyl off. If you apply it wet then you get a second chance to reposition it ( important for a beginner ) Also once you have squeegeed it well to remove as much liquid as poss then spray the application tape with a little application fluid and leave it for a few minutes, it will simply peel off no problems ( paper application tape only ). Practice dry application on small panels and once you are more confident work onto bigger panels. Its less expensive to make mistakes on small panels than large ones 😀
-

I’m with Andrew, every job is different and you need to look at each job and work out what is going to be the easiest, quickest or give the best result. Stephens squares we would apply dry with app tape, your job Dex would have been a wet one but not saturated. Have never suffered any problems removing app tape after applying wet as you have to ensure that all the liquid has been squeegeed out first.
The strips on my post http://www.uksignboards.com/viewtopic.p … highlight= we intended on applying dry but after a couple of attempts just wasn’t working out. Applied them wet, and we completed the job in less than half the time we had based our price on.
-
hi again iain let me know the results will post pics of my second attempt
personally wet was so much better for me but took ages so i can see the obvious benefits in doing it dry wet is much more forgiving and gave me
a couple of bites if i had done it dry again even with an extra pair of hands i don’t think i would have been able to do it but i will practice dry
i am posting this late as i had a van booked in for tomorrow morning all sorted white van the customer said he dropped it off tonight all four sides covered in vinyl telephone nos etc etc corgi logos loads of it
so i have been removing it all to give me a start in the morning
1st question i shall ask in future is there any thing on already!
still i missed big brother
back to the frosted window thanks for all the replies and advice
will post the finished result customer very pleased and more work promised
cheers Dex -

no Rob I wasn’t thinking about you impressing folk (although you are pretty impressive 😳 ) just taking away the fear of tackling something differant
Lynn
-

is etch alot different to regular vinyl when it comes to glas application ?
when i did my last shop window i did some wet, some dry (vinyl…. not etch), with the exception to a couple of letters that i simply gave a few minutes longer, the tape was all removed within 5-10 minutes, does etch not stick well ? i would certainly try it wet before dry, at present i dont do enough to be able to ‘practice’ dry app as i’d like, and as often as not, i’m having to re-do dry app jobs ! i need 4 hands !
-
having done quite a bit of frosting/ etched i would ALWAYS, ALWAYS!! apply wet!!
I agree that if there are shapes or lettering cut out it is difficult to remove the application tape, i would normally apply the frosting then tell the customer that i will come back next day to finish off, and it then only takes a couple of minutes.
Personally the advantages of applying wet (able to reposition, chase bubbles out etc) out weigh the disadvantages of applying dry (only one chance to get it right, not able to remove bubbles etc)
Time should not prove to be an issue if the job has been priced and planned properly.
Anyway, now I’m climbing off my soap box!!
Cheers
stephen -

Thanks to all of you questioners and answerers. Am having a diddly time with large perforated panels (reversed letters) on coroplast- tried it with a speedpress – devilishly hard getting it to release smoothly. Tried wet with app tape – app tape wouldn’t release. Tried dry- worse yet – and always with the damn bubbles. Finally laid the large panel (24×48″) in 4″ strips dry. Perfect. But I really really gotta practice the large panels. Every day a lesson!
-

Dex – id have done this wet particularly as you had to apply the app tape in two pieces, when done wet so easy to pull the app tape away from the center to the outside and chase any last wet residue with a felt squeegee.
I would use water only not app fluid as I find app fluid extra slippy, water marks dissappear within a couple of days as it dries
John
-
you should do it wet
-never over lap the app paper
or have a 2mm channel-masking tape-remove it before asquidging-the reason, no – one want to do it wet, is because you have to go back
and remove the papertut-tut – lazy
–-even if you are the greatest licker – sticker in the world
-the point being-you apply less pressure to it-enough to get the water out
and it dries flat and perfectwhat is the point in risking ballsing it up dry.
???????????????????????????????????????????????????????????????????????
-plus you will always want to pull the paper off and rush it, stretch and tear it, ha bloody har
-

Something to check which could cause problems is after you have
weeded ,squeezee all the vinyl back down on to the backing paper
its possible to pull the vinyl up whilst weeding and taping over
these areas before pushing them flat and expelling all the air can mean that you are tranfering
bubbles trapped by the app tape
its happened to me before i realised itTerry
Sign and Custom -
I pretty much always do my signs, (unless small) with vinyl lube, don’t know what the active is, but its pink, one thing i did note, was the instructions for mixing was at 8 to 1, now being an Aussie bloke i think i used to throw a bit more in, and i did notice higher drying times on glass, so i was wondering for you glass if you went the other way, and had a very weak mix if it would be a good compromise.
Ah well, i reckon wet is the way to go!
(prob cause its easier)
Marty

Log in to reply.