-
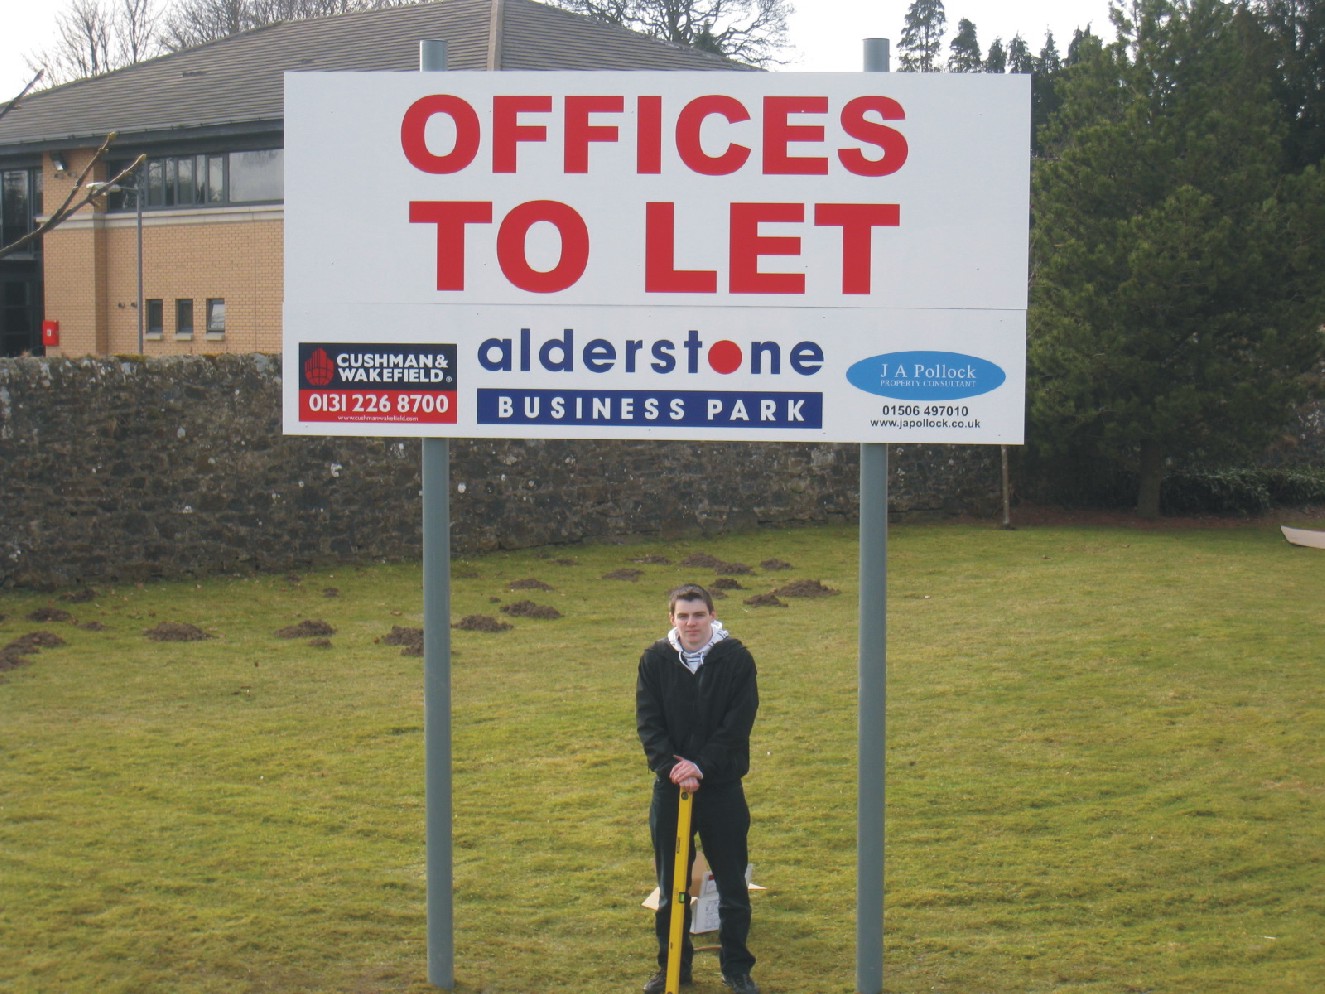
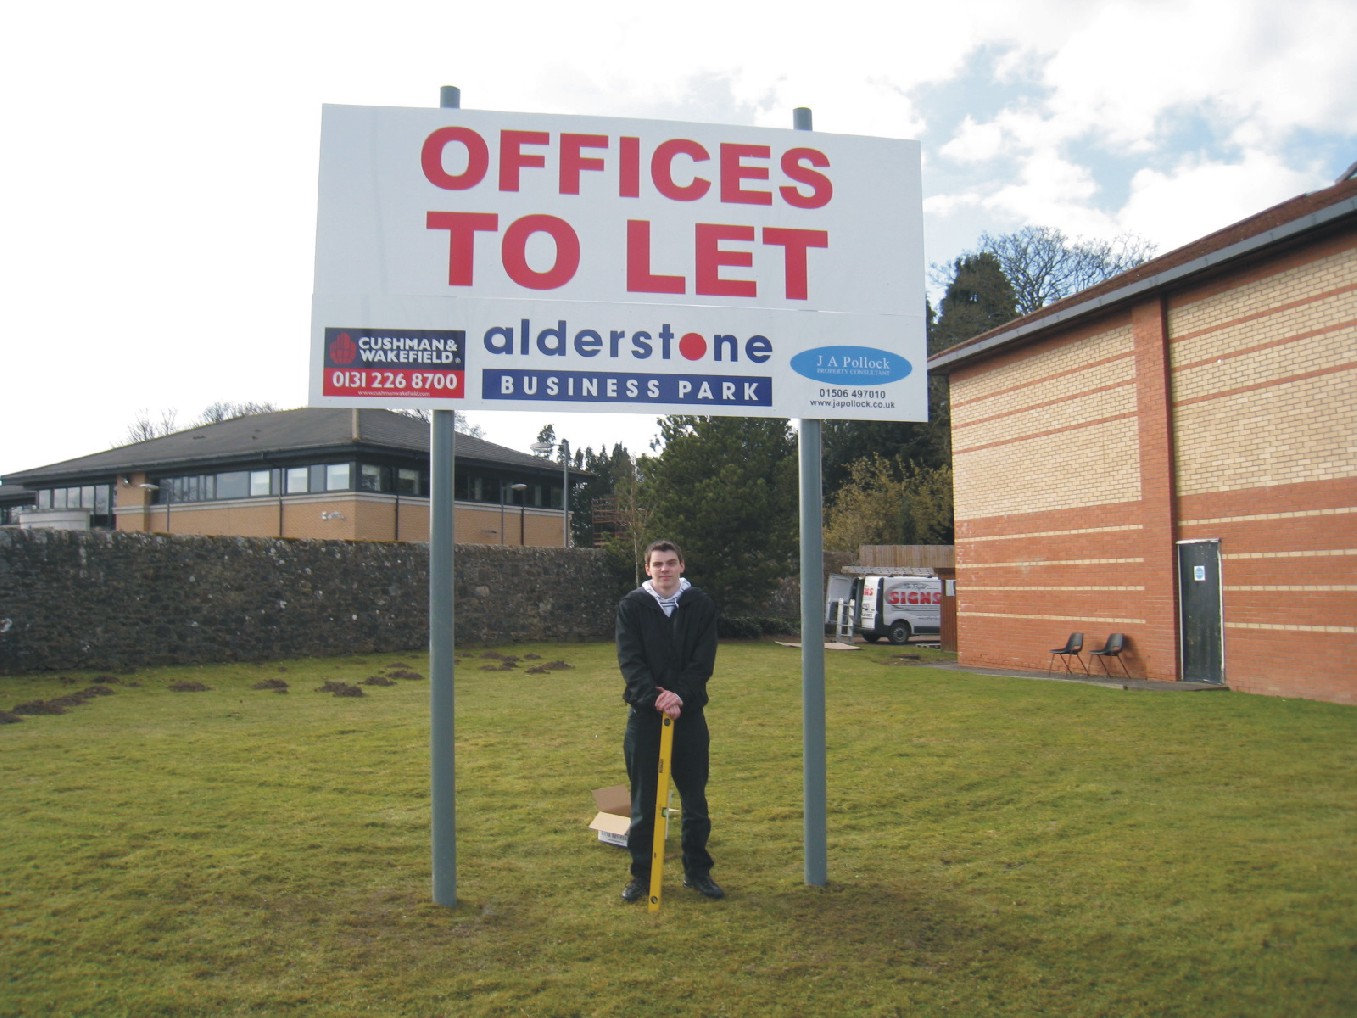
Free Standing 10ft x 5ft sign
It’s amazing the size of sign you can transport in a relatively small van. My van is a Renault Traffic, and along with my son I fitted this sign today.
The van isn’t big enough to contain a full 10ft x 5ft panel so the sign was made in two halves – the top section being about 3.5ft deep with the lower section about 1.5ft deep. The post fixing channels were left off until we arrived on site which allowed us to get the panels inside the van by curling them up inside. The 4.5M posts and the fixing rails were carried to site on the roof bars.
The panels are made from composite aluminium, and these were attached onto fixing rails on site using a combination of VHB tape and pop rivets.
We then attached the panels onto the posts by fitting the top post clamps loosely in place while the panel rested on the ground. Then we slid the panel up the posts until it was at the required height. (Friction on the post clamps stops the panel from slipping back down again allowing us to level the panel then tighten up the nuts and bolts). The lower clamps where then fitted and the entire procedure repeated for the second (lower) panel.
Attachments:

Log in to reply.