-
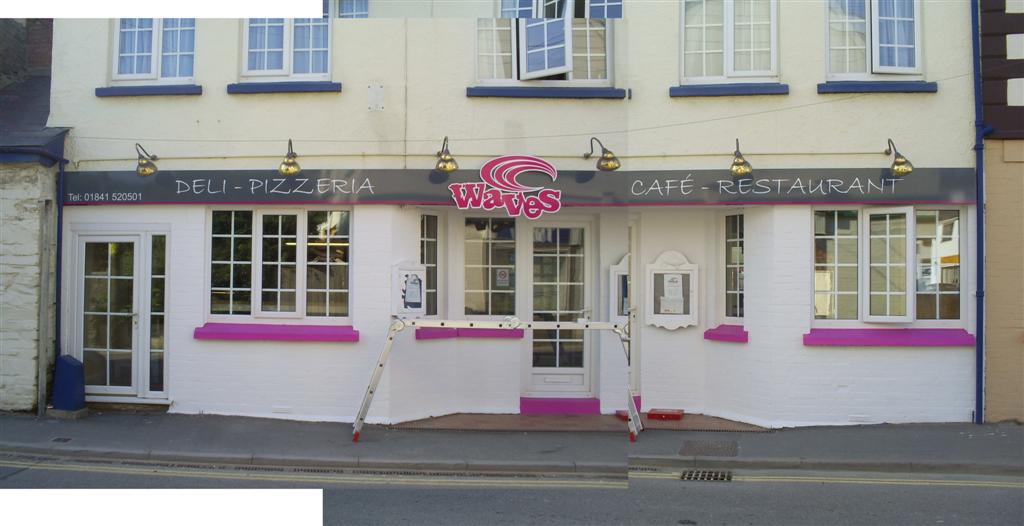
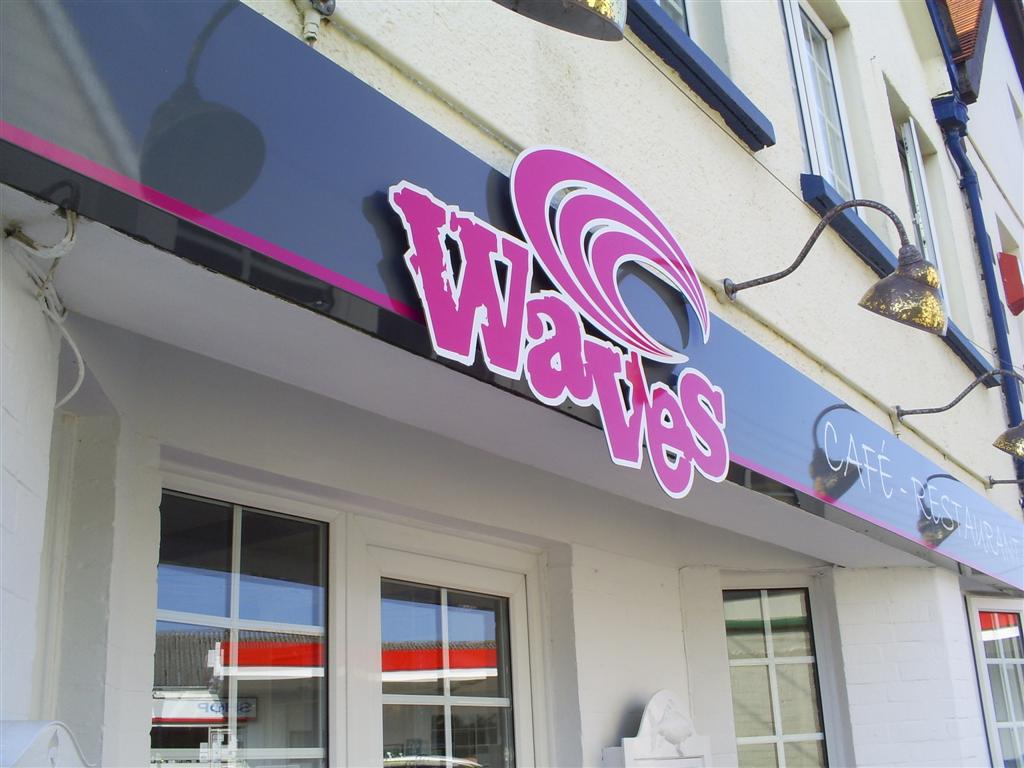
fabricated signage: waves
Hi Everyone.
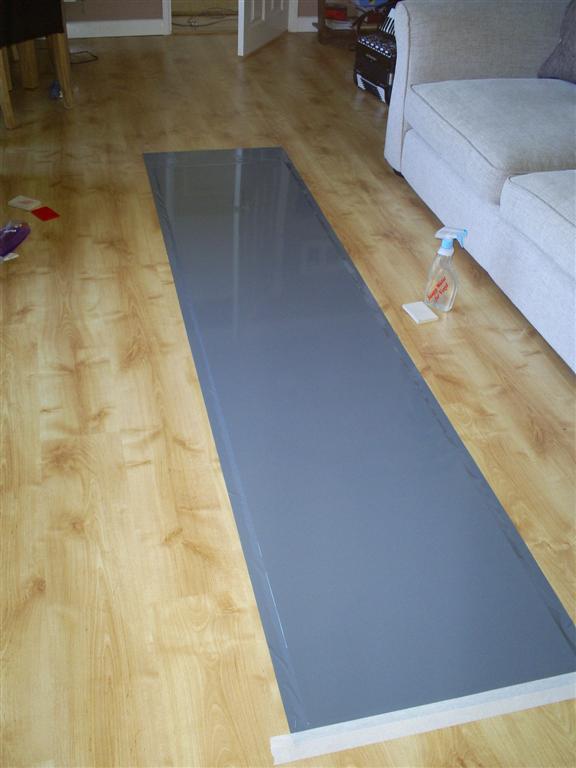
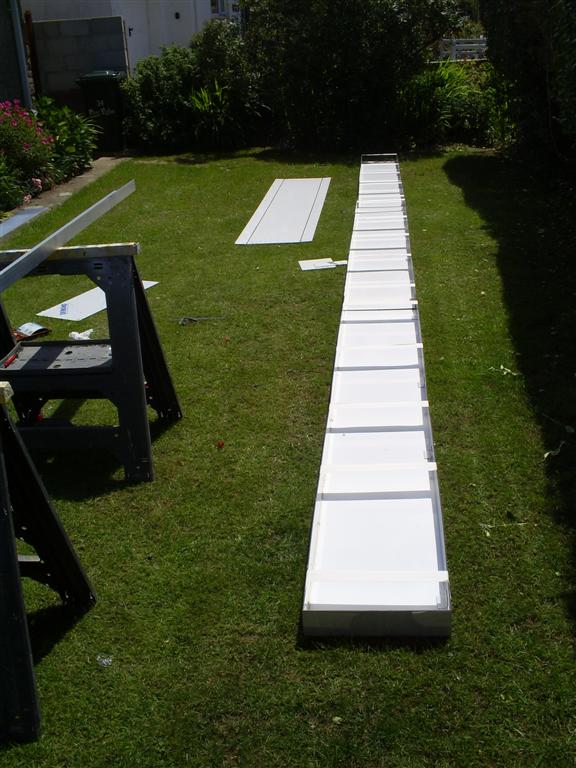
Just thought i’d share this one with you, I’ve only ever made a couple of tray’s before, both small and one of them was a sample for myself.
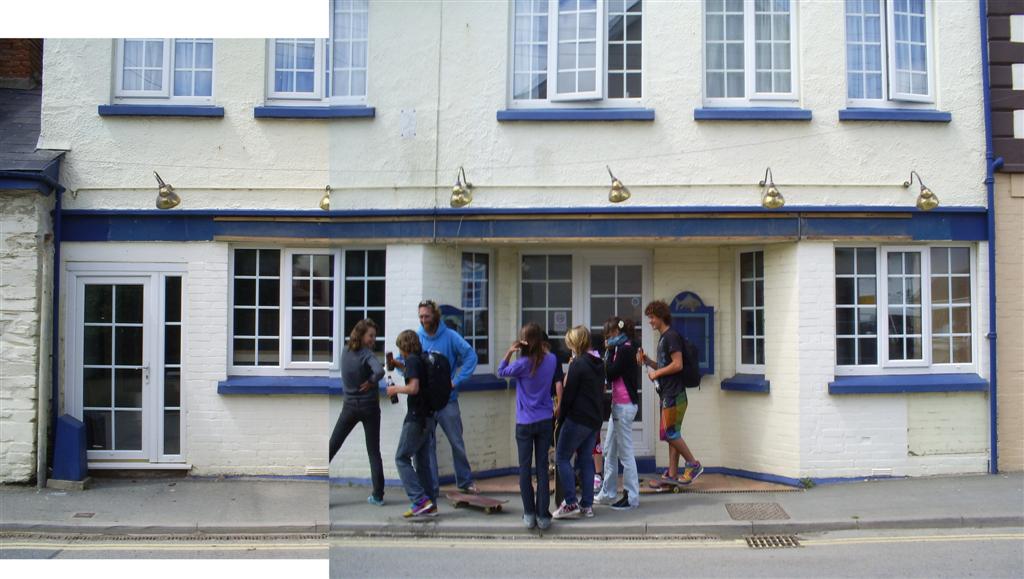
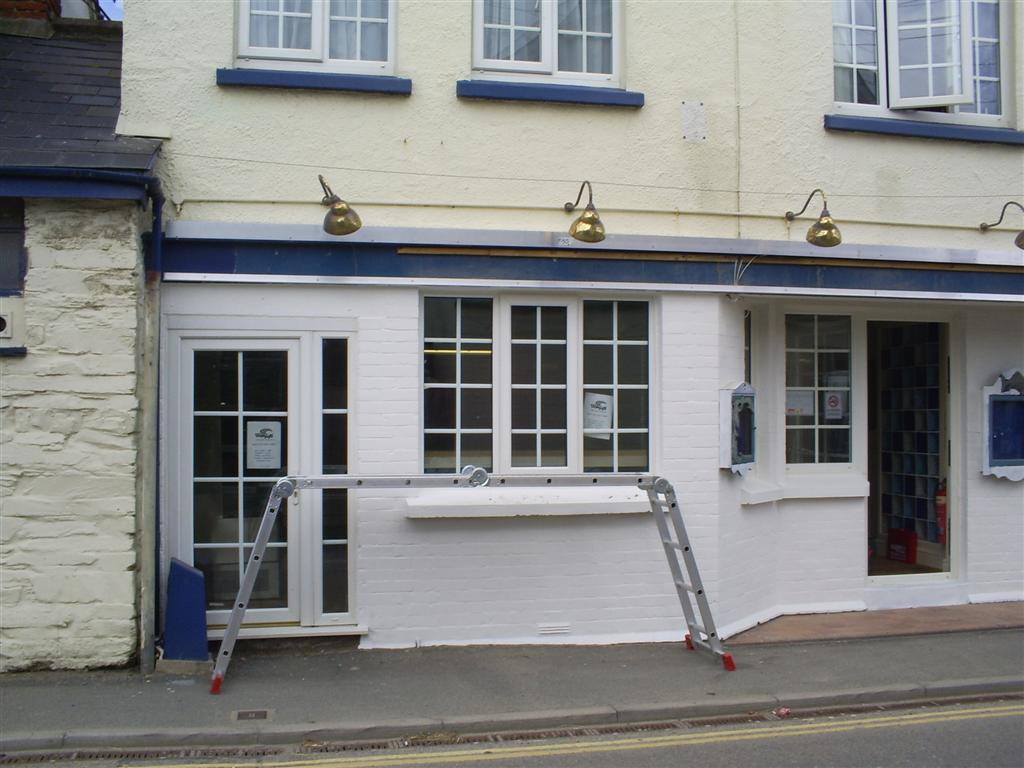
As you can see from the "before" picture, the previous sign was onto timber battens, and was limited by a concrete cill protrusion across the width of the building which looked naf. After a bit of thinking, I recommended to the client that I made a sign tray, and covered the whole band with it, thus transforming the image of the building.
As you can see from the fitting pictures, I had to fix a 100 x 50mm ally angle to the front of the concrete cill because space was limited to have the tray going too high.
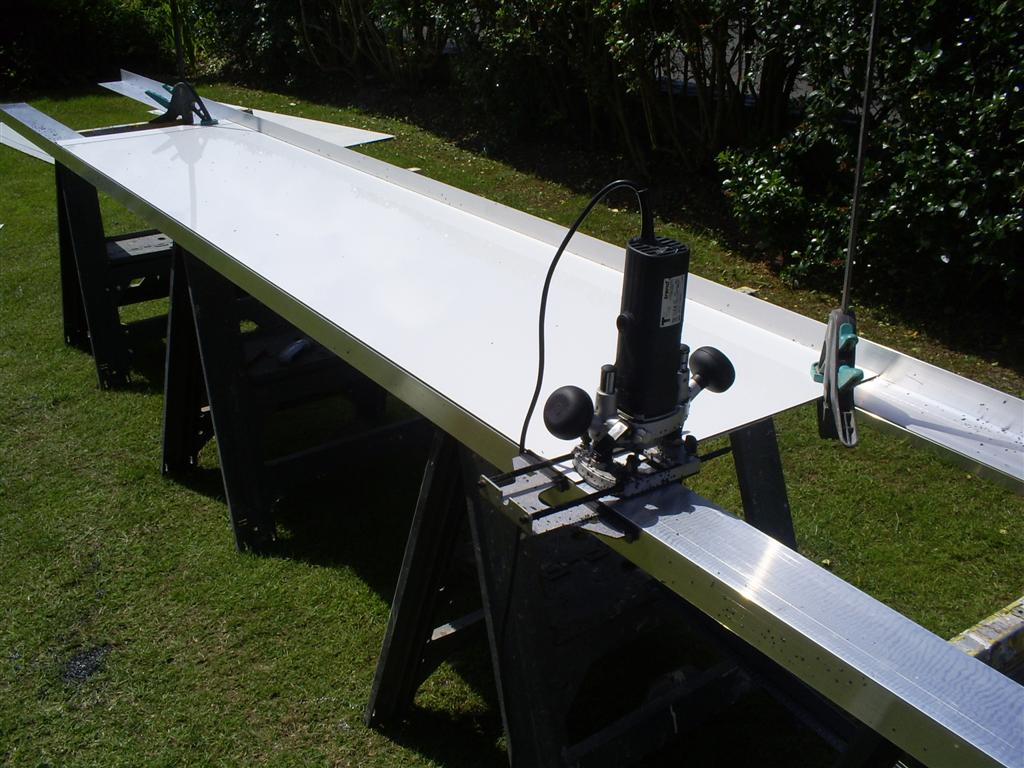
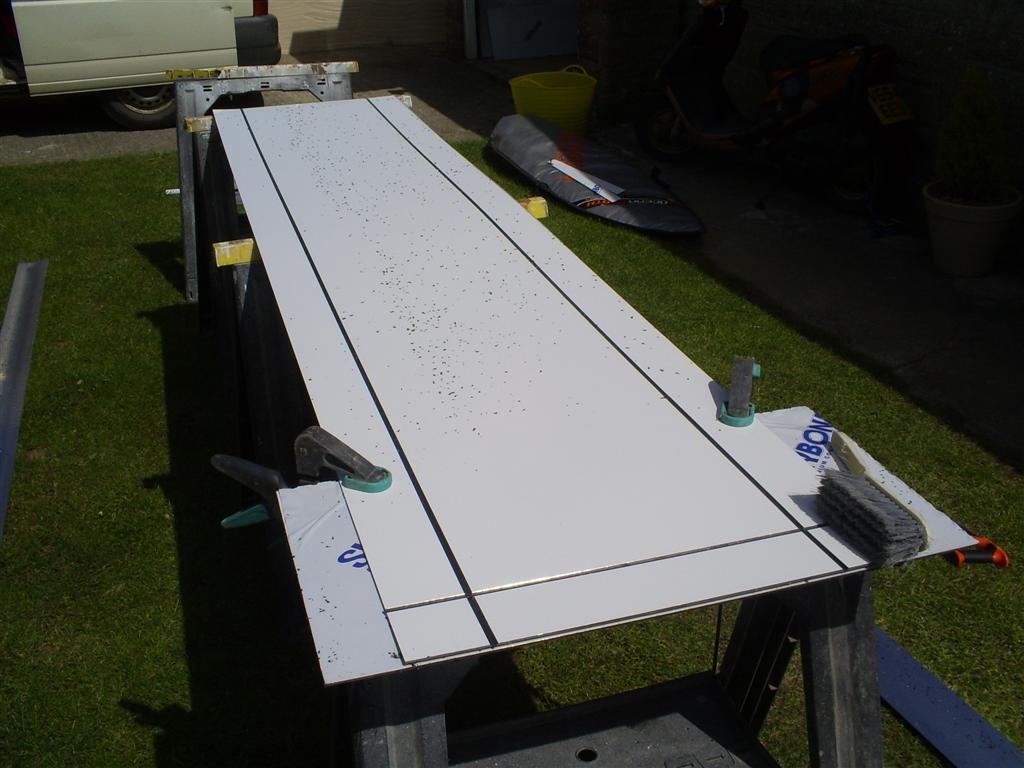
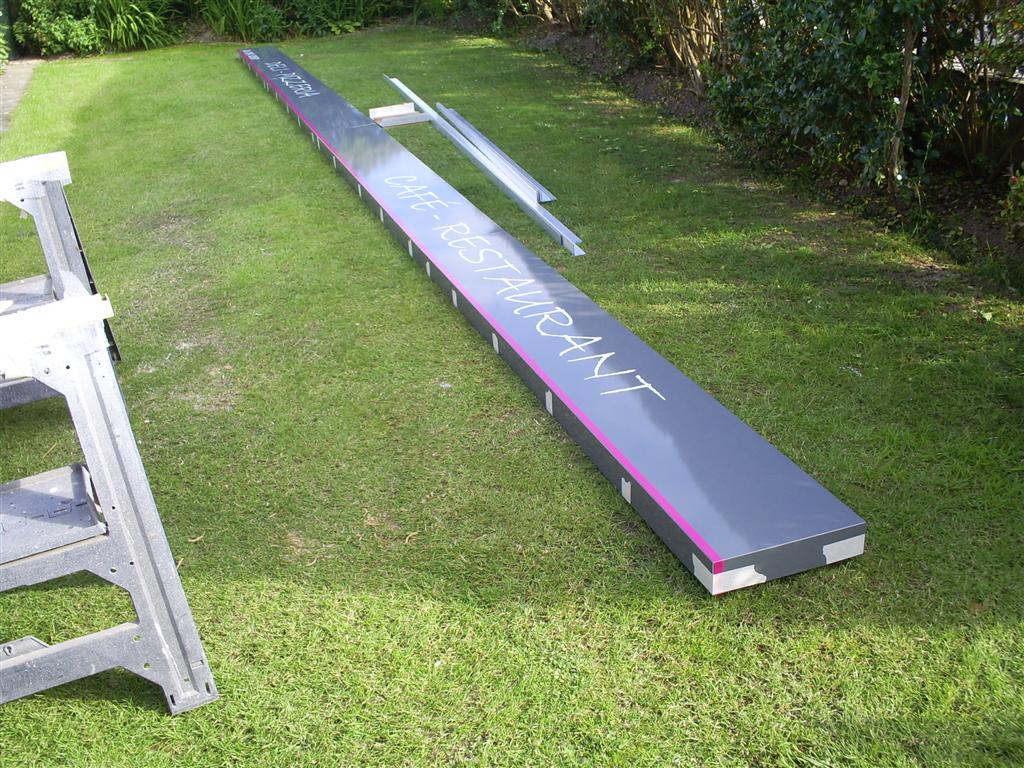
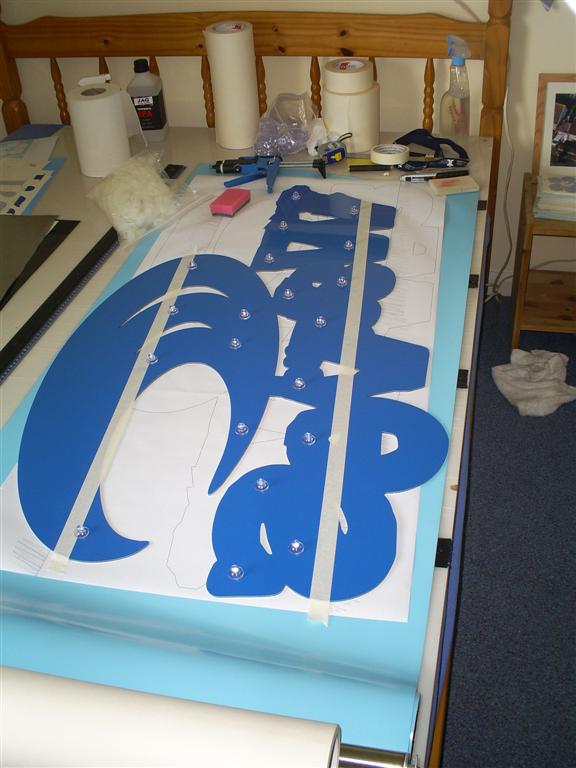
All made by myself and fitted single handedly, apart from the cnc cut logo that i bought in.
Anyway hope you like it.
Whilst at it, one point I’d like to ask is, do you guys glue the joins when butting two trays. I did a t & g style join as recommended kindly by Peter in another post I made, but I didn’t glue it when joining the two trays upon fitting. I thought not to as it would make hard to remove if ever needed. I did notice though, after a couple days of the sign being up, the joints that were perfect when I left have parted slightly. It’s not too bad, but if it was a white sign it might show a bit. Could it be the weather, expansion/contraction?
Attachments:

Log in to reply.