Home › Forums › Sign Making Discussions › Gallery › Car Graphics: Citroen C2- GT
-
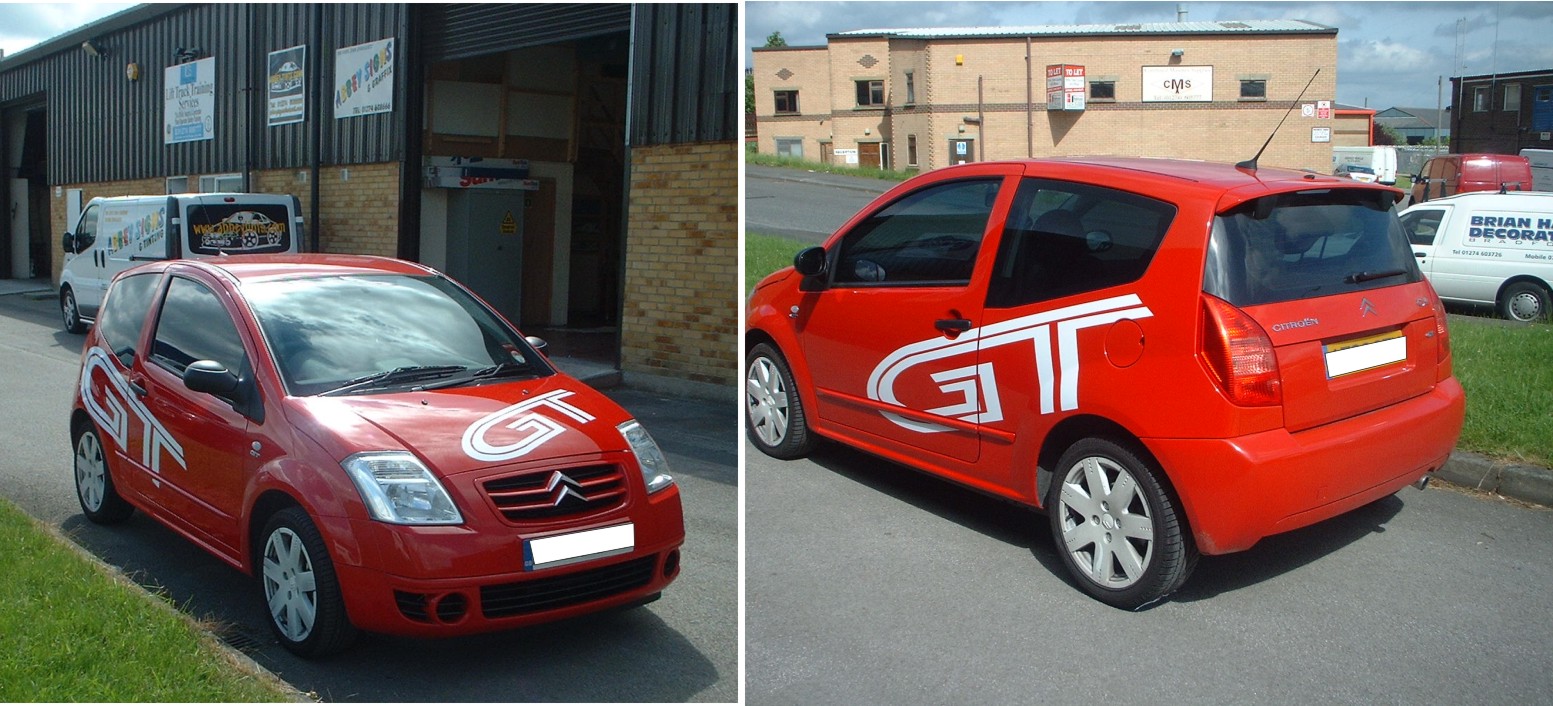
Car Graphics: Citroen C2- GT
Posted by Stephen Ingham on 12 January 2005 at 22:46One we did earlier
Attachments:
 Stephen Ingham replied 20 years, 11 months ago 6 Members · 22 Replies
 -
22 Replies
-

nice & tidy mate… 😉
what type of vinyl do you use?
do you apply dry or wet?thanks for taking the time to post your work. 😀
-

Robert, Oracle 751, I did apply wet but had a bit of difficulty removing application tape, I managed.
I have noticed that a lot of people apply dry, how do you get rid of the small bubbles that get stuck?? at least if its wet these can be easily squeegeed out!!
cheers
stephen -

To do it properly without the bubbles, you need training and a certificate, 😉
-
it looks good mate, applying dry to begin with is never easy.
myself and others to blab on about applying dry dry dry…
thats not to make those that apply wet feel any less capable of doing the job well… at end of the day. wet or dry, its just what suits you best.
its just that once you master it, you will never look back. trust me..will save you allot of time, money, & improve adhesion, ultimately increasing your vinyls life.
i wont blab on about how to do it.. hopefully if i get my festive lazy head off and catch up on the site, you will see more and more videos showing/helping with the dry app method.
-

You get rid of the bubbles by practising. Even super duper experts like me get the odd bubble. A brand new scalpel blade will make the tiniest hole in the vinyl, enabling you to squeeze the air out, leaving no visible hole.
That’s how I do it anyway.
-
HOLE!! i thought that was swearing word??
cheers
stephen -

Nice work 😀 As Andy has said, the difference between applying and getting bubbles and applying & not getting bubbles is technique and practise. No matter how hard I practised, for the first 5 months in business I got bubbles every time. Frustrating and lots of time spent with a pin popping all the bubbles.
Then I went to SignUK and had a chat with ppl from uksb face to face and different ppl showed me different techniques to applying vinyl. Believe it or not, Robert showed me a method, using a mobile phone and a knapkin as a substitute for a squeegee & vinyl, which I practised and practised once I got back to the workshop (obviously with a real squeegee and real vinyl :lol1: ).
I know it sounds surreal, but just someone taking the time to show you the correct way (or rather a different way) of applying vinyl can make all the difference. Before I started in the sign business, I did do some training, but unfortunately for me I was shown using a different technique which made it virtually impossible to apply vinyl dry quickly. I was only discussing with Mrs D on the phone earlier, I made an A board around this time last year, simple design all one colour. She had to hold the app tape up whilst I applied, it took me 20 arm-aching minutes to apply (per side) and I got hundreds of tiny bubbles. This morning, I applied the same amount of vinyl to the identical style of aboard, on my own, in around 30 seconds. 1 bubble, but I was balancing my phone on my shoulder and talking to Mrs D at the time 😳
Long winded way of saying practising the wrong technique does more harm than good. If you get the opportunity to see how others work, grab it. No matter how experienced I ‘think’ I am, I would always pay attention if I was in the presence of another signmaker, newbie or expert, watching how they apply vinyl.
Sorry for the essay, its been one of those mornings 😳
Cheers, Dewi
-
nice one dewi, i am only aware of the way that i was shown, but i beleive that we never know it all!! and am happy to learn and take advice from others, especially if they can do something i can’t.
cheers
stephen -
just out of intrest mate, how long would something like this take you start to finish if you are applying wet?
-
off the top of my head!!
designed, weeded, app taped, applied; probably 2hrs roughly??
stephen
-
sorry mate, how much of that would be the application only? and removal of tape…
im just trying to see the sort of time wet app takes compared to the length of time ide guess dry app would for the same job.
sorry, just me being nosey 😉
-
not sure really, i’ve got a van to do to day, i’ll try and get an idea from that.
cheers
stephen -
robert, did the van.
started doing it wet, what a pain!!
couldn’t get the app tape of without pulling the vinyl back off, usually if i leave it for 10-15 mins while i prep the next bit it usually comes of okay.
So, having spit my dummy out i decided to have a go dry, i lined it up, taped it on the top edge with some duck tape, lifted it up and peeled the backing paper off and gently lowered it and squeegeed it at the same time, straight away the app tape came off, NO PROBLEM!!
So I think I could say for similar jobs dry application is best, and very few small bubbles.
Picture will follow as the job isn’t complete, printed images to be applied, as soon as i get my new printer!!
CAN’T WAIT!!
On the other hand I also had to do an acrylic facia for a lightbox, it measued 4.5m x 1m with graffix cut out, that had to be wet, allowing me to adjust it before it stuck, and no bubbles
cheers
stephen -
thanks very much for the feedback mate… 😉
on that, i must advise, if your workshop is a bit like ours, it will be cold just now. 🙁 this makes dry application far more forgiving. so if you want practice, now is the time while its cold. as the weather gets warmer, you will feel more at ease and will progressively get better. “trust me” 😉
thanks for having a go dry mate, keep it up, soon you wont look back….. 😉
-
stephen, the light box could have been done dry also, why did you think it had to be done wet to align it? If you explain why you did it wet with a bit more detail, perhaps we can save you some time
peter -
quote Peter Normington:stephen, the light box could have been done dry also, why did you think it had to be done wet to align it? If you explain why you did it wet with a bit more detail, perhaps we can save you some time
peterim guessing sixe peter… guessing its a sorta large panel. but, if not that. perspex is one of the “hardest” materials to apply dry to…
-

have to agree with rob on this one…perspex and vinyl nightmare more bubbles than the aero ad!! 😛 worse still is screenprinting on it, static like no ones business!! so wet is the only option 😀
nik
-
I would agree if it was a print or flood coat but stephen said cut out graphics, in which case dry would be ok, If stephen can elaborate, then the best advice can be offered,
Only trying to help 😀
Peter -
I find that translucent vinyl goes on very well onto perspex dry. In fact, for some reason, I always get a good result when applying any matt vinyl in large sizes. But then, I’m an hexpert! 😉 Seriously though, why is this? It seems a bit more flexible, possibly because of the surface texture. I dunno.
-
it’s all down to the static of the perspex! 😮
the more matty the product the better it goes on..same apply’s to the screenprinting ink…try and print with gloss…..spider webbs everywhere!! 😮
Nik
-
Did the light box facia, and we did it wet.
The reason I did it wet mainly was because of its size (4.5mx1m) 90% was vinyl and 10% was cut out.
Doing it wet allowed us to lift it and shift it a few times until we were happy with the positioning, fortunately because it was done friday afternoon and not being fitted until tuesday there was no problem with removing application tape and it not sticking, plently of time to dry out.
I will attach a pic when its fitted
I think i will assess each job and decide which should be done wet and which could be done dry.
Any advise is welcome
cheers
stephen -
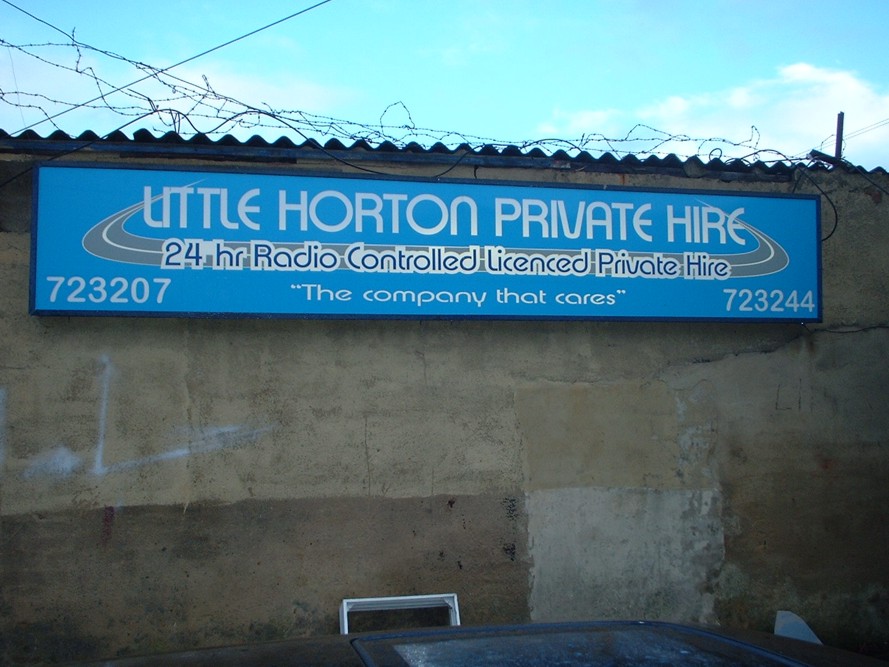
heres a pic of the light box we did……….WET!!
we did it wet because of the large area that the blue vinyl had to cover, no bubbles and was left over night, so no problems with it sticking
cheers
stephen
Attachments:

Log in to reply.