Home › Forums › Sign Making Discussions › Vehicle Wrapping › Bike box wrap
-
Bike box wrap
Posted by Stuart Hancock on 12 May 2009 at 08:57Just a quick question, has anybody applied a wrap to a motorbikes back box lid with a design on it, not plain vinyl, before and if so do you have any tips.
I have only done car bonnets and roofs up to now,so any advice would be most welcome.
😀
Jason Xuereb replied 16 years, 7 months ago 4 Members · 12 Replies -
12 Replies
-

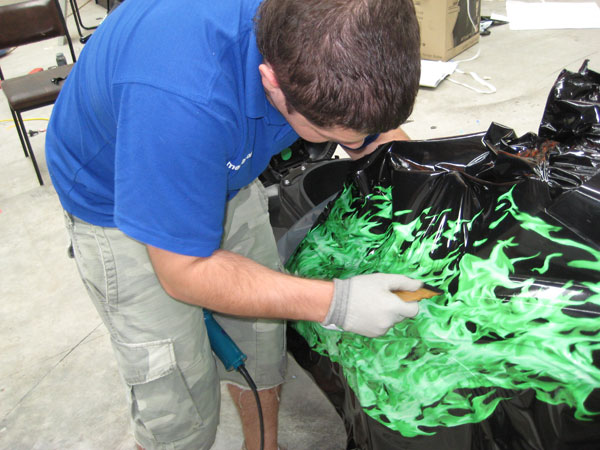
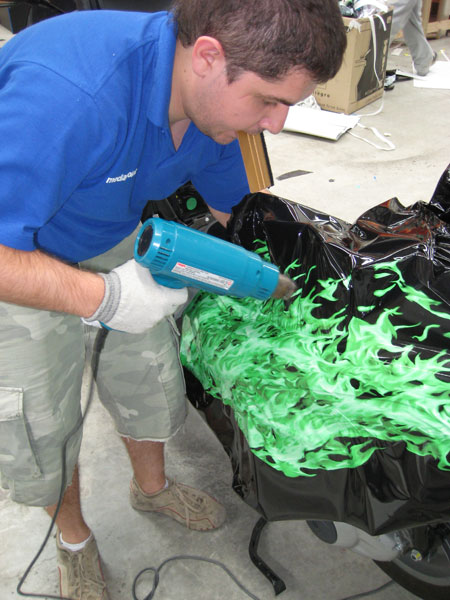
Here are some pics.
Tips.
Take your time.
Make sure your printed piece of vinyl is a lot bigger then you need so you can hold onto the excess and heat it up.
Take your time.
Don’t burn your nads with the heat gun between your legs.
Take your time.
Attachments:
-

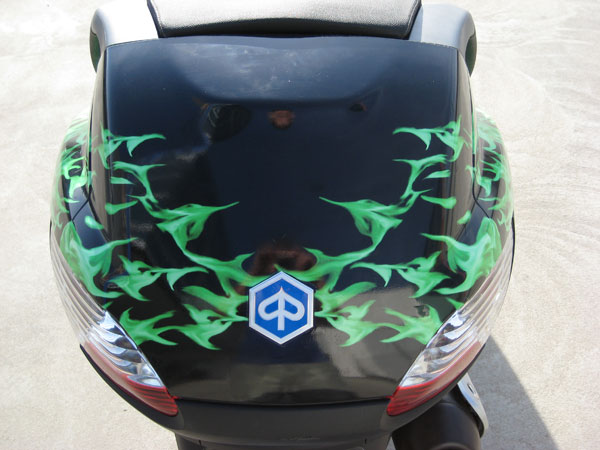
That looks nice Jason, u got a picture of the finished bike?
-
Actually just found the thread. I was searching for scooter instead silly me.
http://www.uksignboards.com/viewtopic.p … highlight=
-

Thanks for that I will take the advice on board. The design they want on it is a map of Wales to cover it all, which should be fun 🙁
-
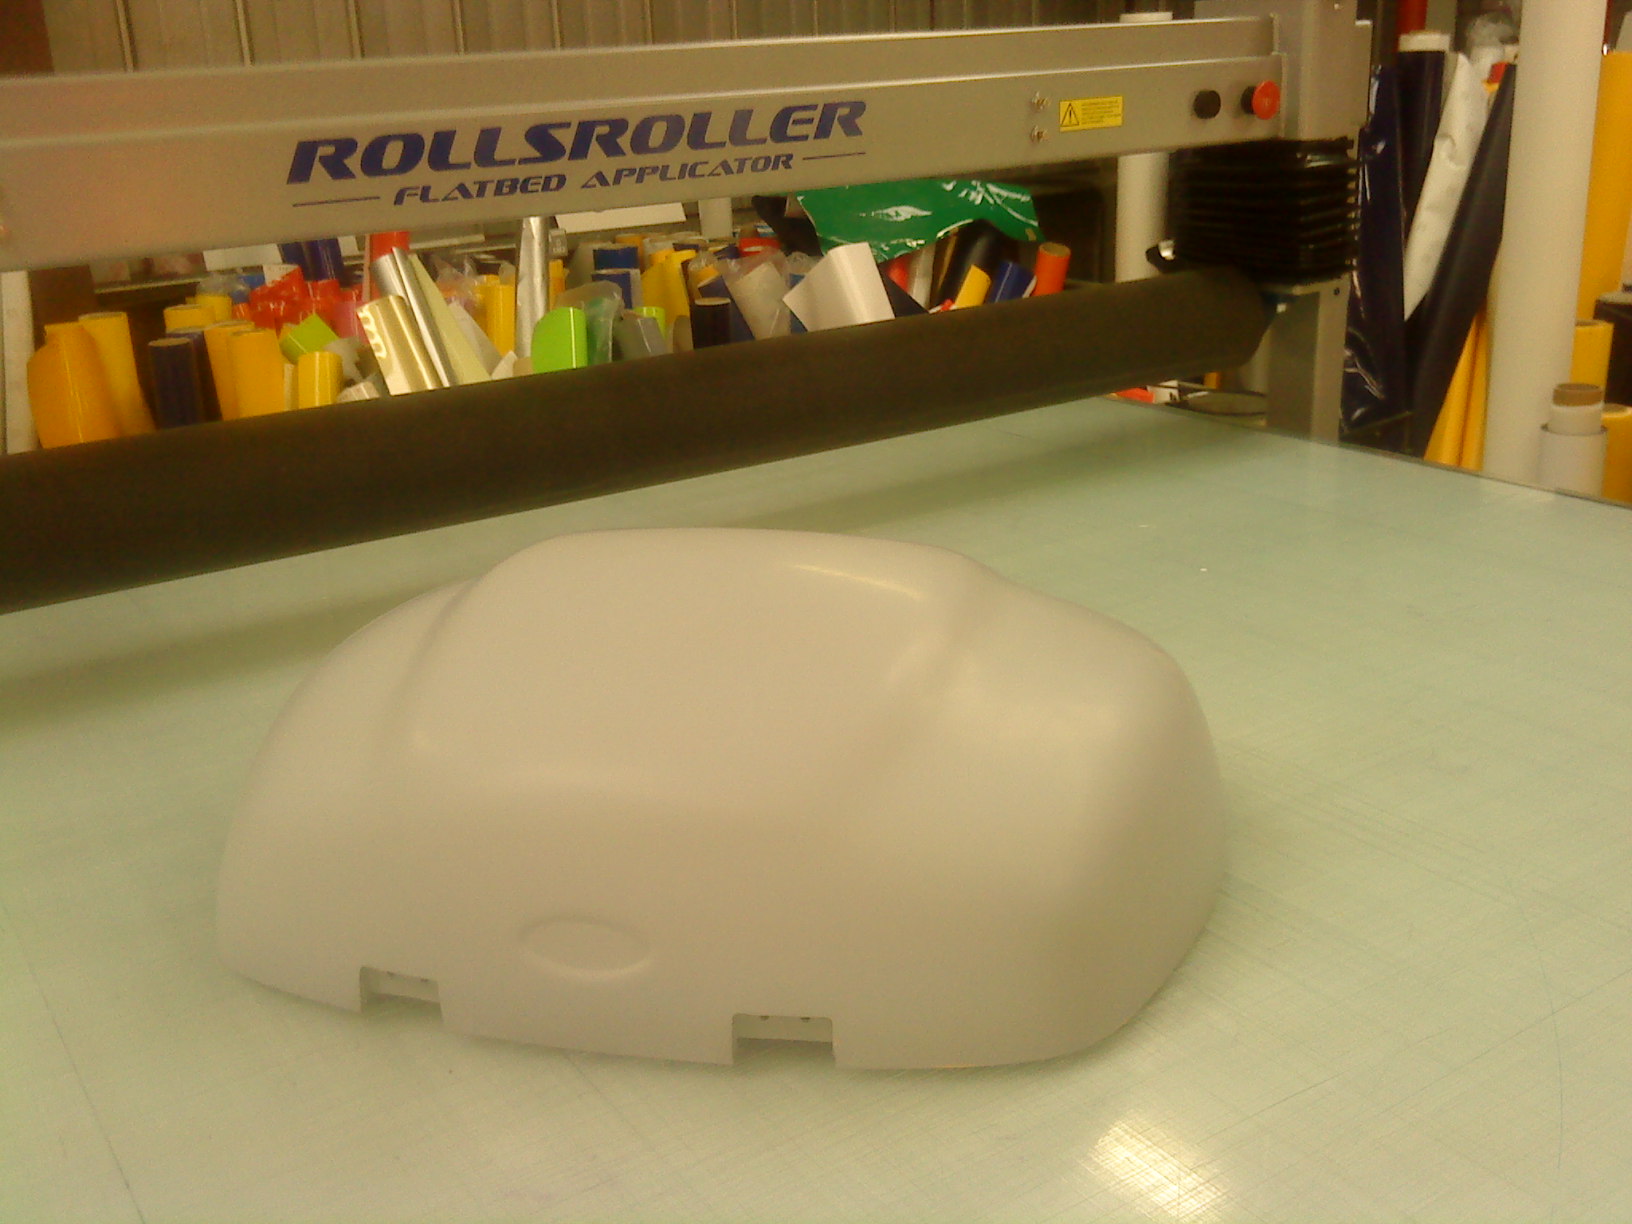
Have you got a photo of the box?
One another tip I got taught is this. I will try to explain.
Where ever you start applying the vinyl from imagine this point entering a bucket of water. As you drop the deeper into the water the level will rise right around the object. You want to visualize this level and apply the vinyl right around the object in the same way. This will stop the vinyl on the other side of the object touching the surface because you’ve applied one side to far down.
I hope this makes sense if not I’ll draw a picture.
-
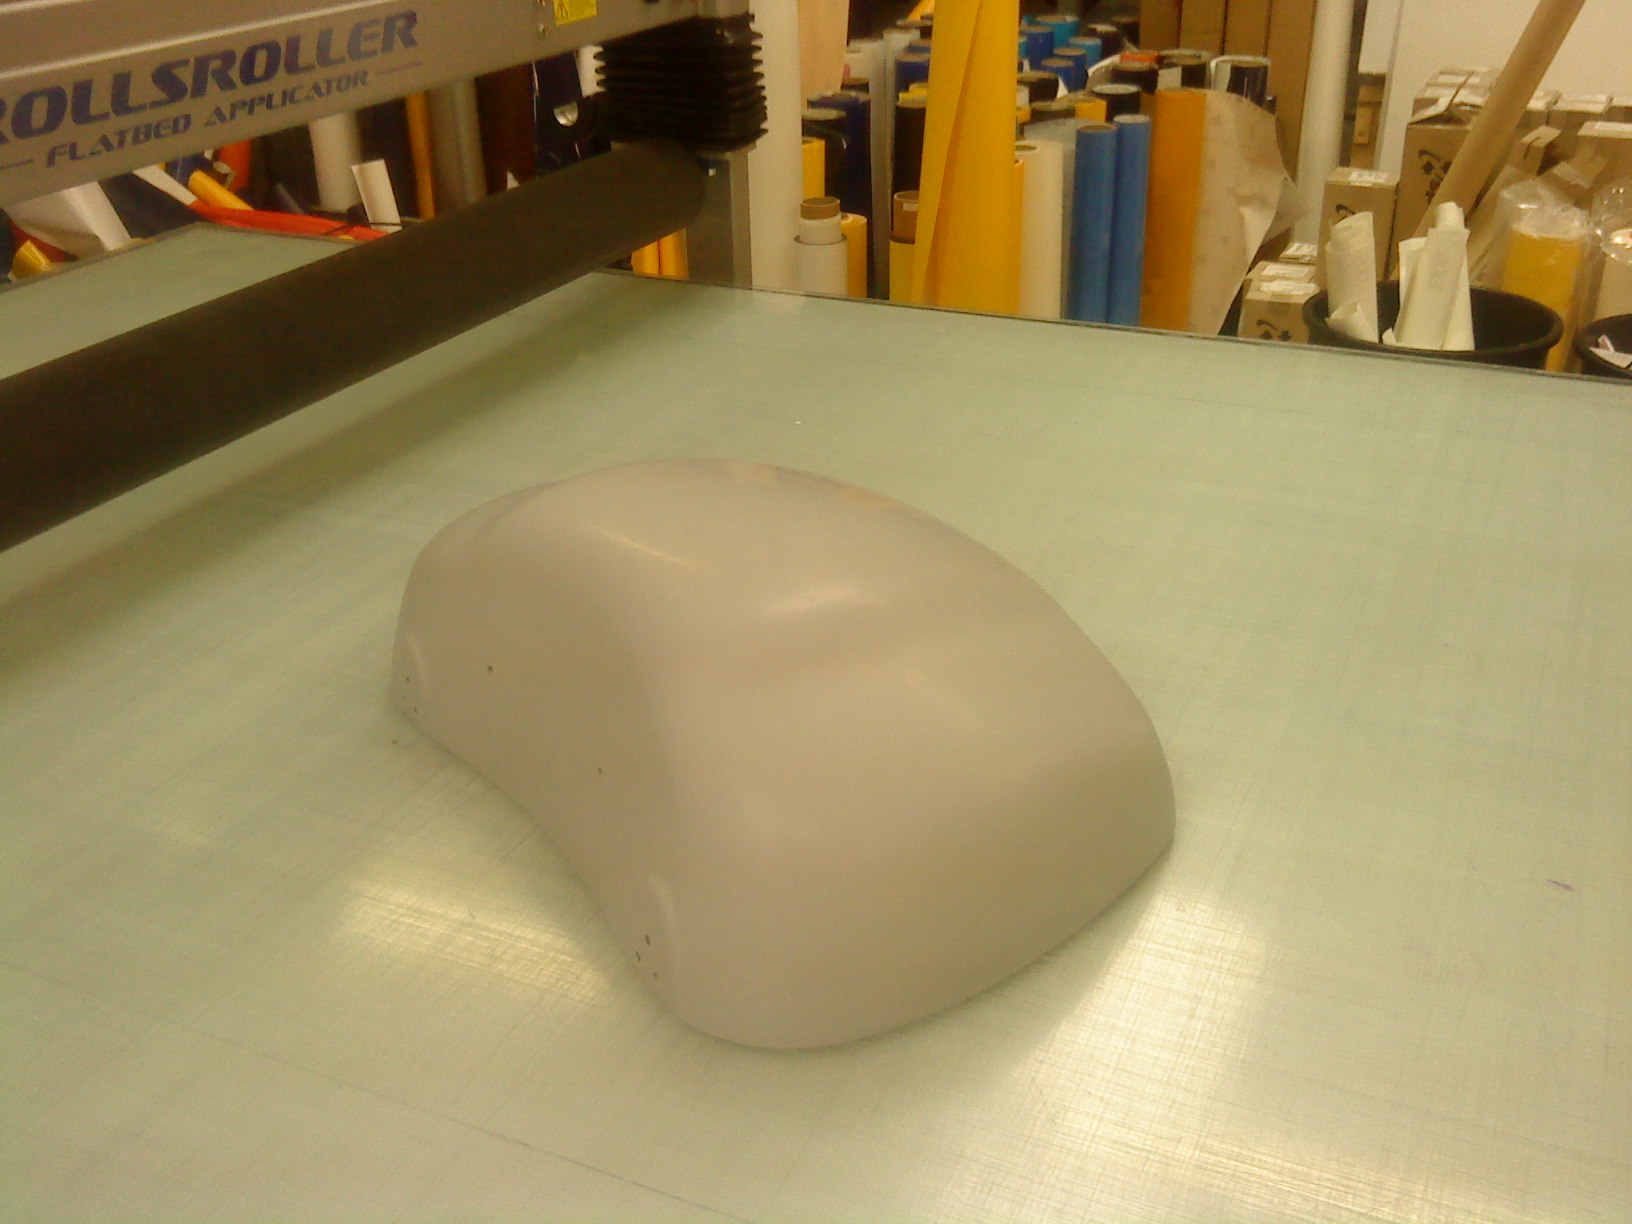
I understand that. I will get a pic and post it tonight for you to see. It starts of pretty flat, then all four sides go virtually vertical down, about 150mm each.
-
Your going to have excess vinyl in the corners your going to have to guide downwards.
-
Sorry Jason, here are those pics that I meant to post. The customer wants a map to cover so that will be fun.
Attachments:
-

how about just plonking the image on and switching on the rollsroller 😀
-
Not got in configured yet for that, I think it was an optional extra in the price though when we bought it!
-
Hey Stuart,
That isn’t so bad. Make sure you print your vinyl a lot bigger. You can start at the top flat bit and almost tack the vinyl to the table so you won’t need an extra pair of hands.
Make sure you don’t stretch. As soon as the vinyl starts to wrinkle and gather lift it up heat it so it relaxes, let it cool down, then keep applying. If you stretch you will discolor the vinyl and risk a failure.

Log in to reply.