Acrylic Sign on Chrome Stand-off Locators

Acrylic Sign on Chrome Stand-off Locators
One of my favourite types of signs is made using clear acrylic with polished edges. These produce beautiful-looking signs that are never out of place in even the most “upmarket” of office reception areas. Yet despite the fact they look expensive and are truly exquisite, they are surprisingly easy to make. But best of all (from the signmaker’s point of view) they can command high prices and produce good profit margins.

The starting point (as always) is in the design.
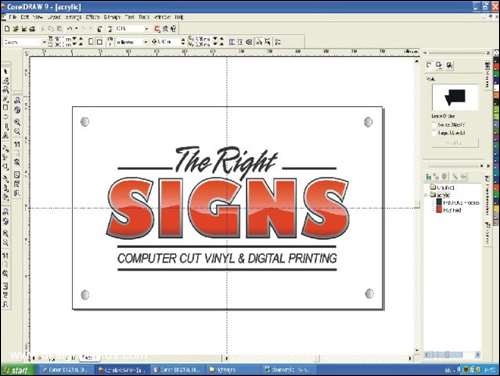
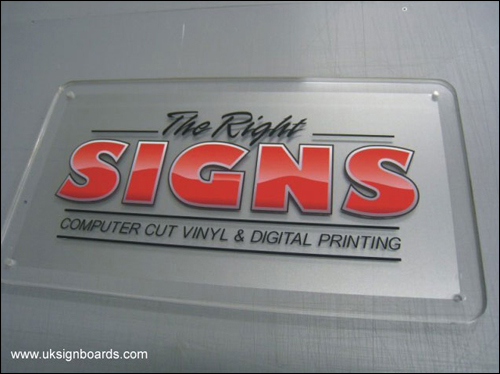
Here I have drawn up my design on screen. This is a simple rectangle representing the clear acrylic panel, with my logo placed upon it taking care to ensure there are good margin spaces all around (I have also drawn little silver-coloured circles in the corners to represent the “standoff” chrome locators that I will be using to fit the sign).
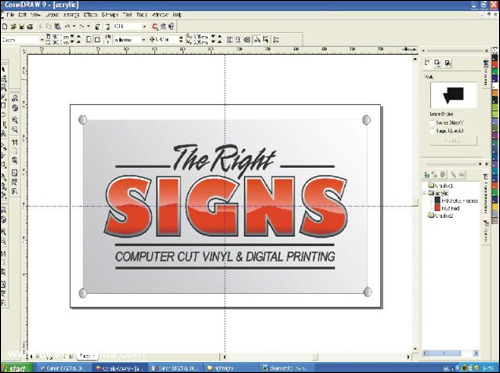
On second thoughts, I have decided the sign will look better with an etched glass effect vinyl placed behind the clear acrylic. This will make the logo stand out better if the sign is to be placed on a dark-coloured wall. The etch glass effect also gives the clear acrylic a more expensive look.
I will show this in my design by adding a silver-coloured rectangle with a clear 25mm margin space all around.
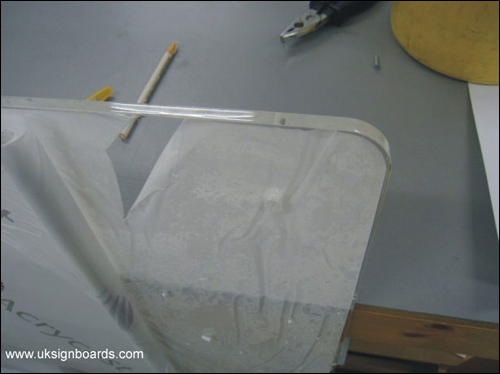
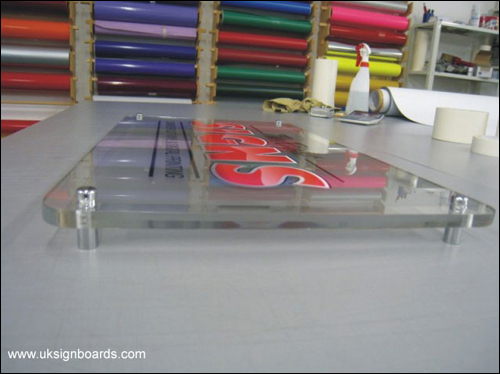
There are a number of specialist suppliers that you can buy your sign blank from. In this example, I have specified a clear acrylic panel of 10mm thickness complete with radius corners and flame-polished edges. There is little point in trying to make this panel myself when I can just as easily buy it in ready-made from a specialist trade supplier. However, for those determined to do it all themselves you will need specialised cutting equipment to shape the panel and some skill at flame polishing to produce the type of edge shown in this picture (note the protective film is still in place to prevent scratching of the panel during handling)
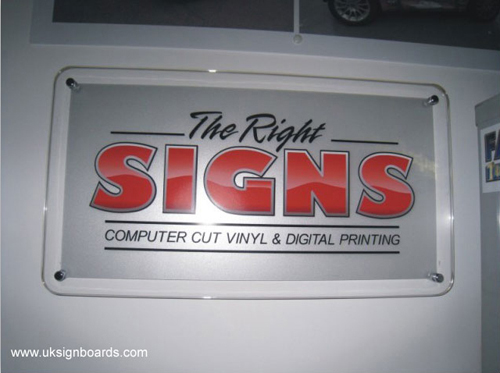
In the next picture, you can see my design applied to the front face of the clear acrylic. Note also the four holes drilled in each corner are ready to accept the fittings that will be used to mount the sign. Also visible in this picture is the etch glass vinyl that has been applied to the back of the panel.
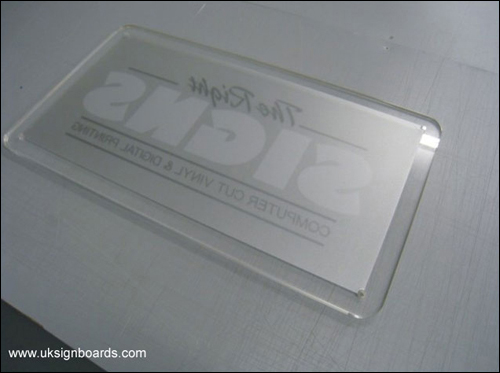
View of the back of the panel showing the etch glass vinyl that has been applied.
And viewed side on:-
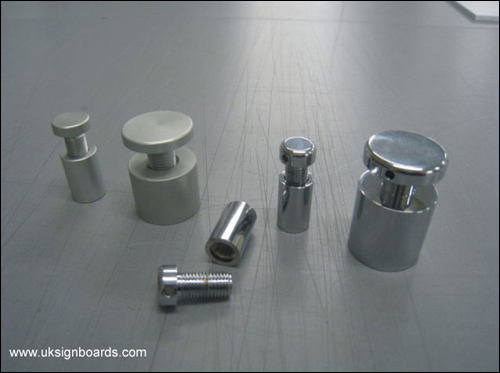
The sign is now ready to be fitted to the wall. The next picture shows a range of stand-off locators that can be used. Your trade supplier will also be able to provide these fixings for you when you order your panel from them.
Finally – the sign complete with stand-off locators:-
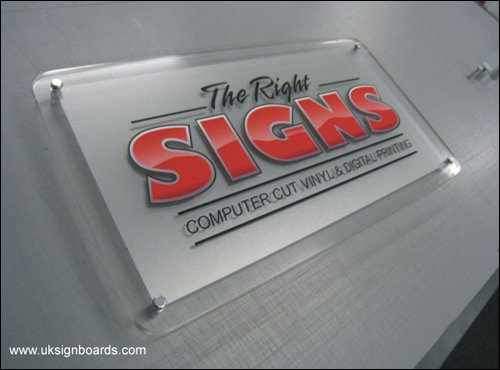
And shown again – fitted to the wall:-
I hope this demo is of some use to you all….
Phill Fenton
The Right Signs