Digital Picture morphed into A Pencil Sketch.
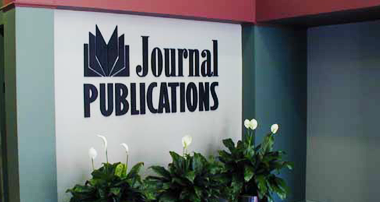
This little project came about when I happened to watch a television show the other week. Going into a commercial break, the last scene of the TV show morphed into a black-and-white pencil sketch.
Then, the exact opposite happened returning from the commercial break. The pencil sketch morphed into the opening colour scene. Cool stuff. So my quest began, how can I do that?


When I originally did this write-up, PhotoShop 7.0 was not released. All steps below and screen captures are from PS v6.0. The same steps outlined here for PS can also be used in Corel PhotoPaint. A very condensed step-by-step for that program is towards the end of this post.
Let me state that I’m not a Photoshop guru. (And for those that are, this should become clear very soon.) This is how I solved the task at hand. I’m POSITIVE there are many other ways of achieving the same thing. For those that do know the software, please make corrections as needed to improve the quality, reduce the steps, or better represent the software. I’m looking at this post as a learning experience and it doesn’t have to end here. Feel free to pick up the ball and run.
The picture below is of a recently completed “simple” dimensional job. All copy and logo elements were router cut from Medium Density Fiber (MDF) board, lightly sanded, spray-bombed Flat Black, and attached to the Drywall with 3M VHB tape. Nothing fancy, just another everyday job that helps to pay the bills. I chose pictures from this particular job for my “educational” experience.

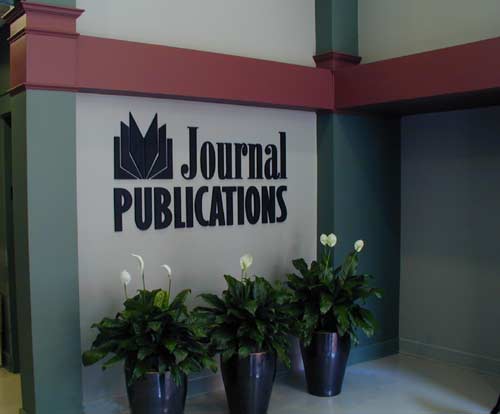
This file was opened in Photoshop 6.01, RGB mode. My first step was to copy the entire layer to the clipboard. If you wish for the entire image to look like a pencil sketch, this step is not necessary. Next, create a New Duplicate Layer. Convert the image to Grayscale. It’s important when prompted, to select Don’t Flatten. The picture below reflects the changes so far.

Now, Invert the layer.

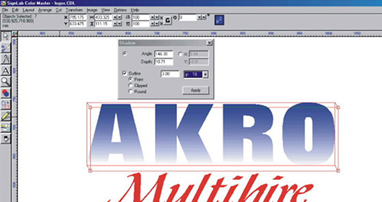
After Inversion, the Layer Styles dialogue was brought up. From here I selected Color Dodge as my Blend Mode with the Opacity set to 98. Advanced Blending Fill Opacity was set at 95%. The screen capture below reflects those settings.

For a few short steps and minimal effort, this looked acceptable. However, I pressed forward by applying two filters.
Again, the joy of this program is all the experimentation that can be done with these variables. What I have selected to this point, and the selections that are remaining, are user definable. Take the time to see the differences between 25, 50, 75, and 100%. 33% may produce the result you want this time, but leave you with an unacceptable piece next time. A given filter may be the ticket this time around, but nowhere close the next. One size doesn’t always fit all. Experiment!
The first filter was Add Noise.

Gaussian Blur filter was next up.

After applying Layer Styles and Filter effects, the project looks like this.

It could be considered done at this point. The remaining steps are to give that mixed pencil/colour look. Change back to RGB mode. Create a New Layer. Paste the contents of the clipboard onto this layer. Select a portion of this layer to be deleted. Pictured below is the progress so far.

At this point, I wanted to get rid of the “hard” line between the pencil sketch and the colour photo. Selecting the Airbrush tool with a wide, feathered edge brush allowed for the soft transition between the two. This is what I was left with.

Picture below is another angle of the same job with the effects listed above applied.

So there it is. In a few short minutes, you have learned what I spent a few hours experimenting with. My lessons aren’t over yet so there may be more to share in the future. Does anybody else what to share?
Attention Corel PhotoPaint Users:
For the little bit of Photoshop I know, it’s much less for PhotoPaint. The following is from a very novice PhotoPaint user and presented with little to no “fluff”. This will get you to the “pencil sketch” point. (PhotoPaint v9.397, default accelerator keys.)
- Open image; [CTRL+O]
- Copy; [CTRL+C]
- Paste; [CTRL+V]
- Image, Mode, Grayscale 8-Bit
Merging dialogue = No - Image, Transform, Invert
- From the Object Docker, double left-click on the Object (Object 2).
- From Object Properties dialogue box; Merge = Color Dodge; Opacity = 95, Blend Settings: Active Objects 13/203, Composite Underlying 22/232, then OK to accept
- Effects, Blur, Low Pass: Percentage = 75, Radius = 6
There it is; down and dirty from a non-user. Good luck and have fun!


