Home › Forums › Sign Making Discussions › Gallery › Minton: Polystyrene wall piece
-
Minton: Polystyrene wall piece
Posted by Paul Minton on 30 March 2012 at 20:29Hi all,
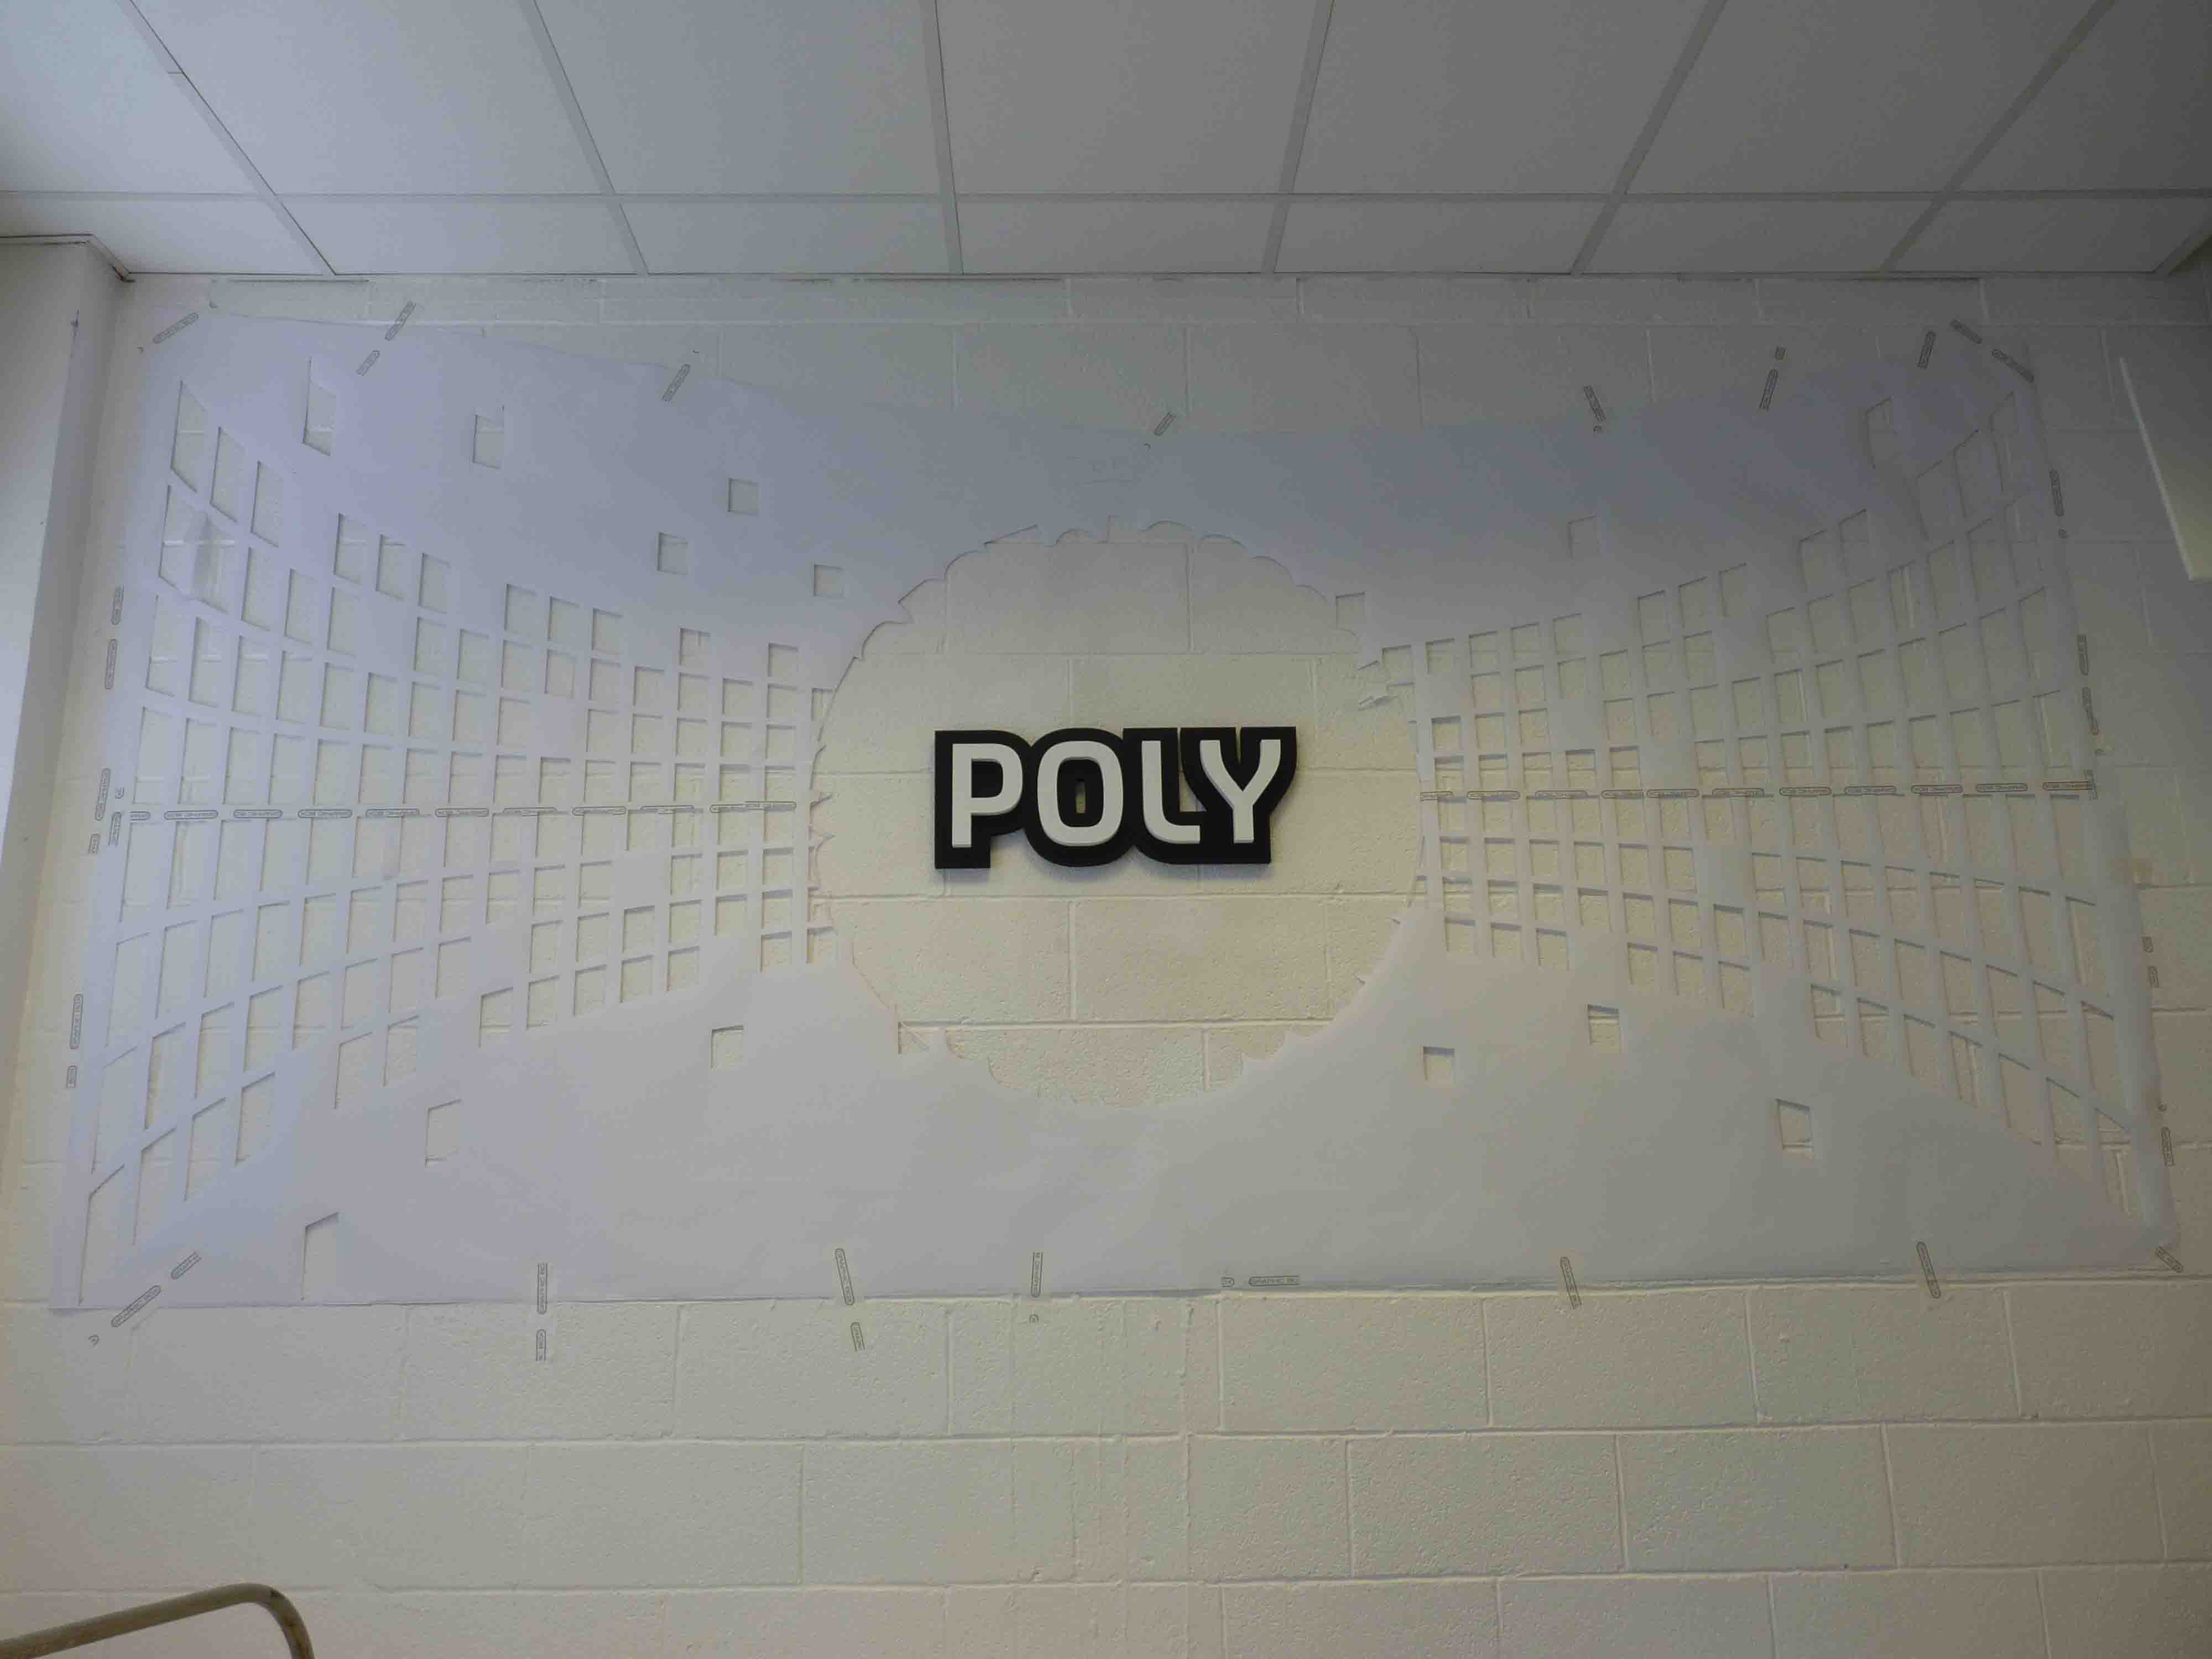
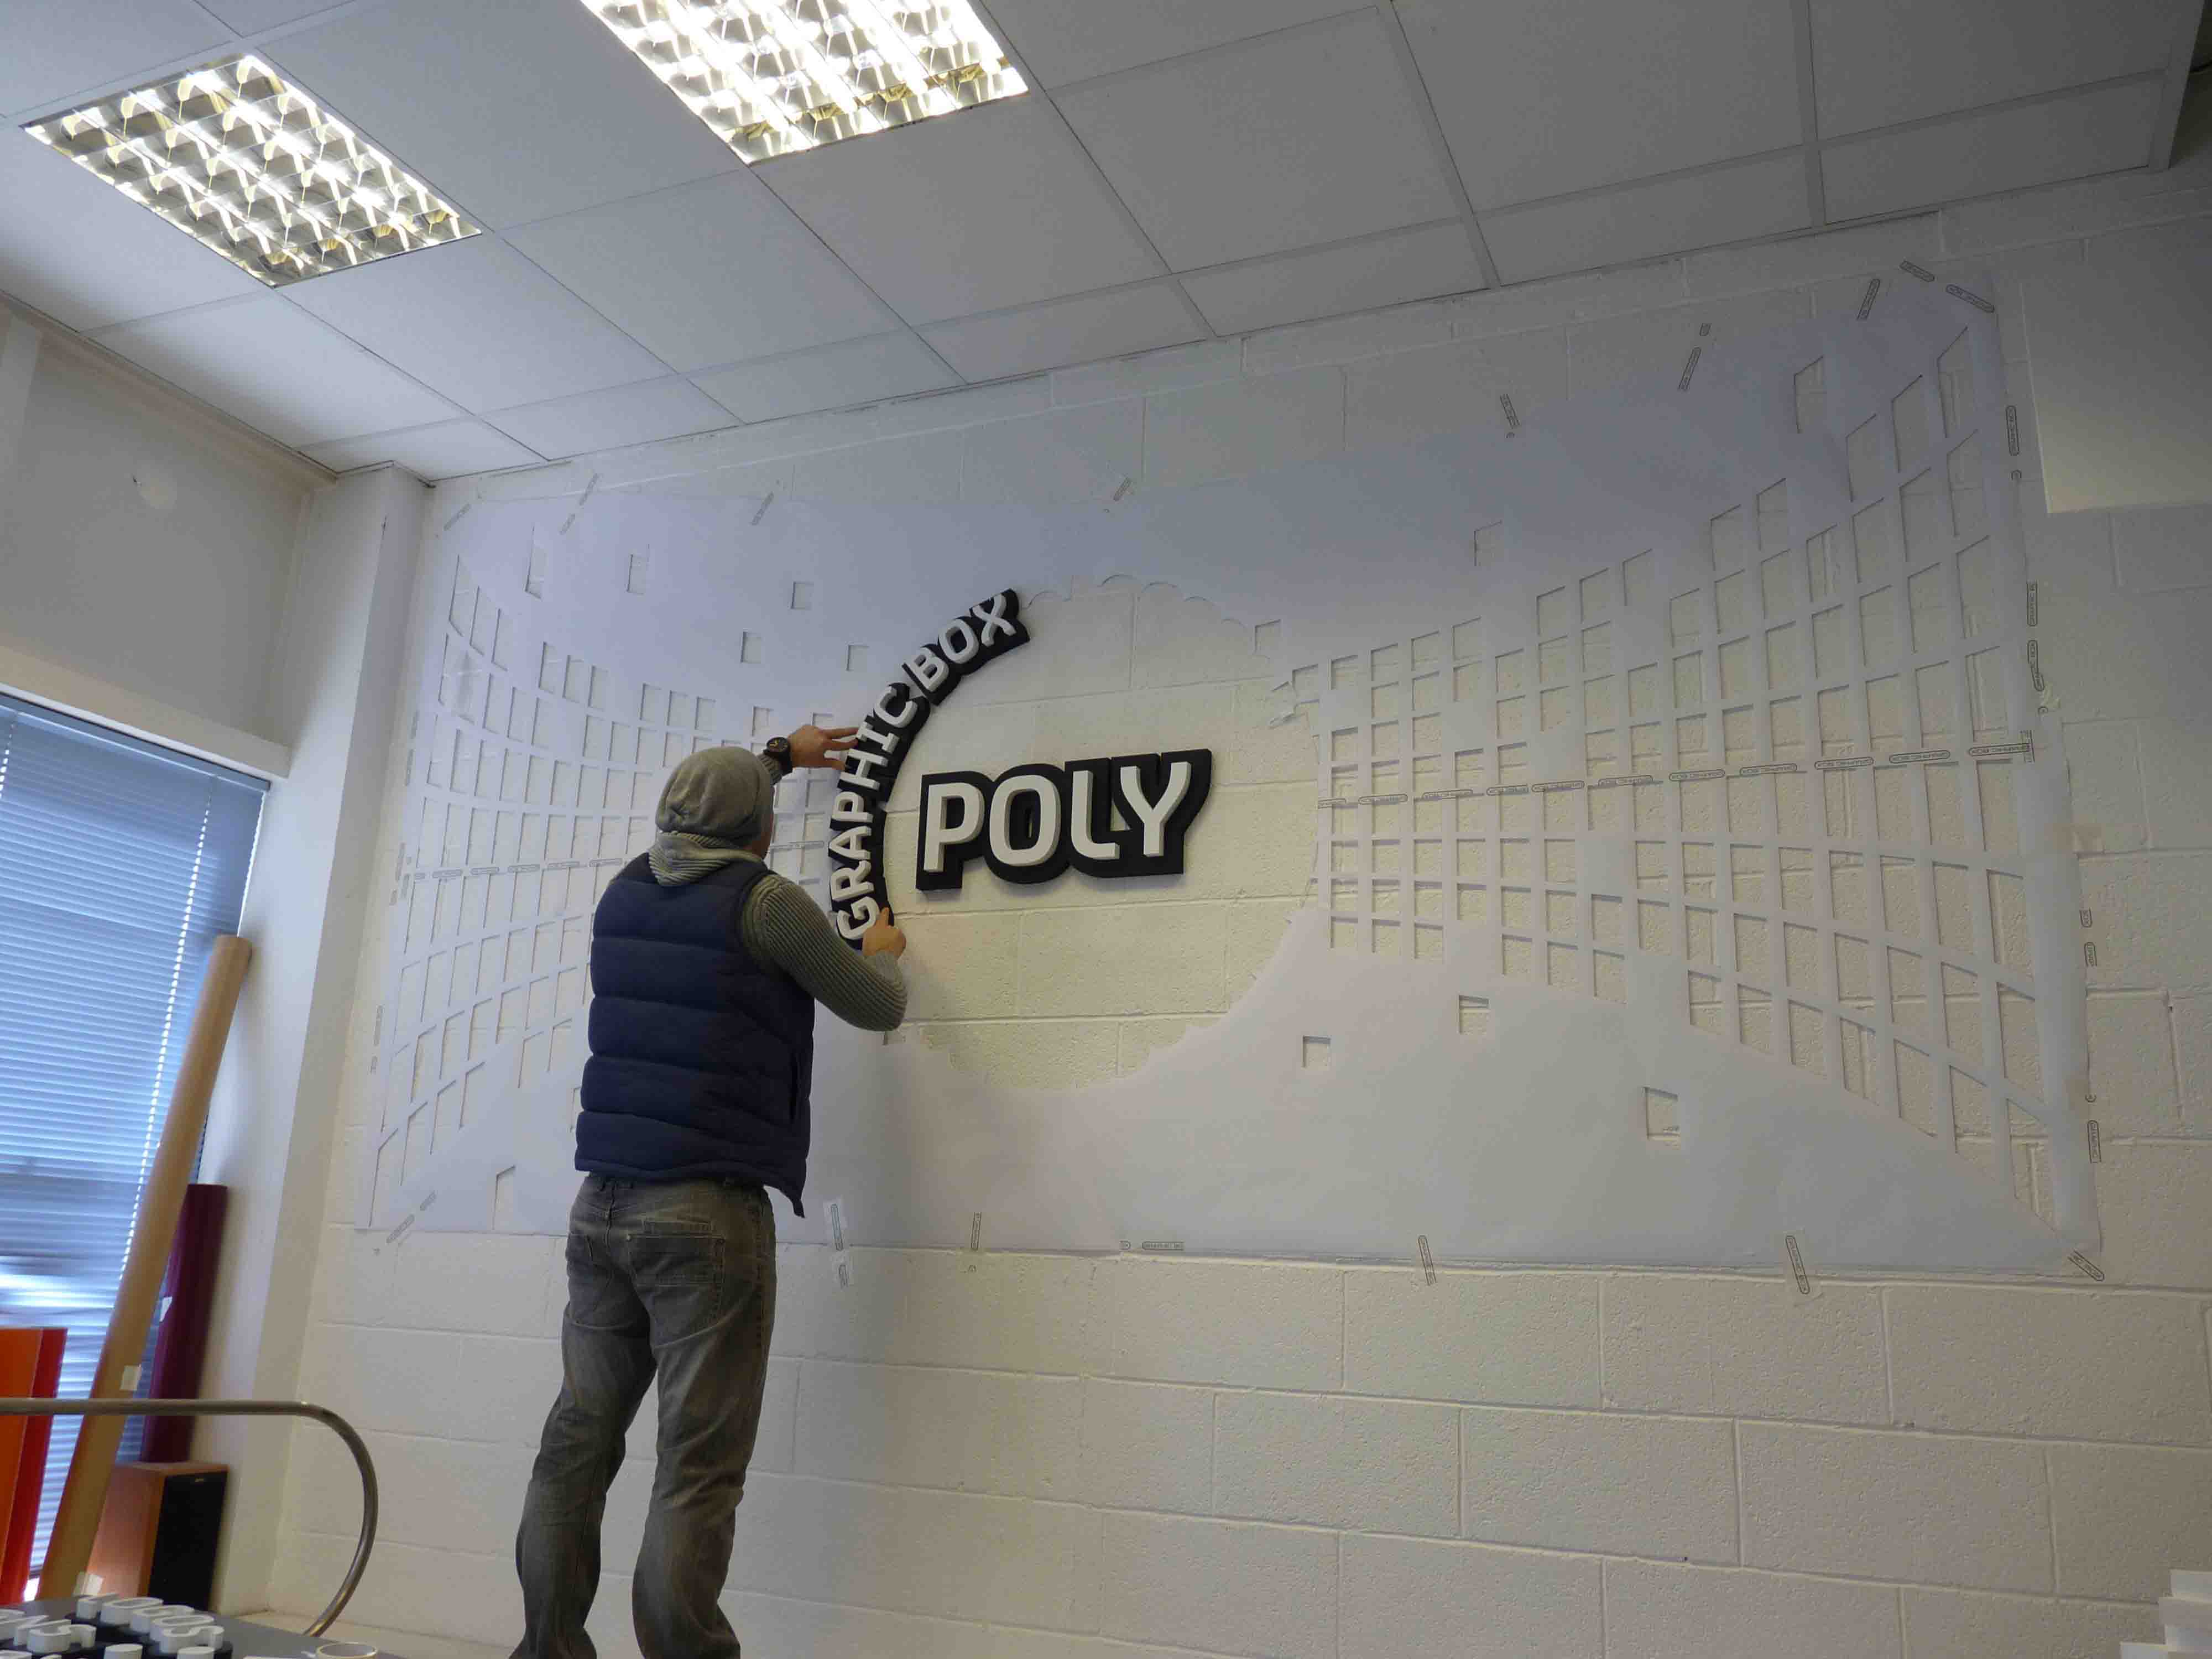
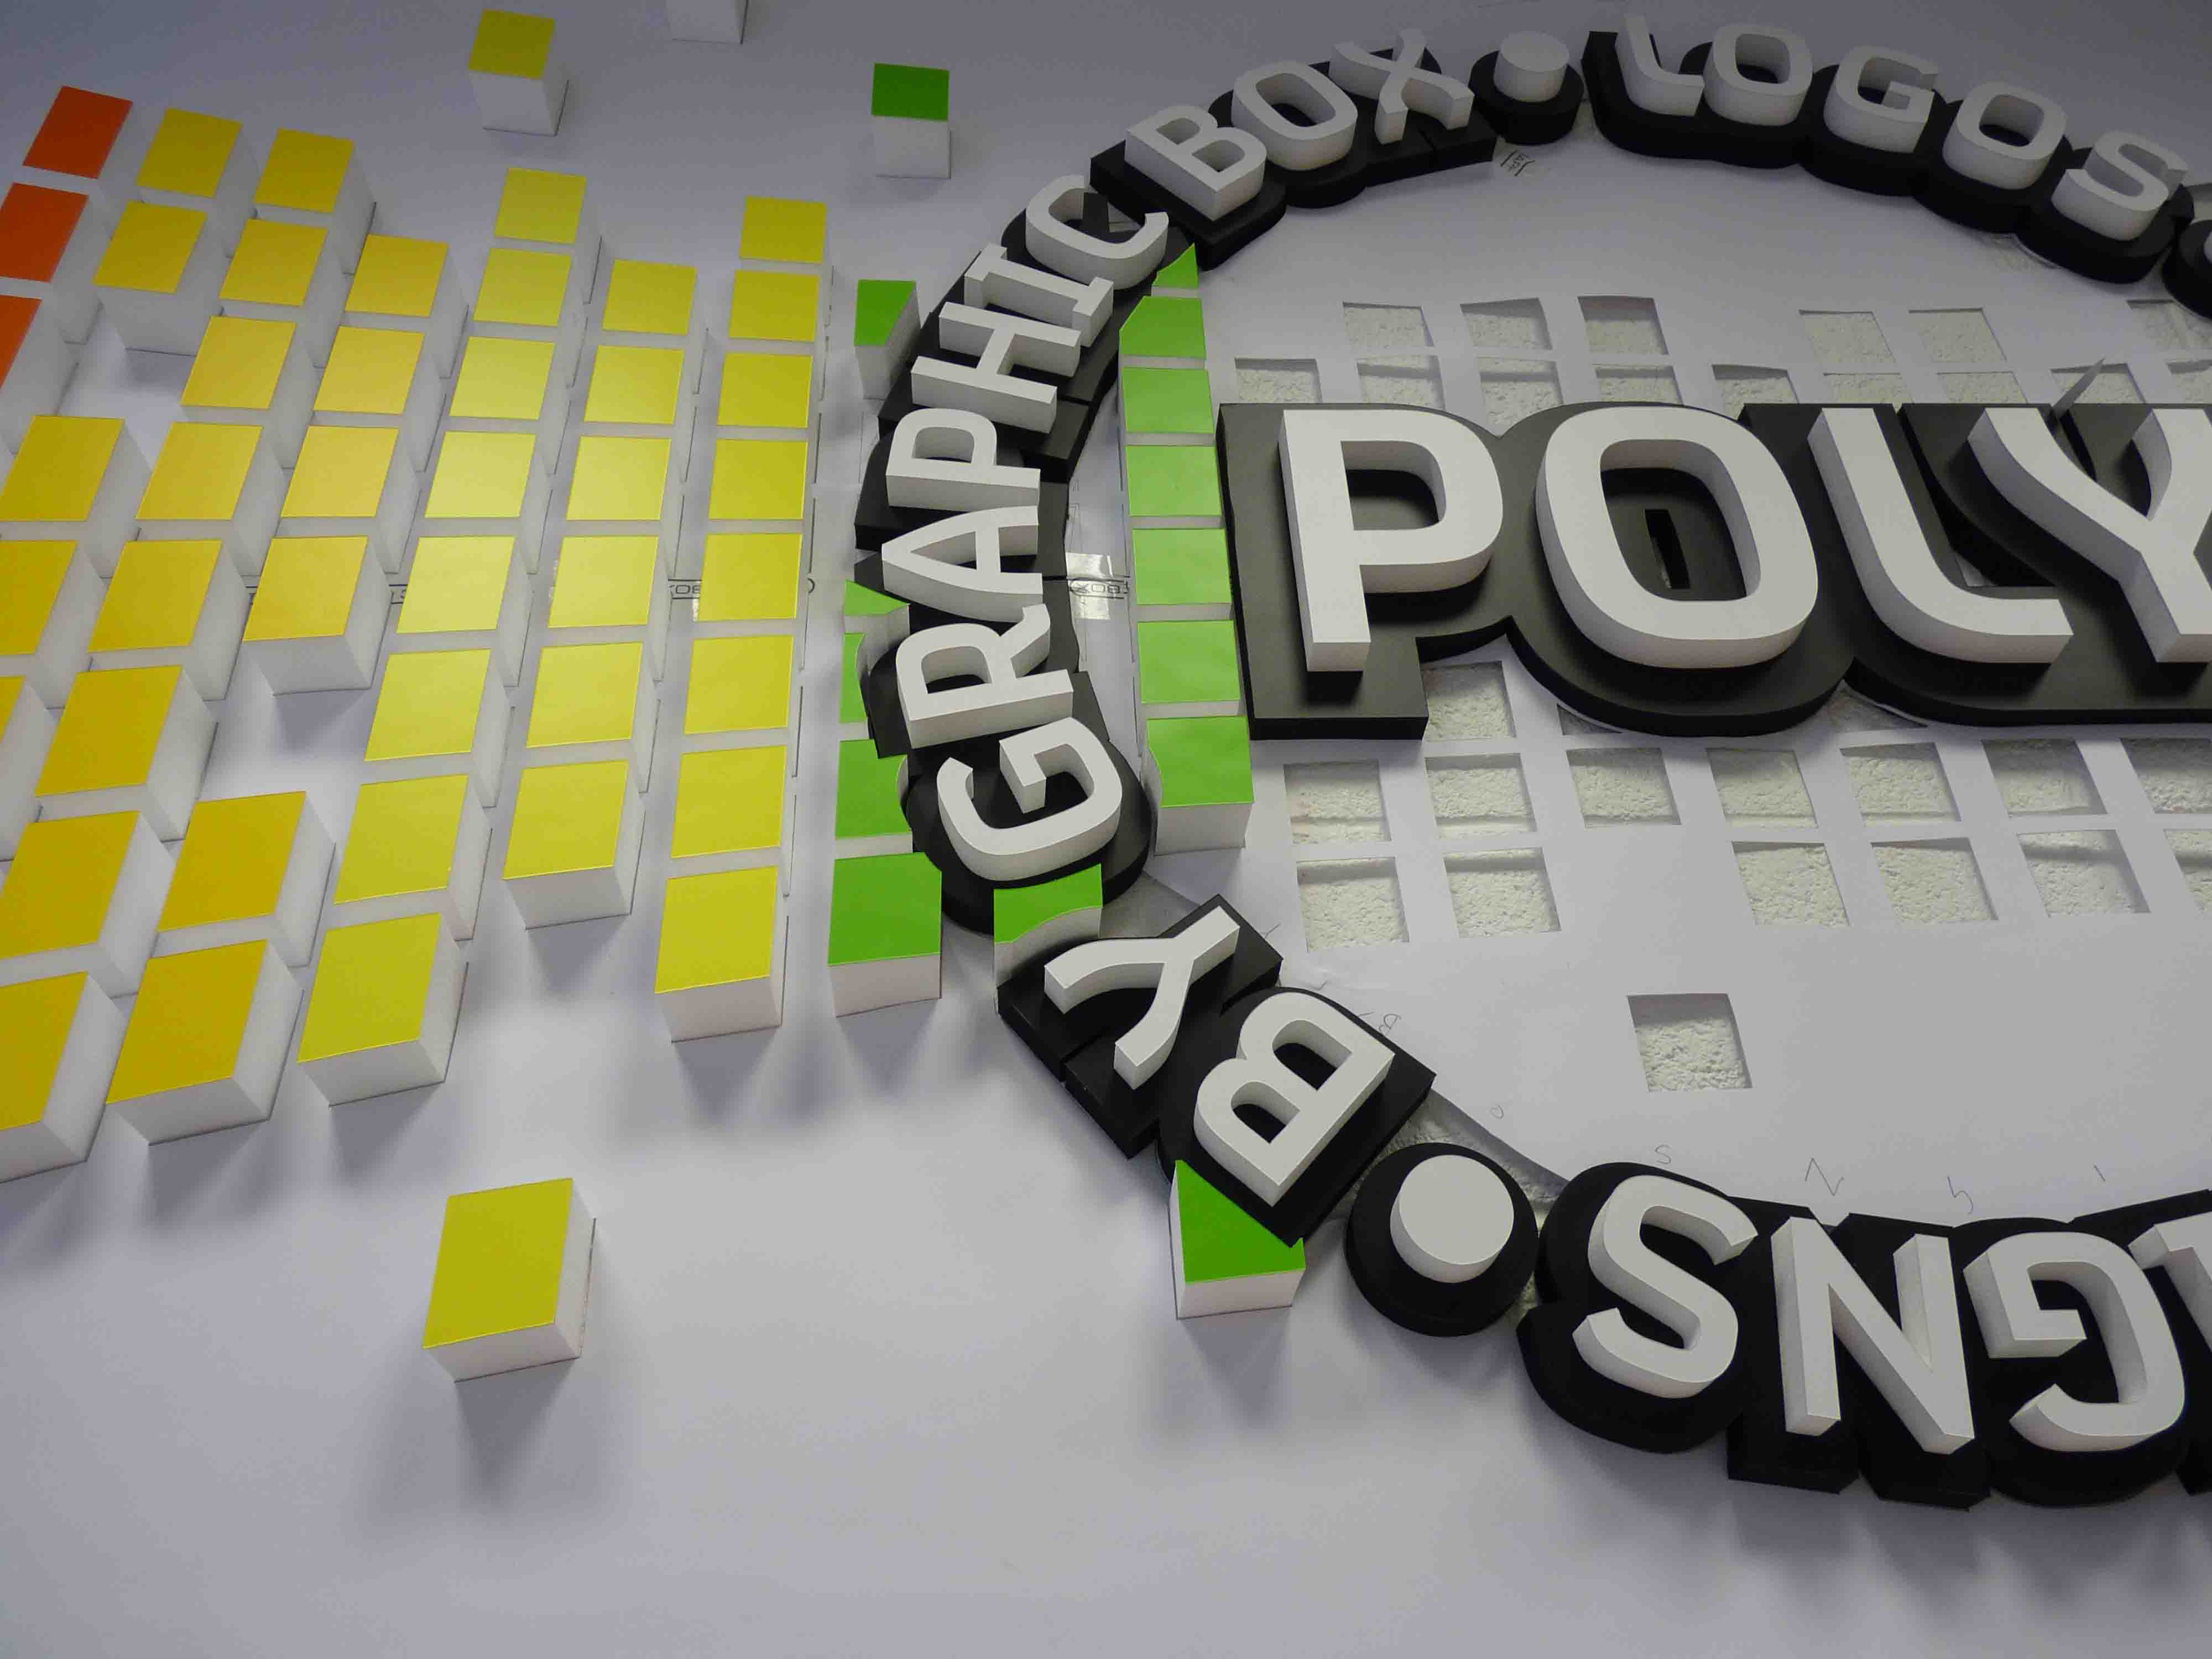
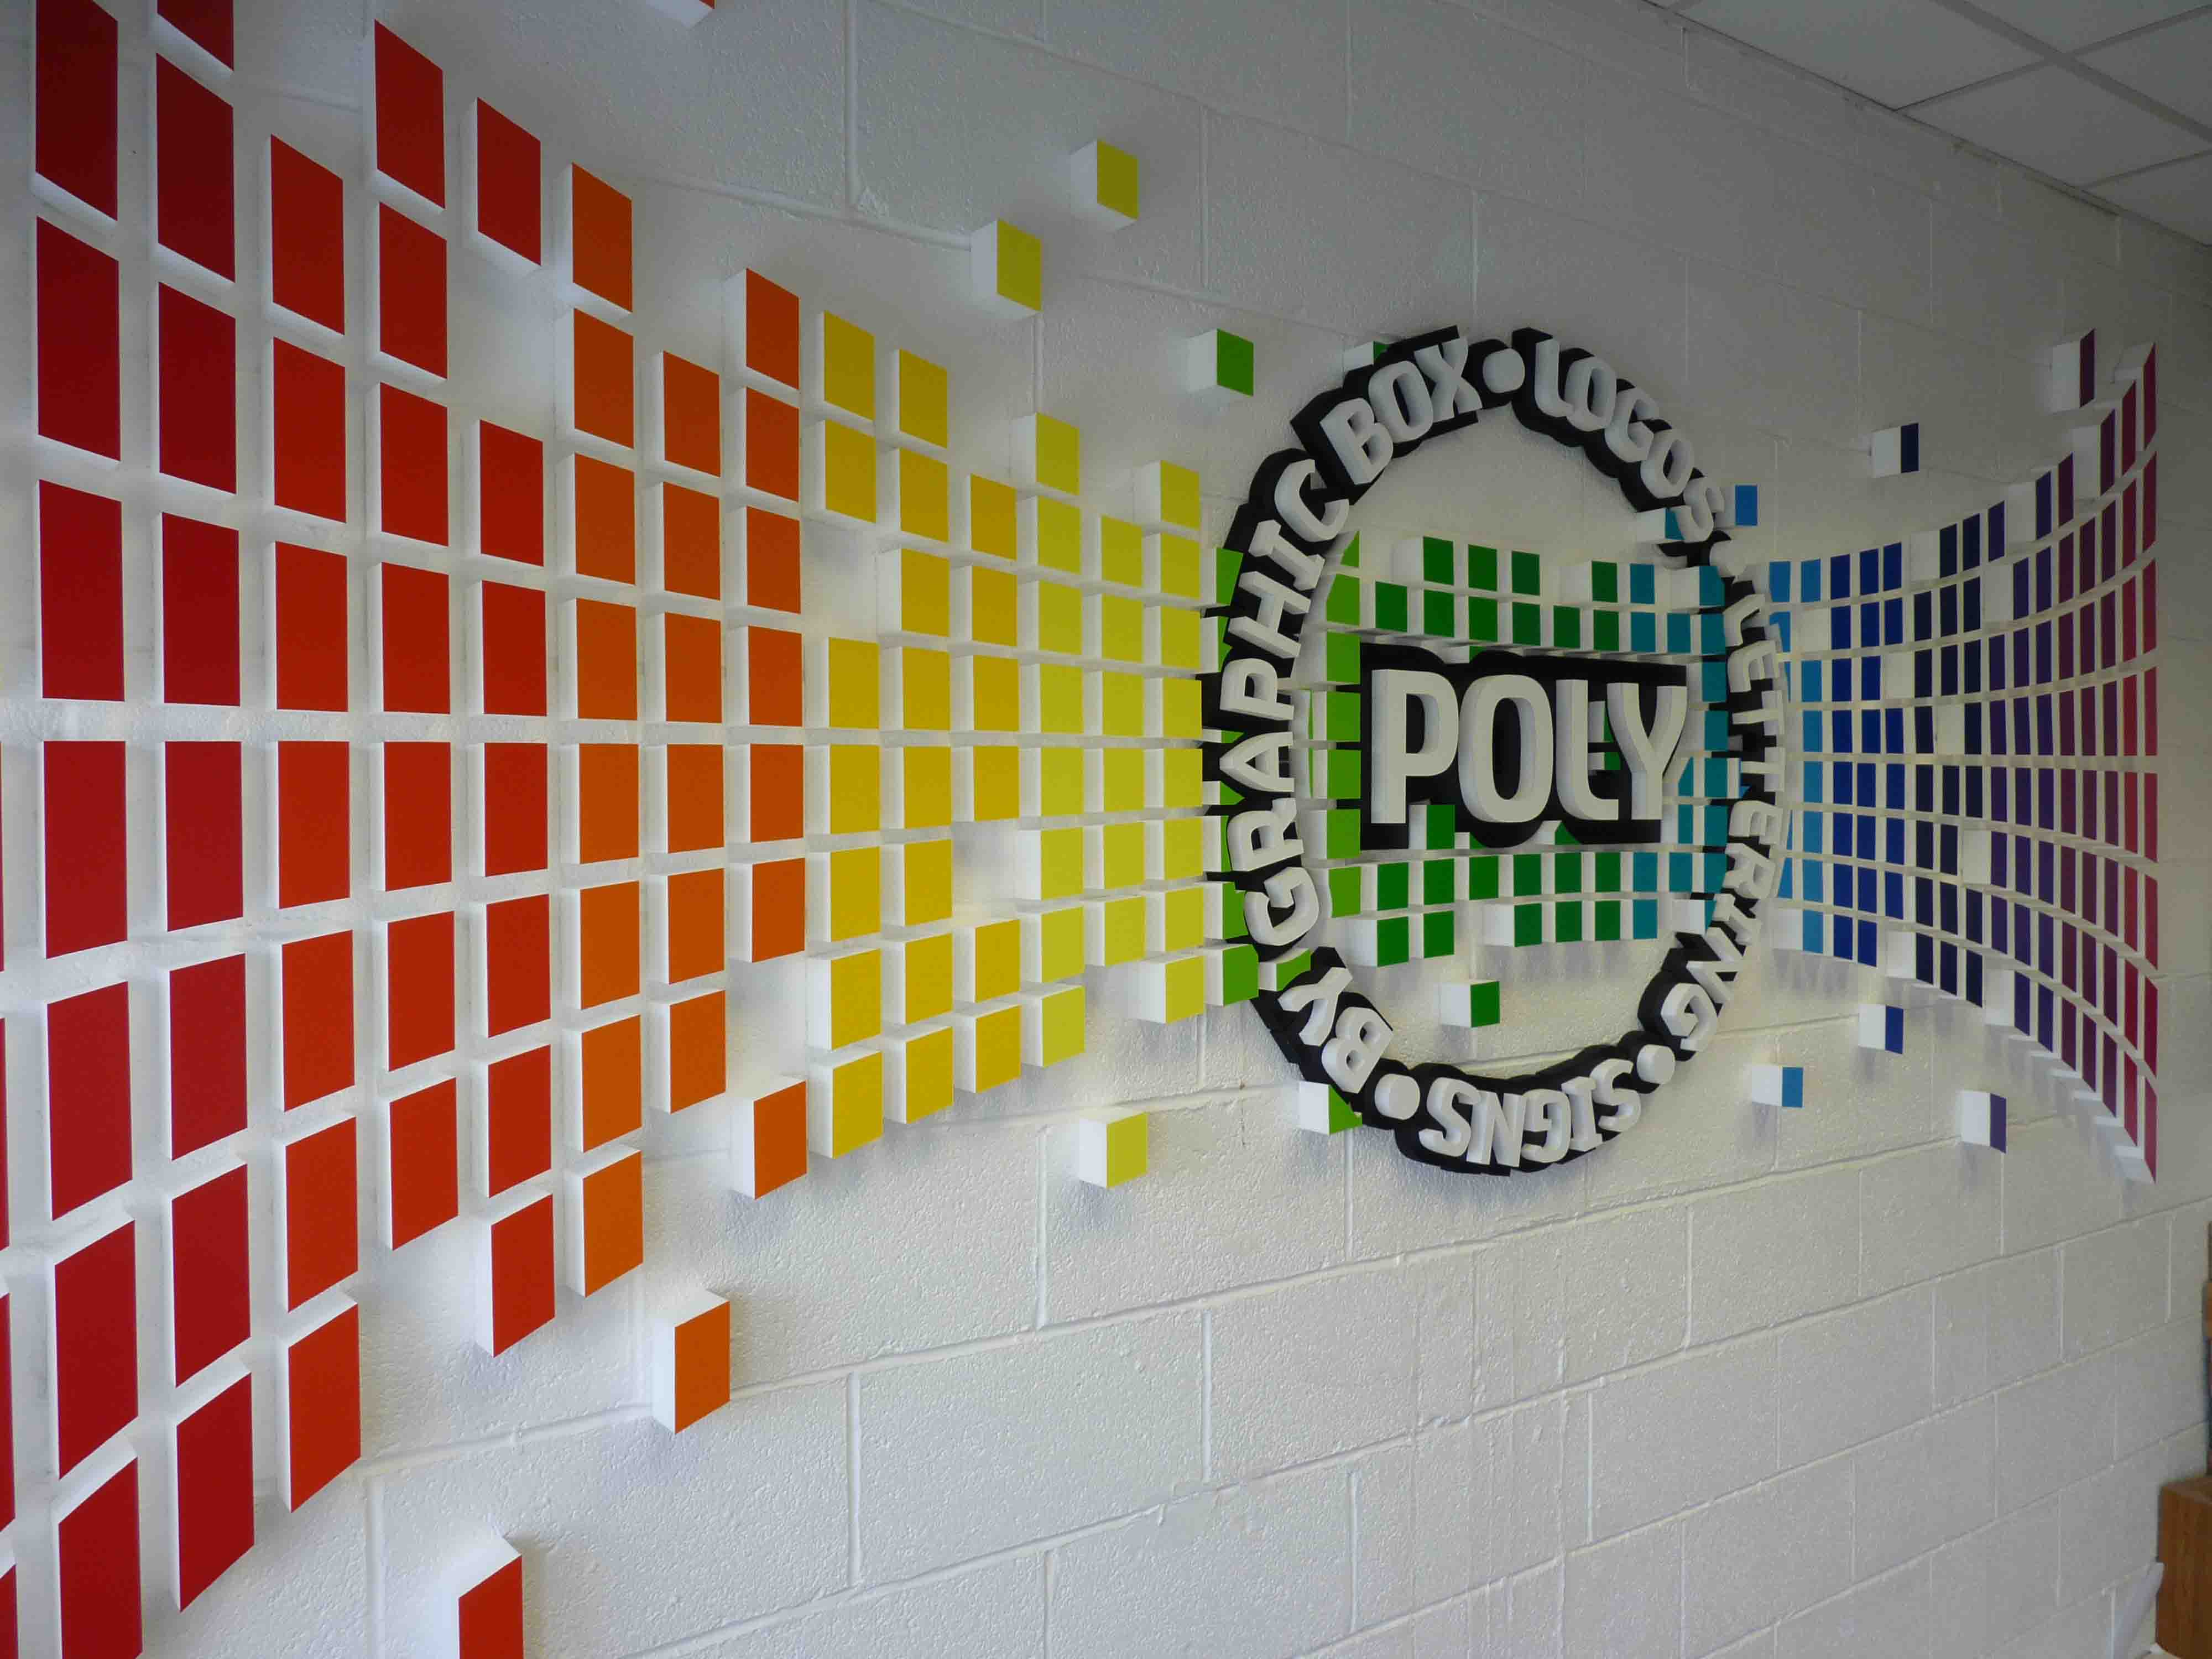
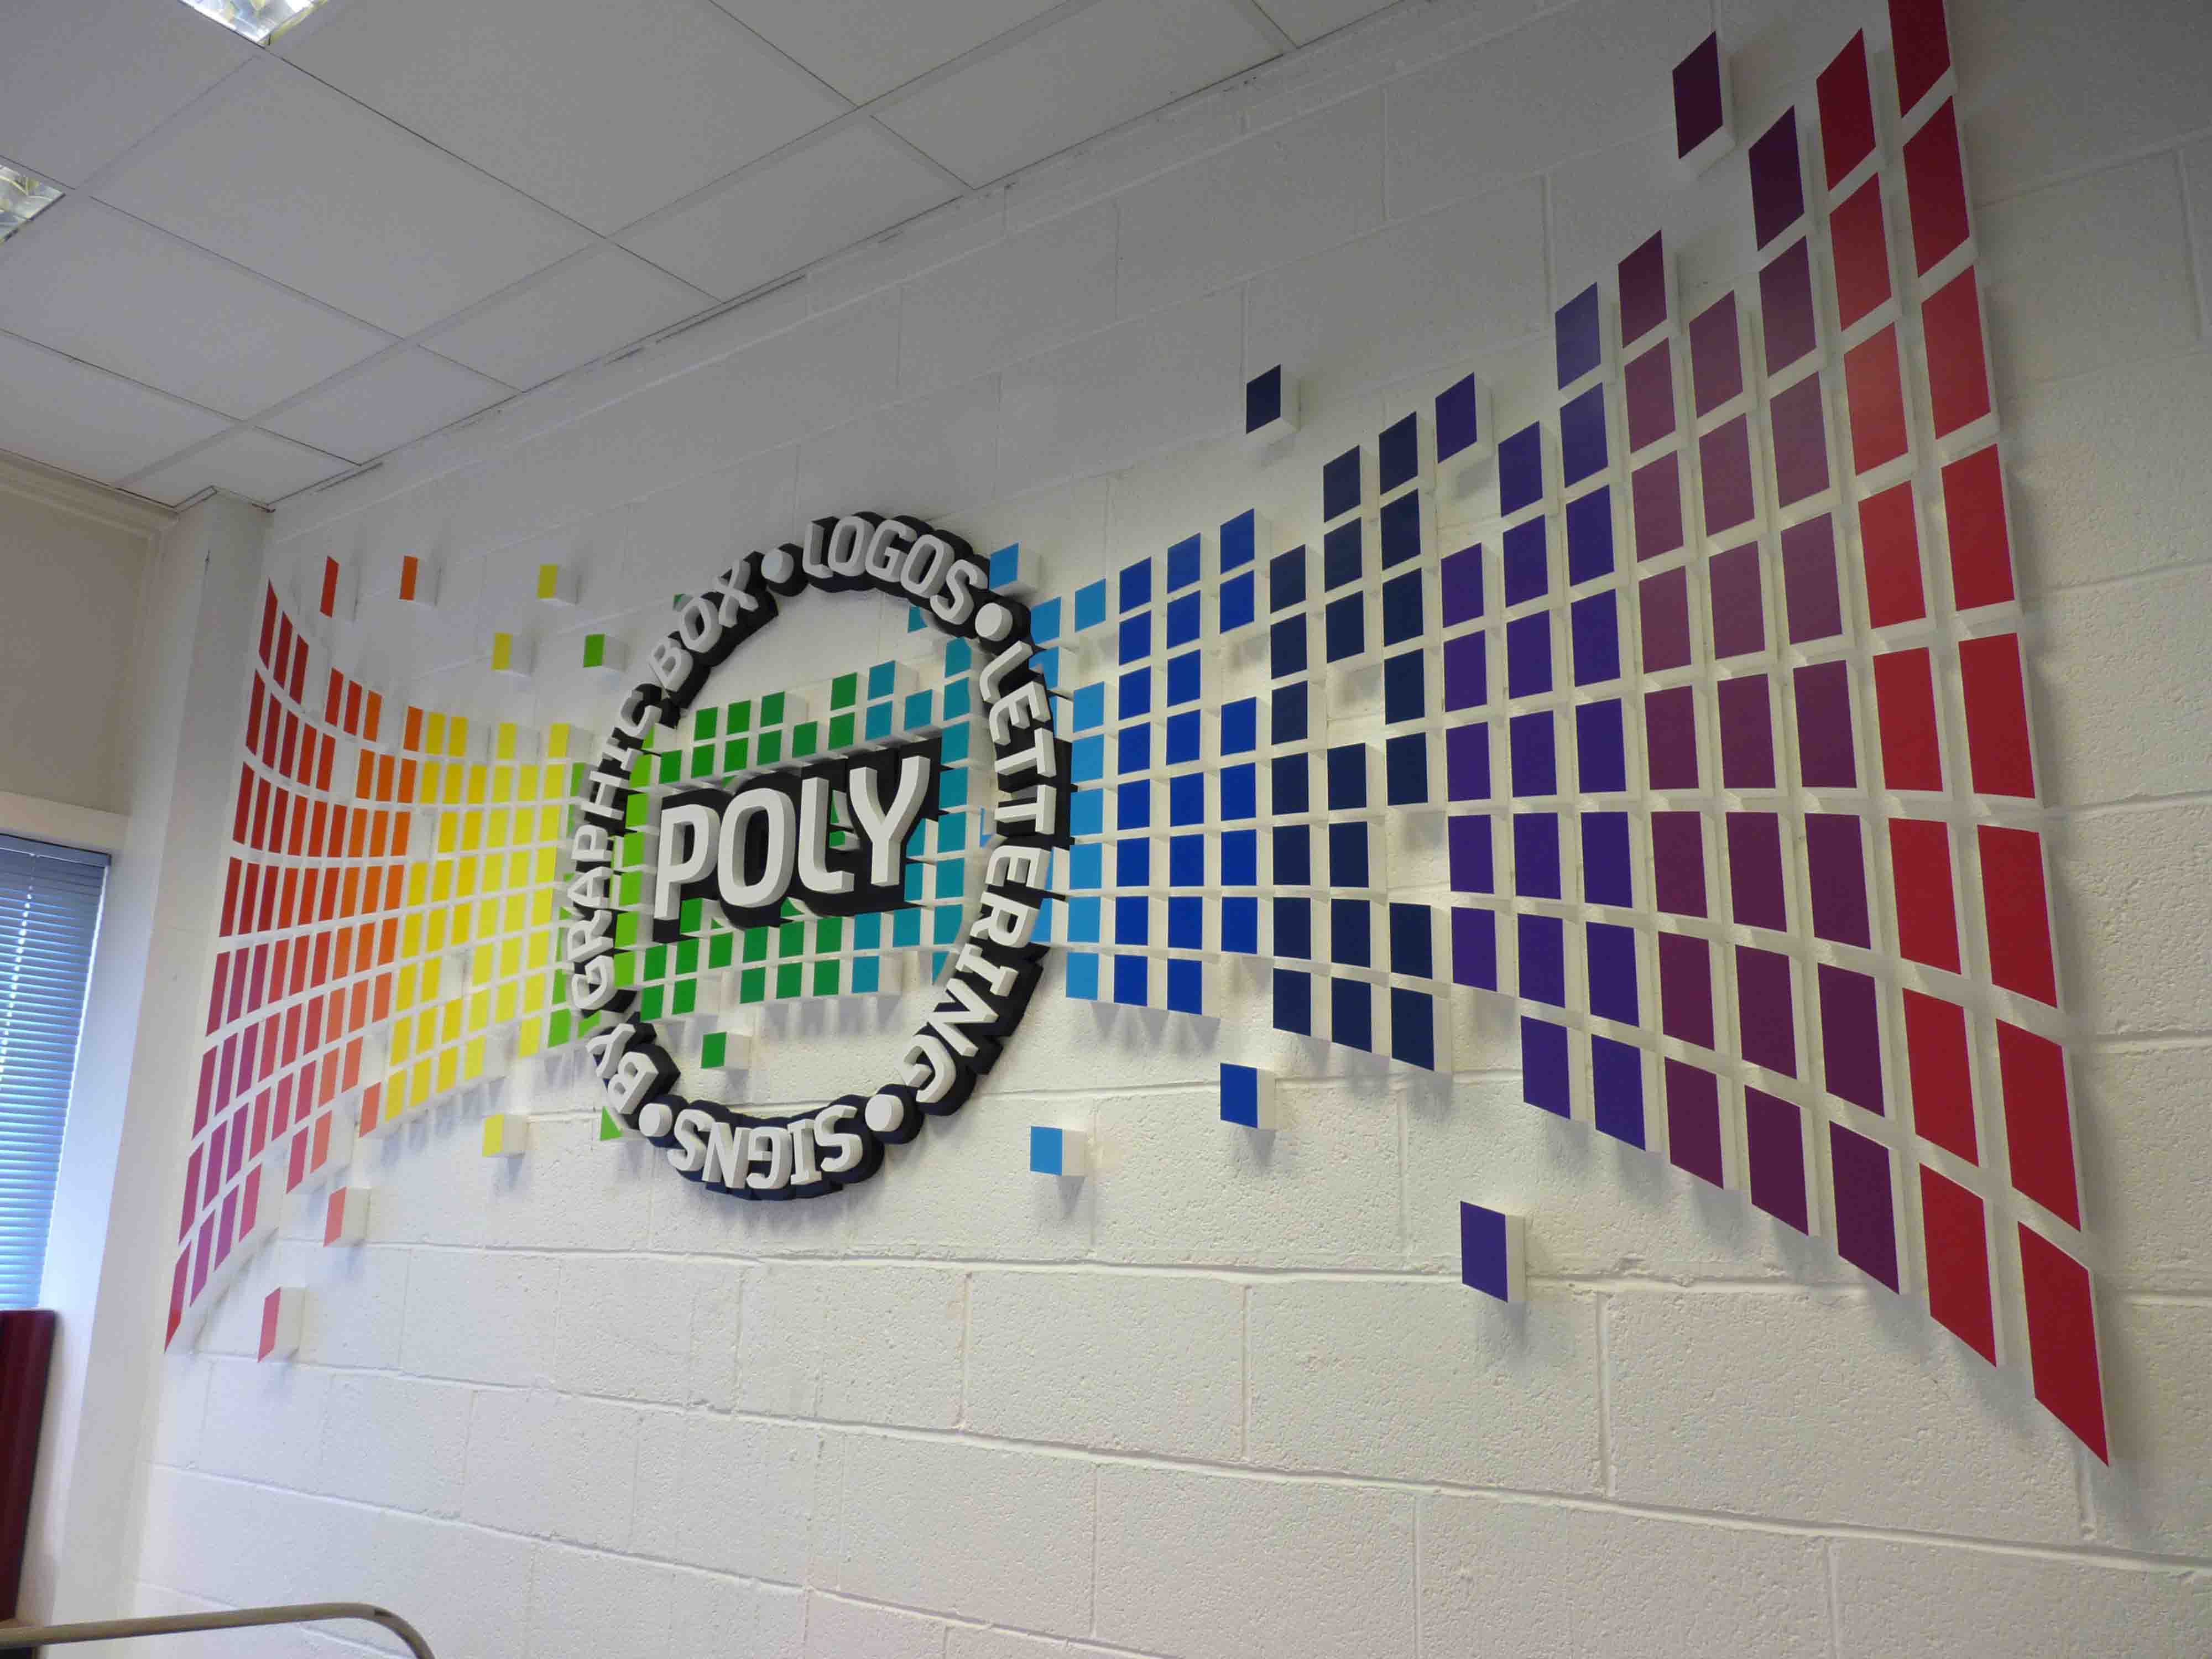
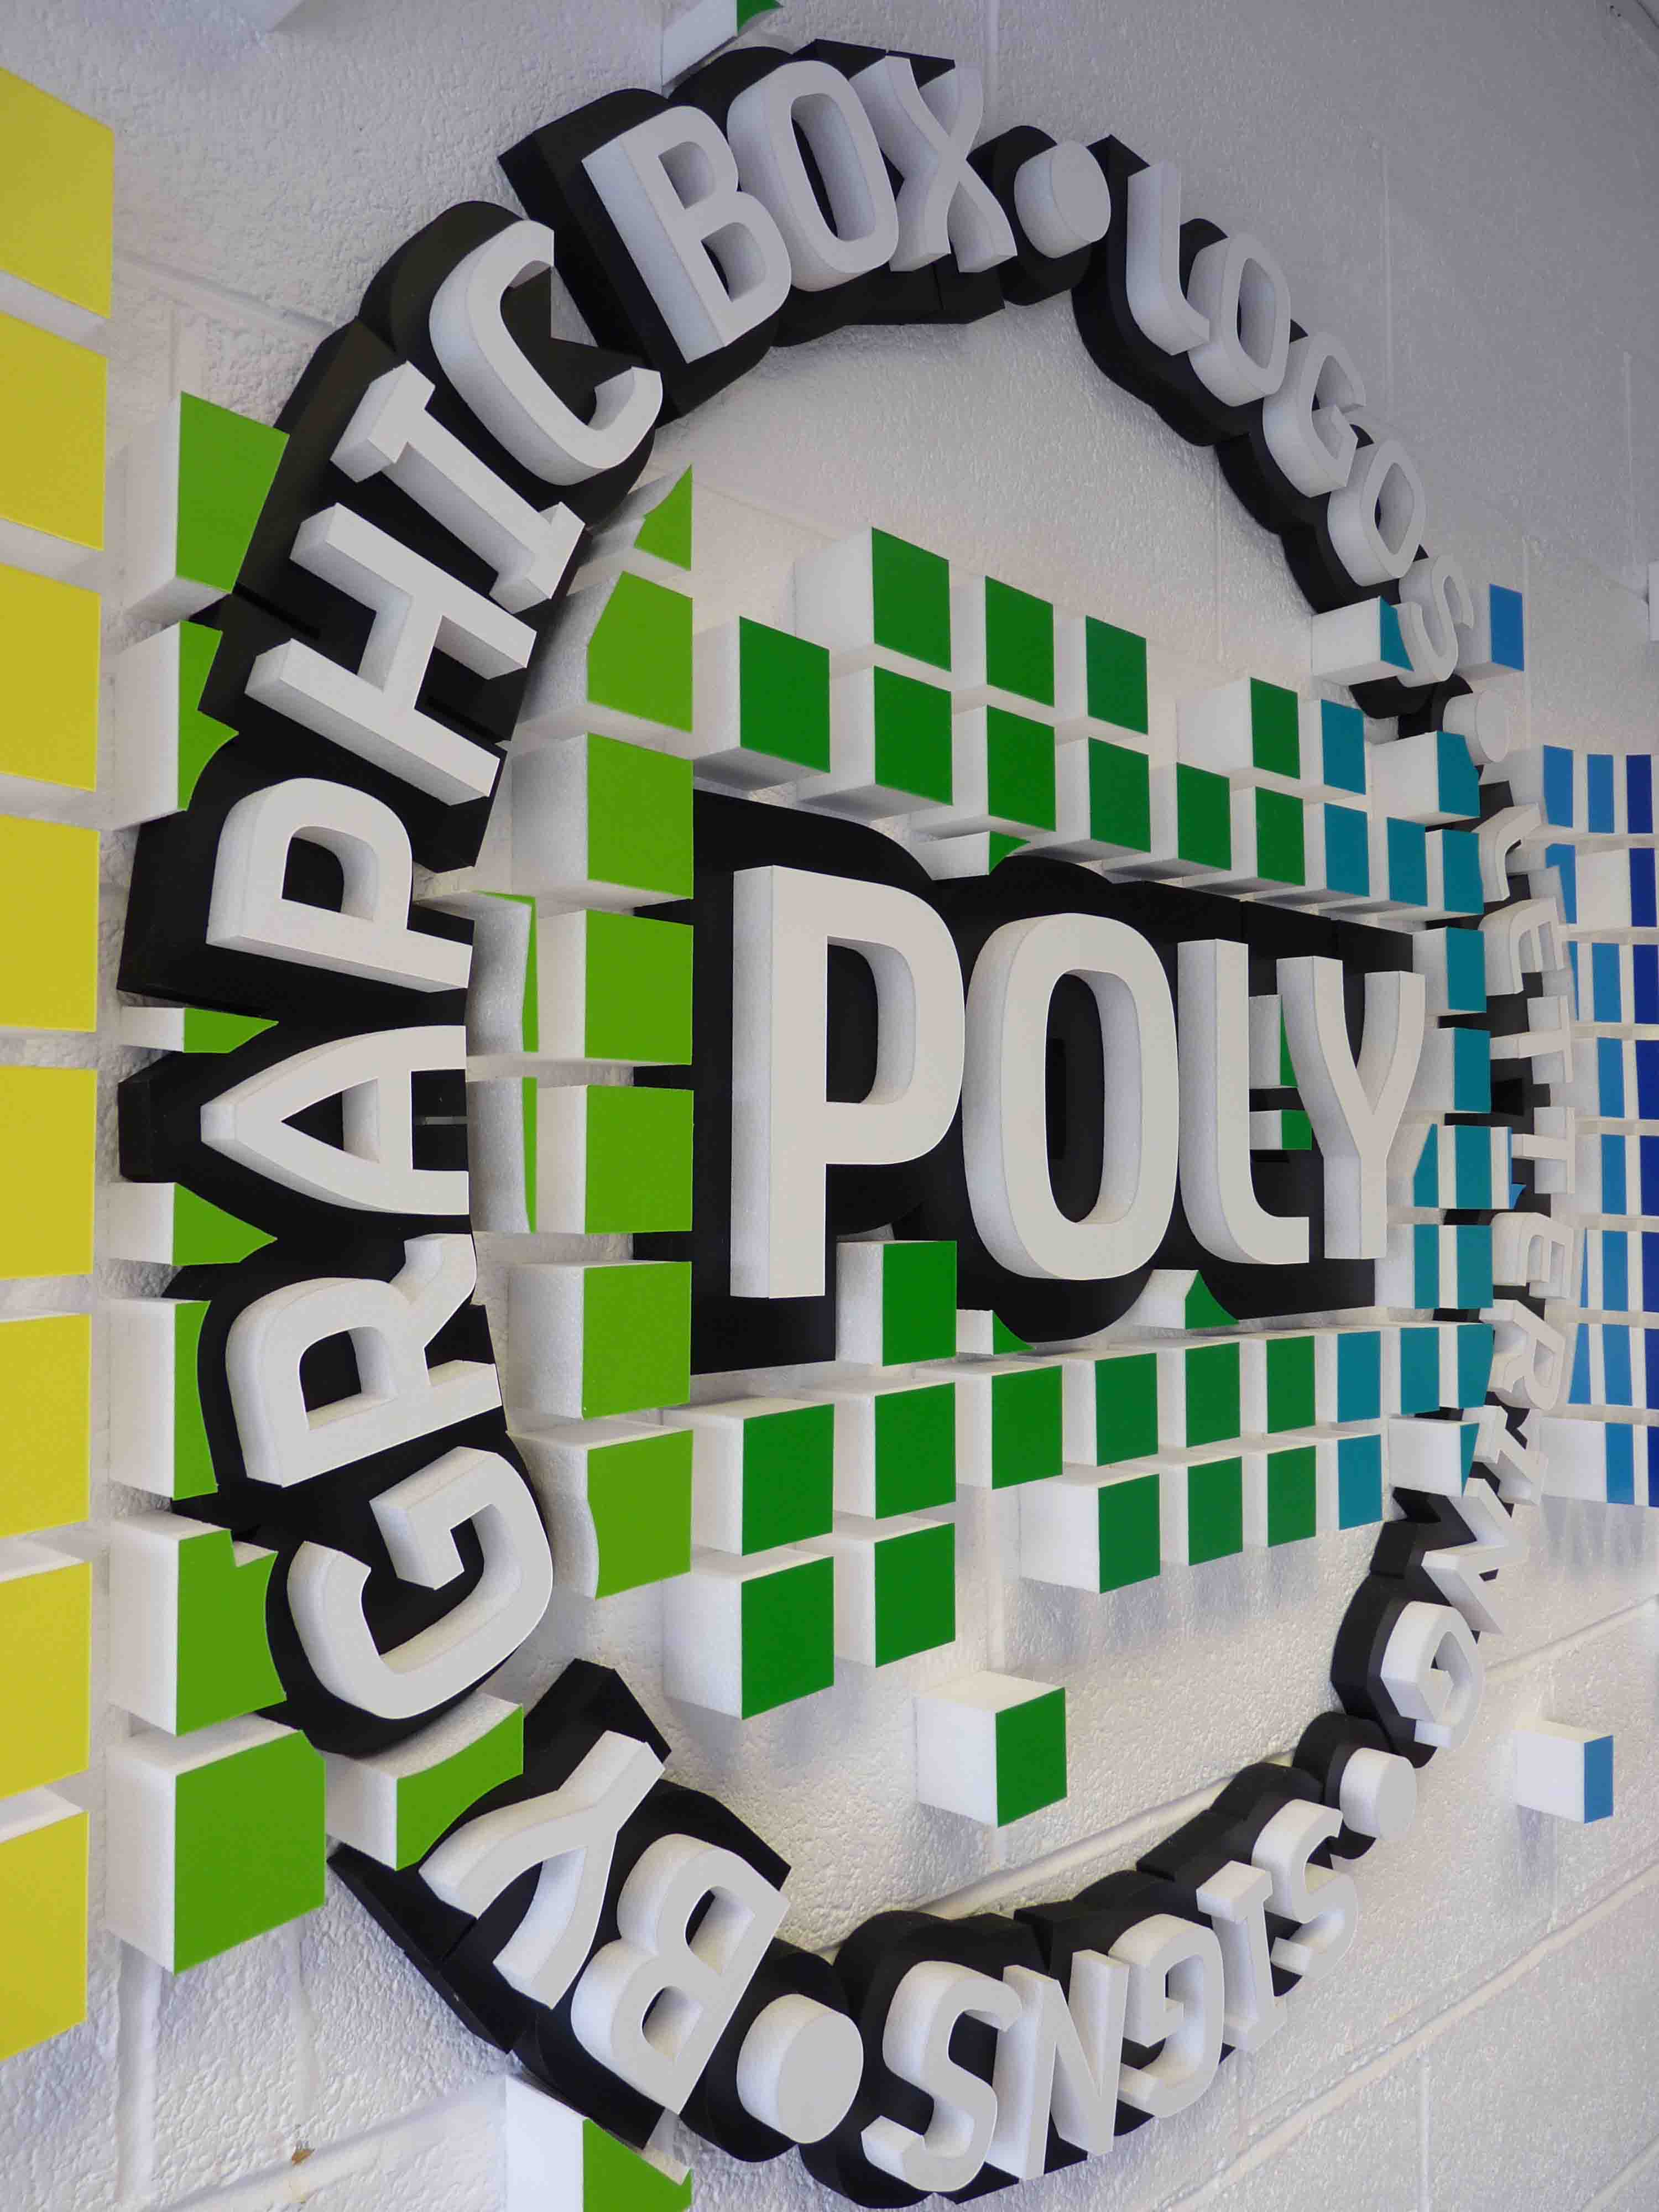
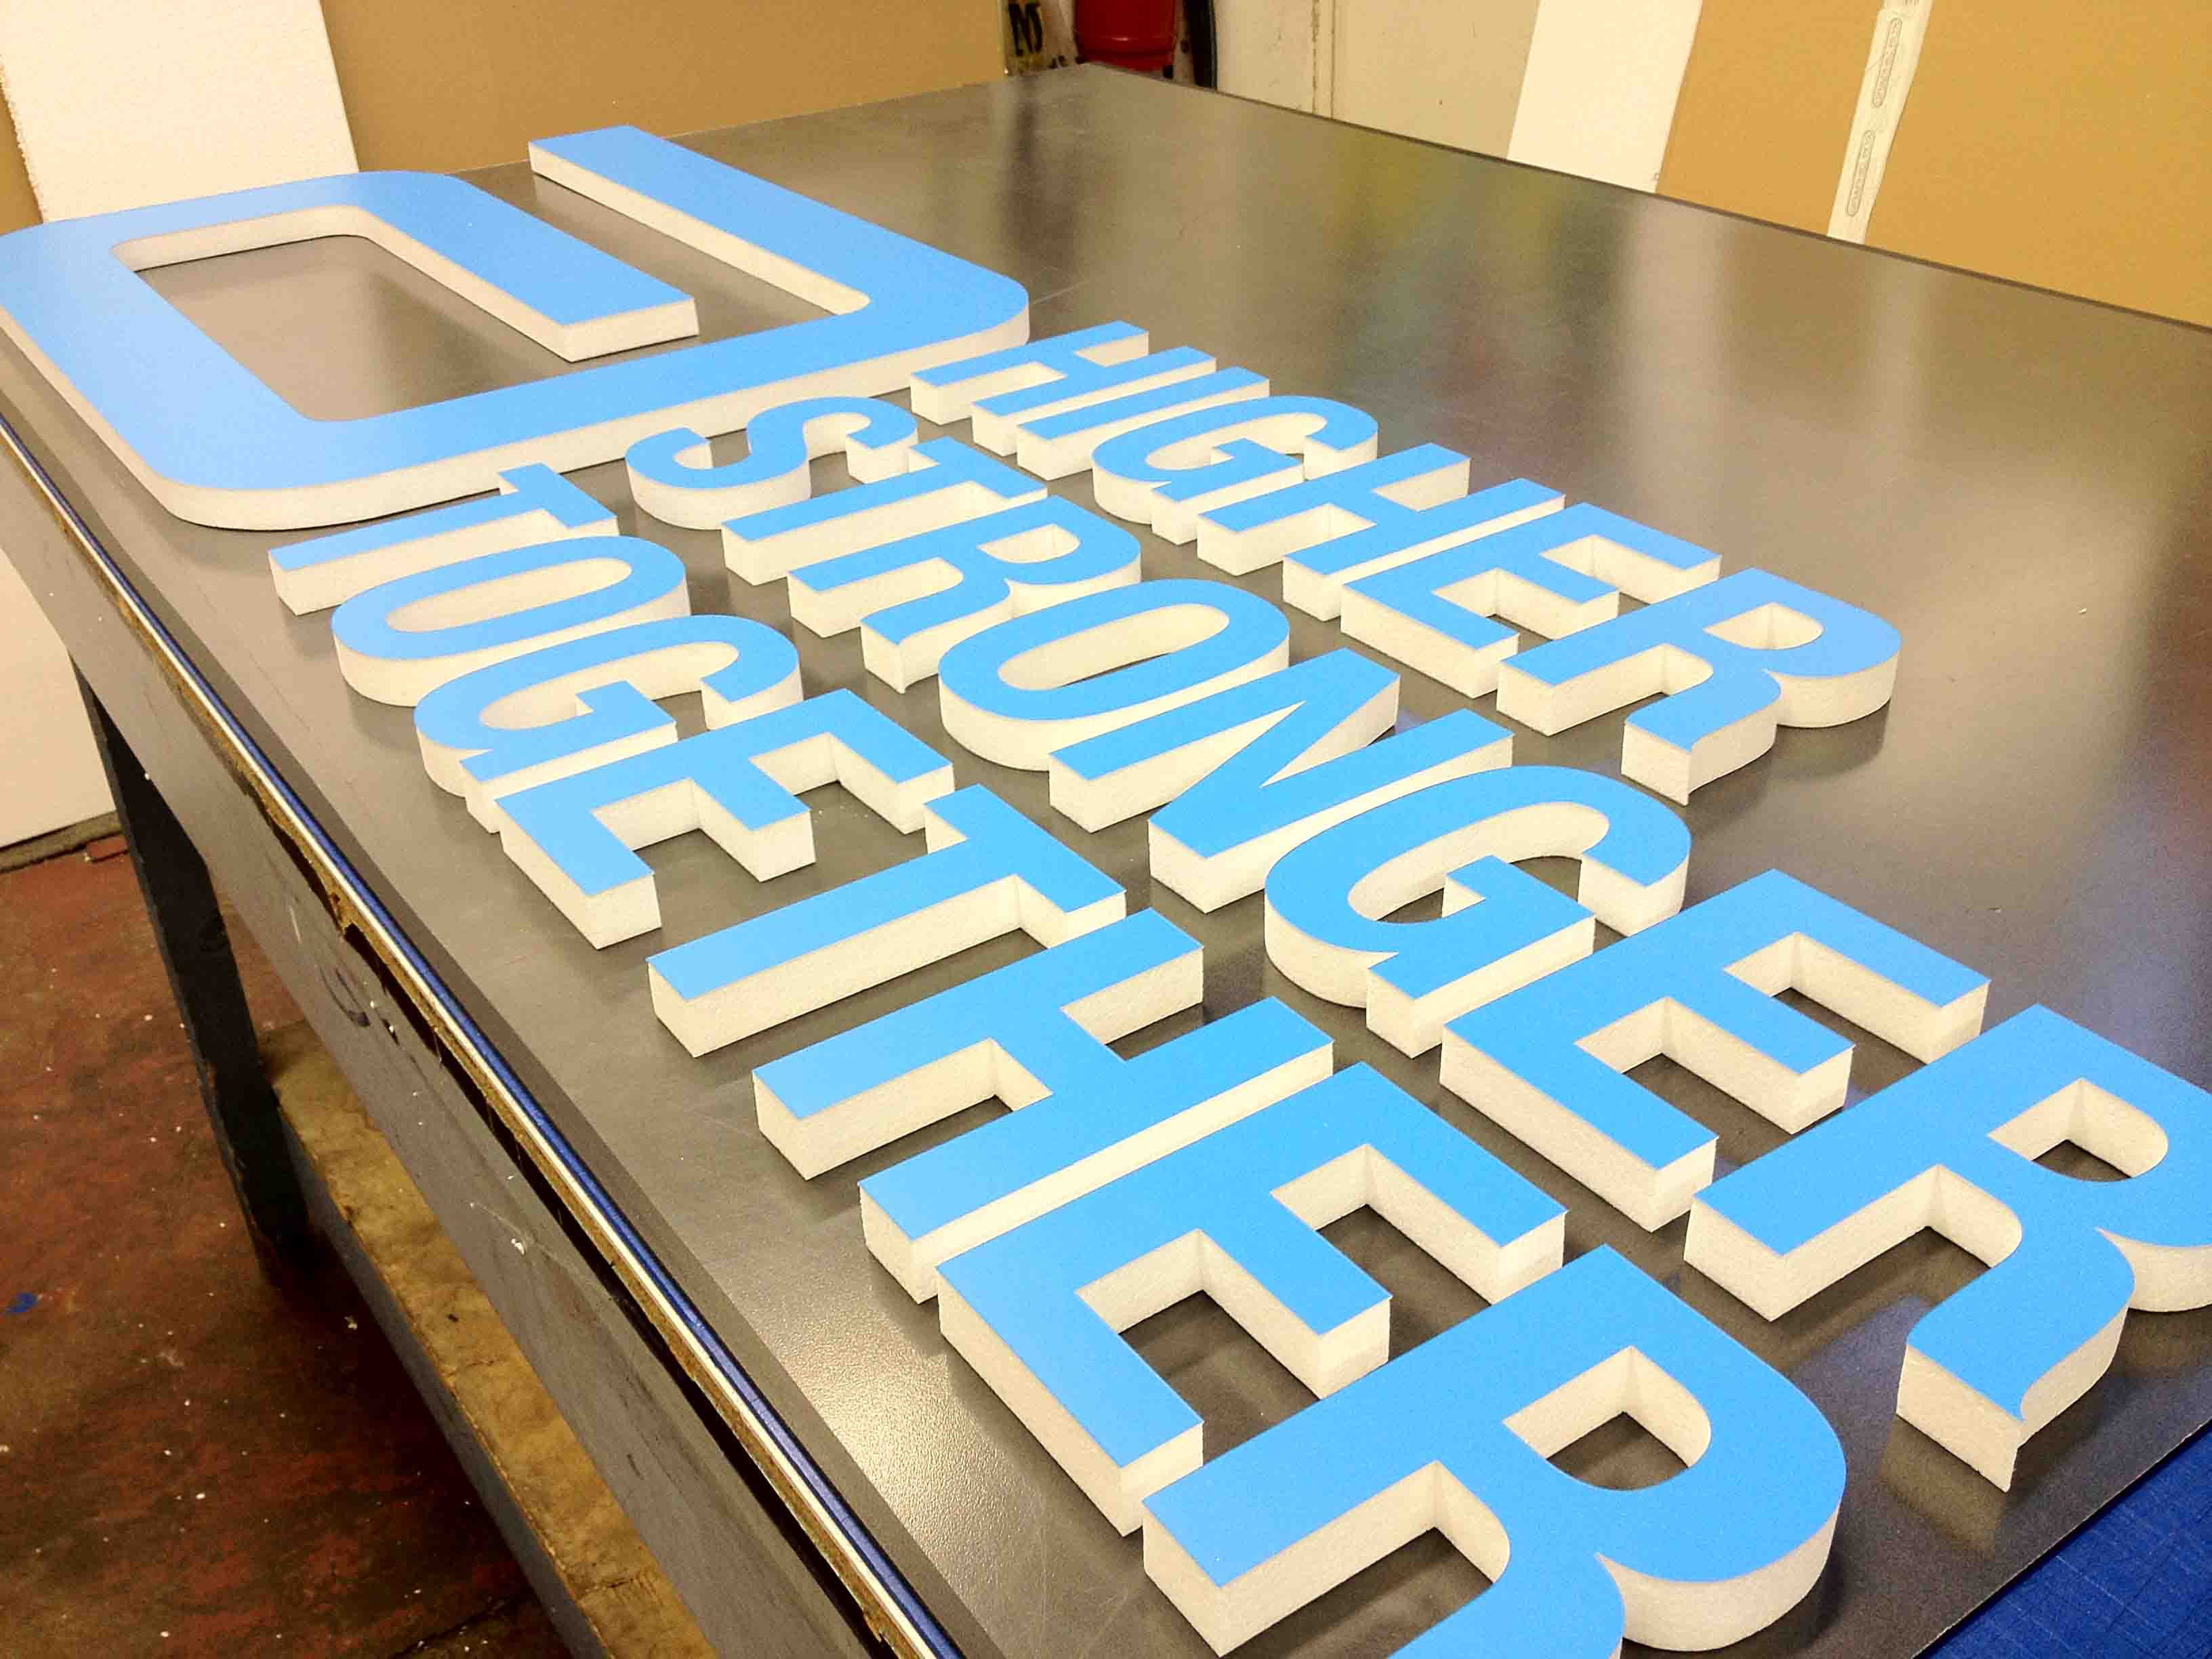
Thought I would share this polystyrene piece which I’ve been working on between jobs.
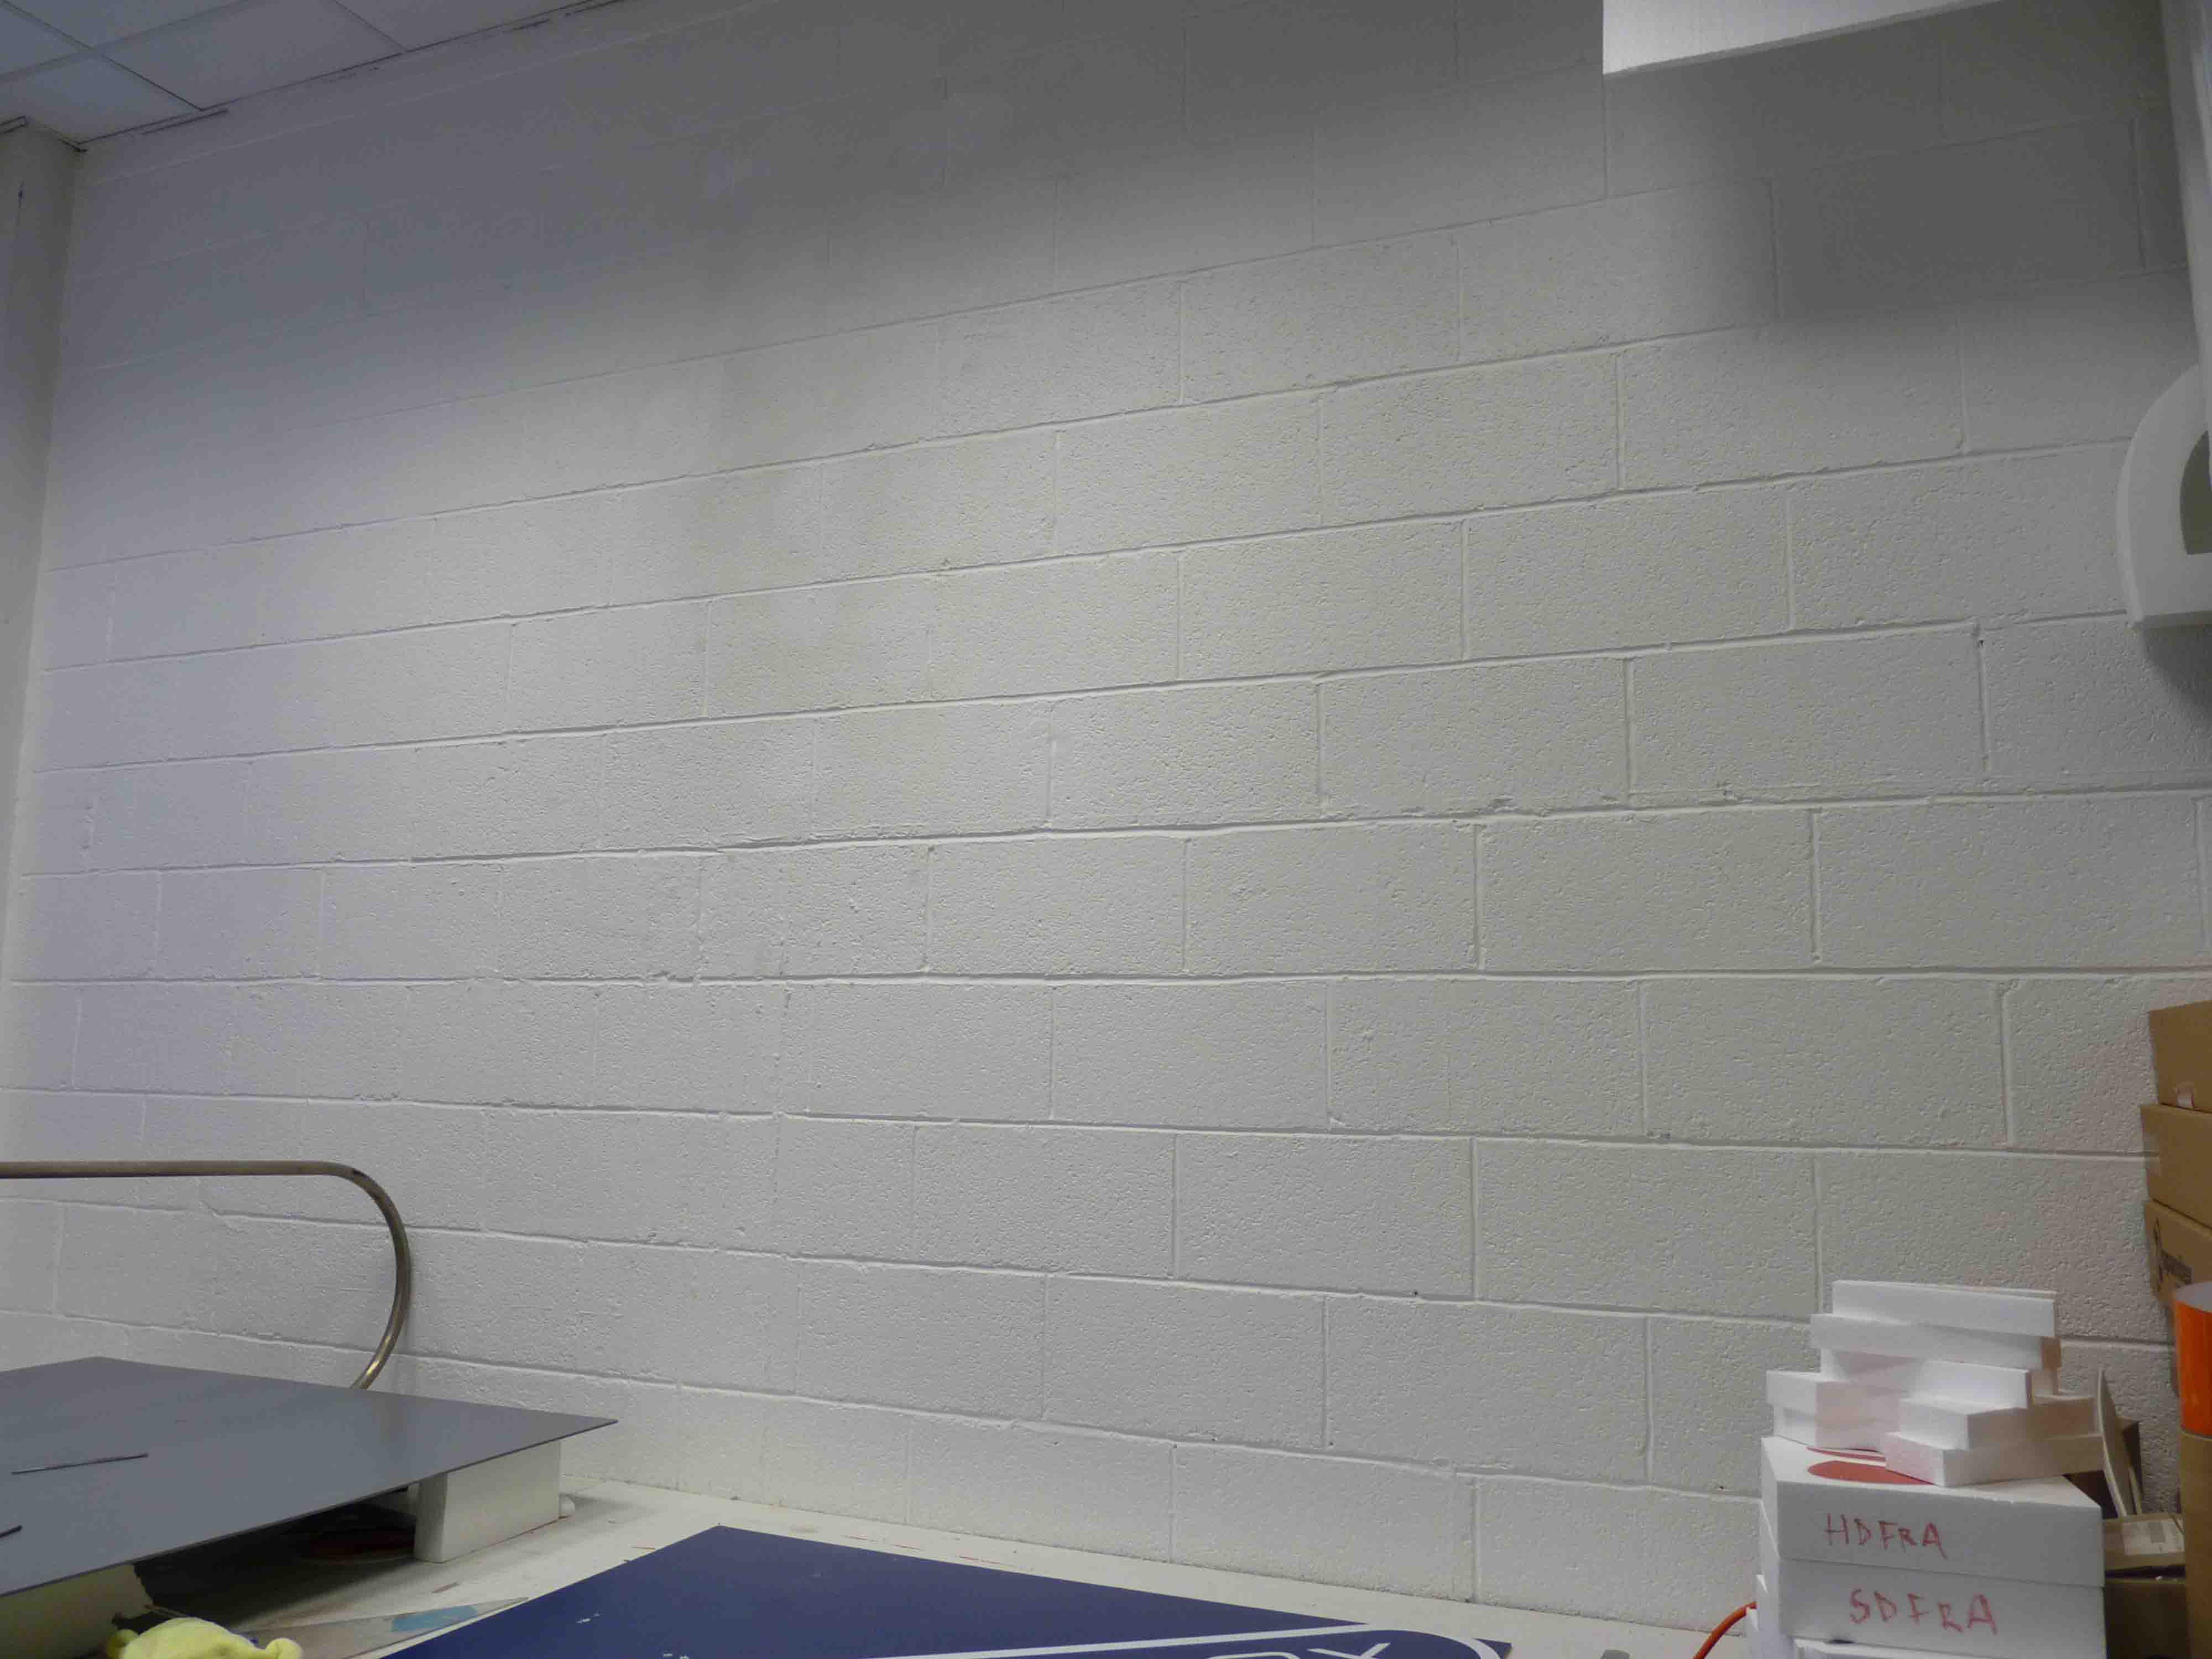
We had a big bare wall in our unit which was screaming for a bit of colour and had the idea of doing a bit of a show piece to show to any clients who were thinking of going down the poly route and also to show on our up-coming website.
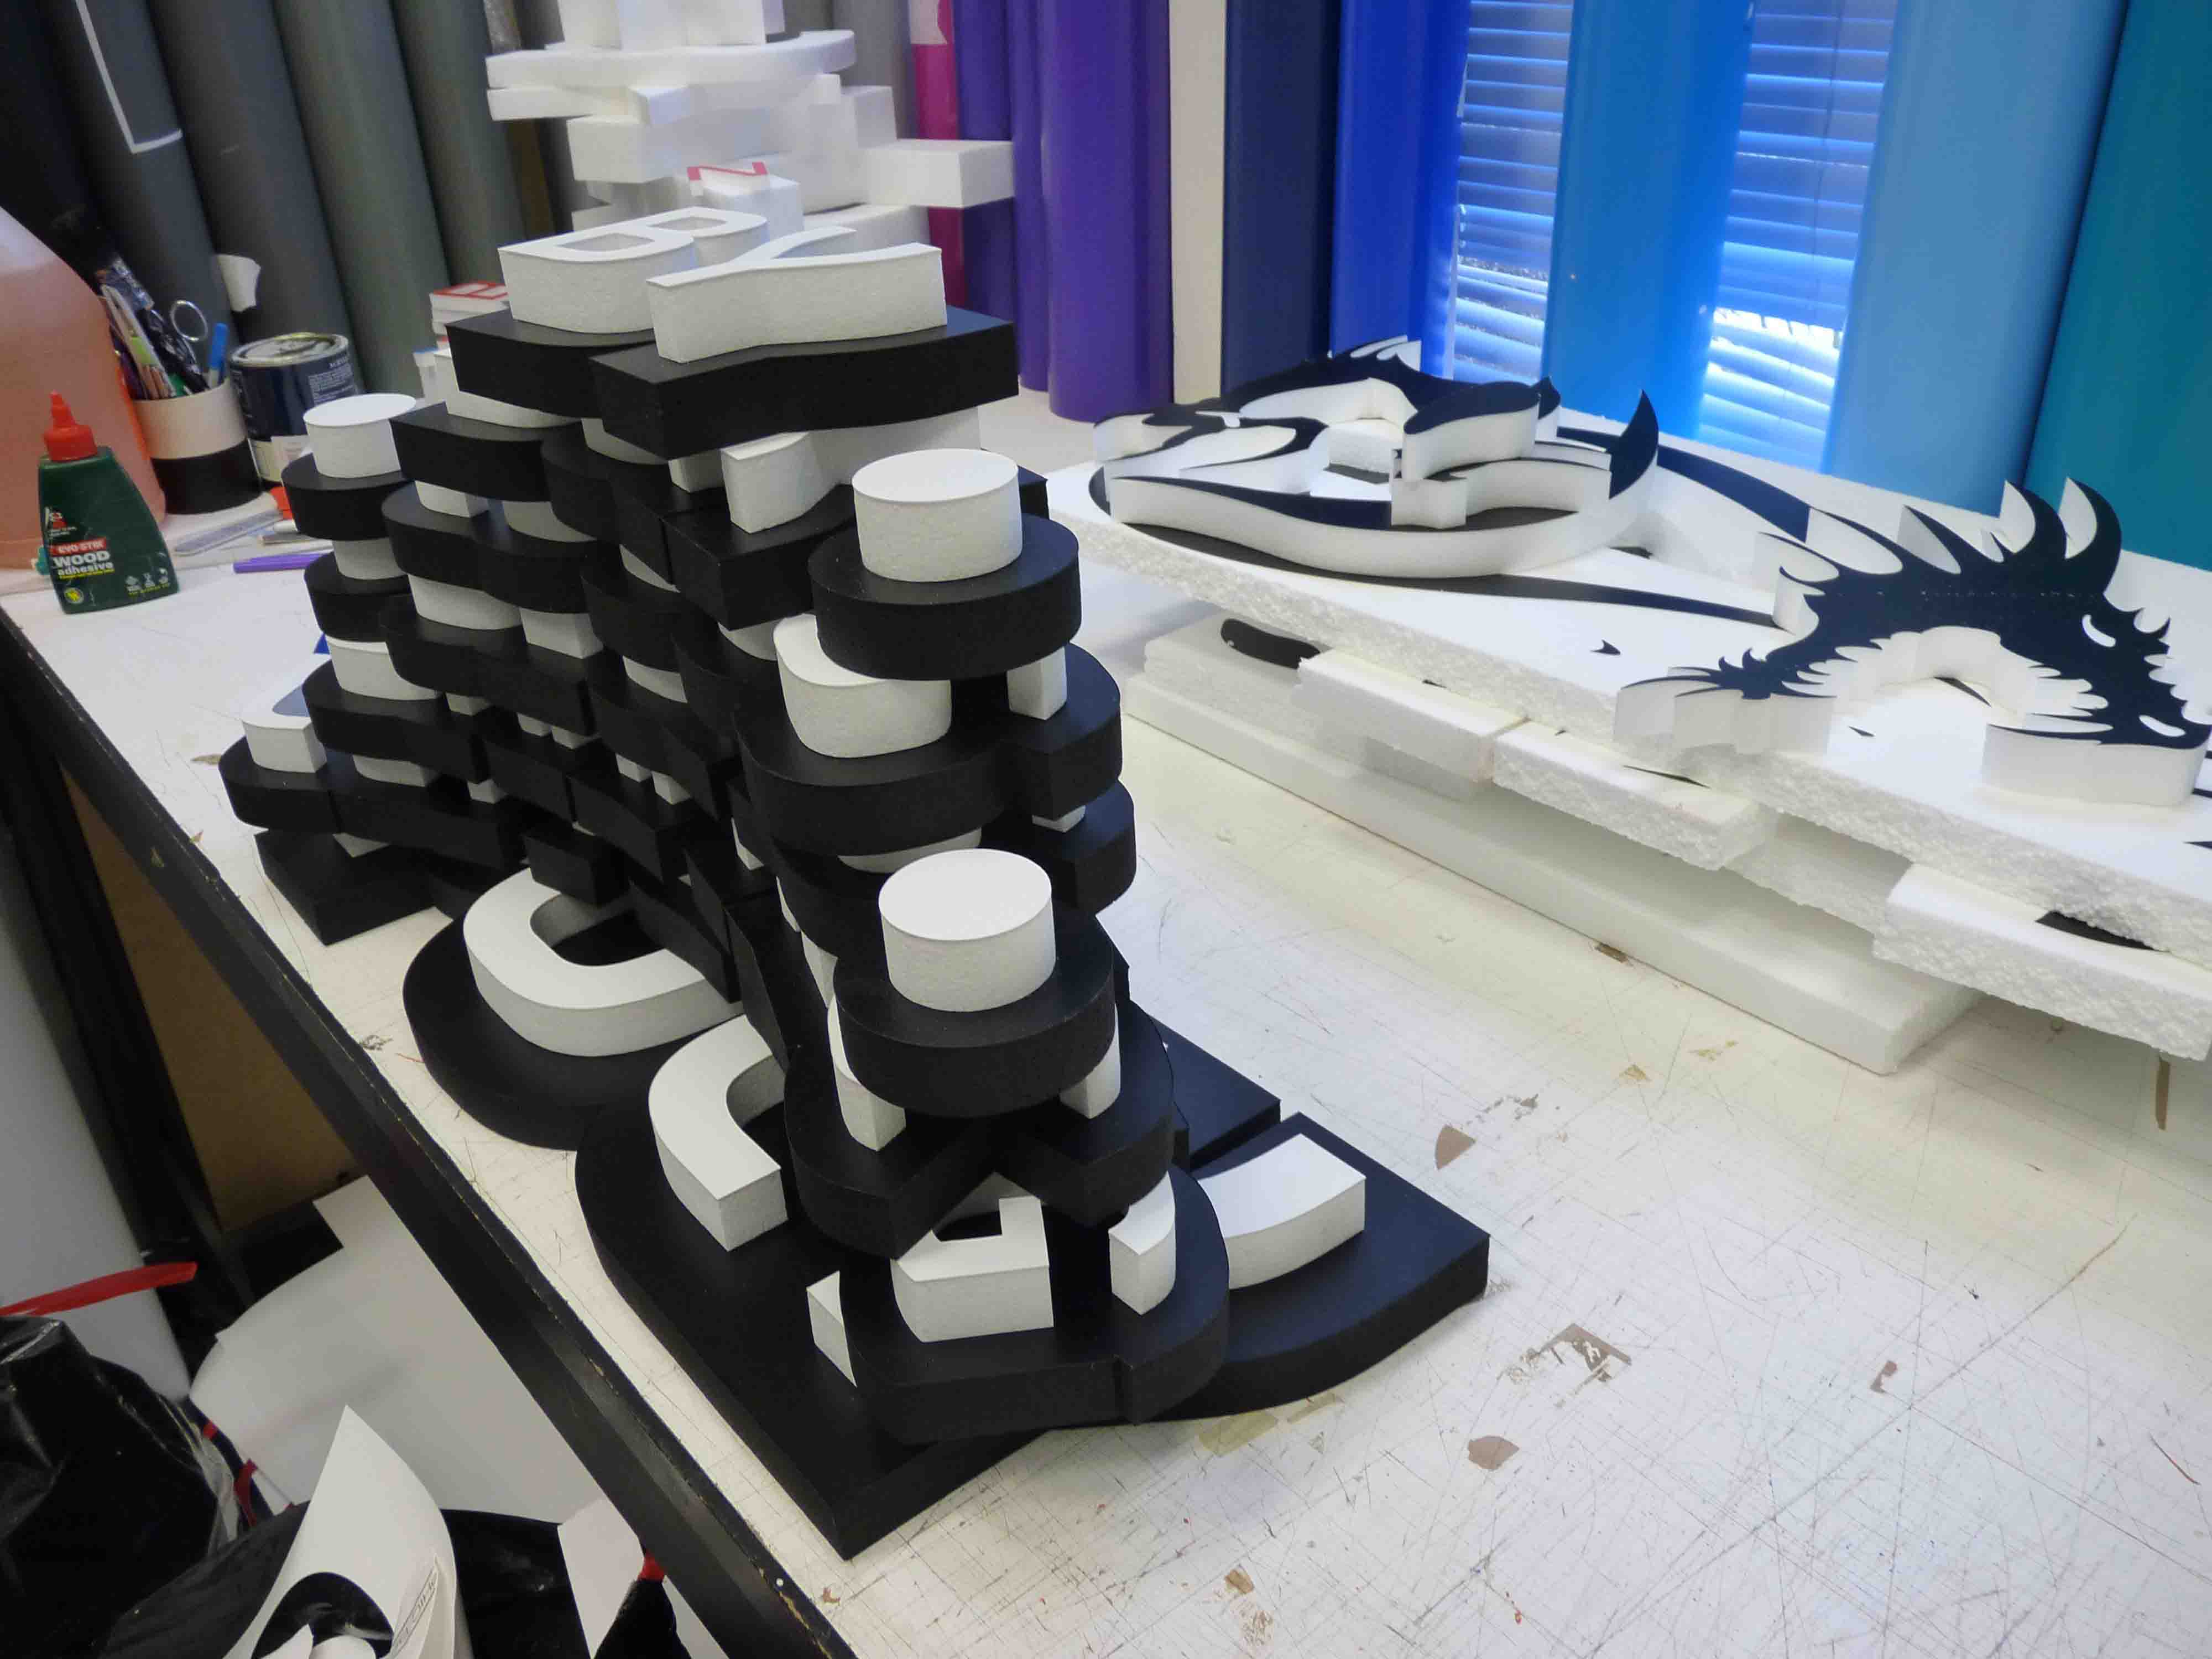
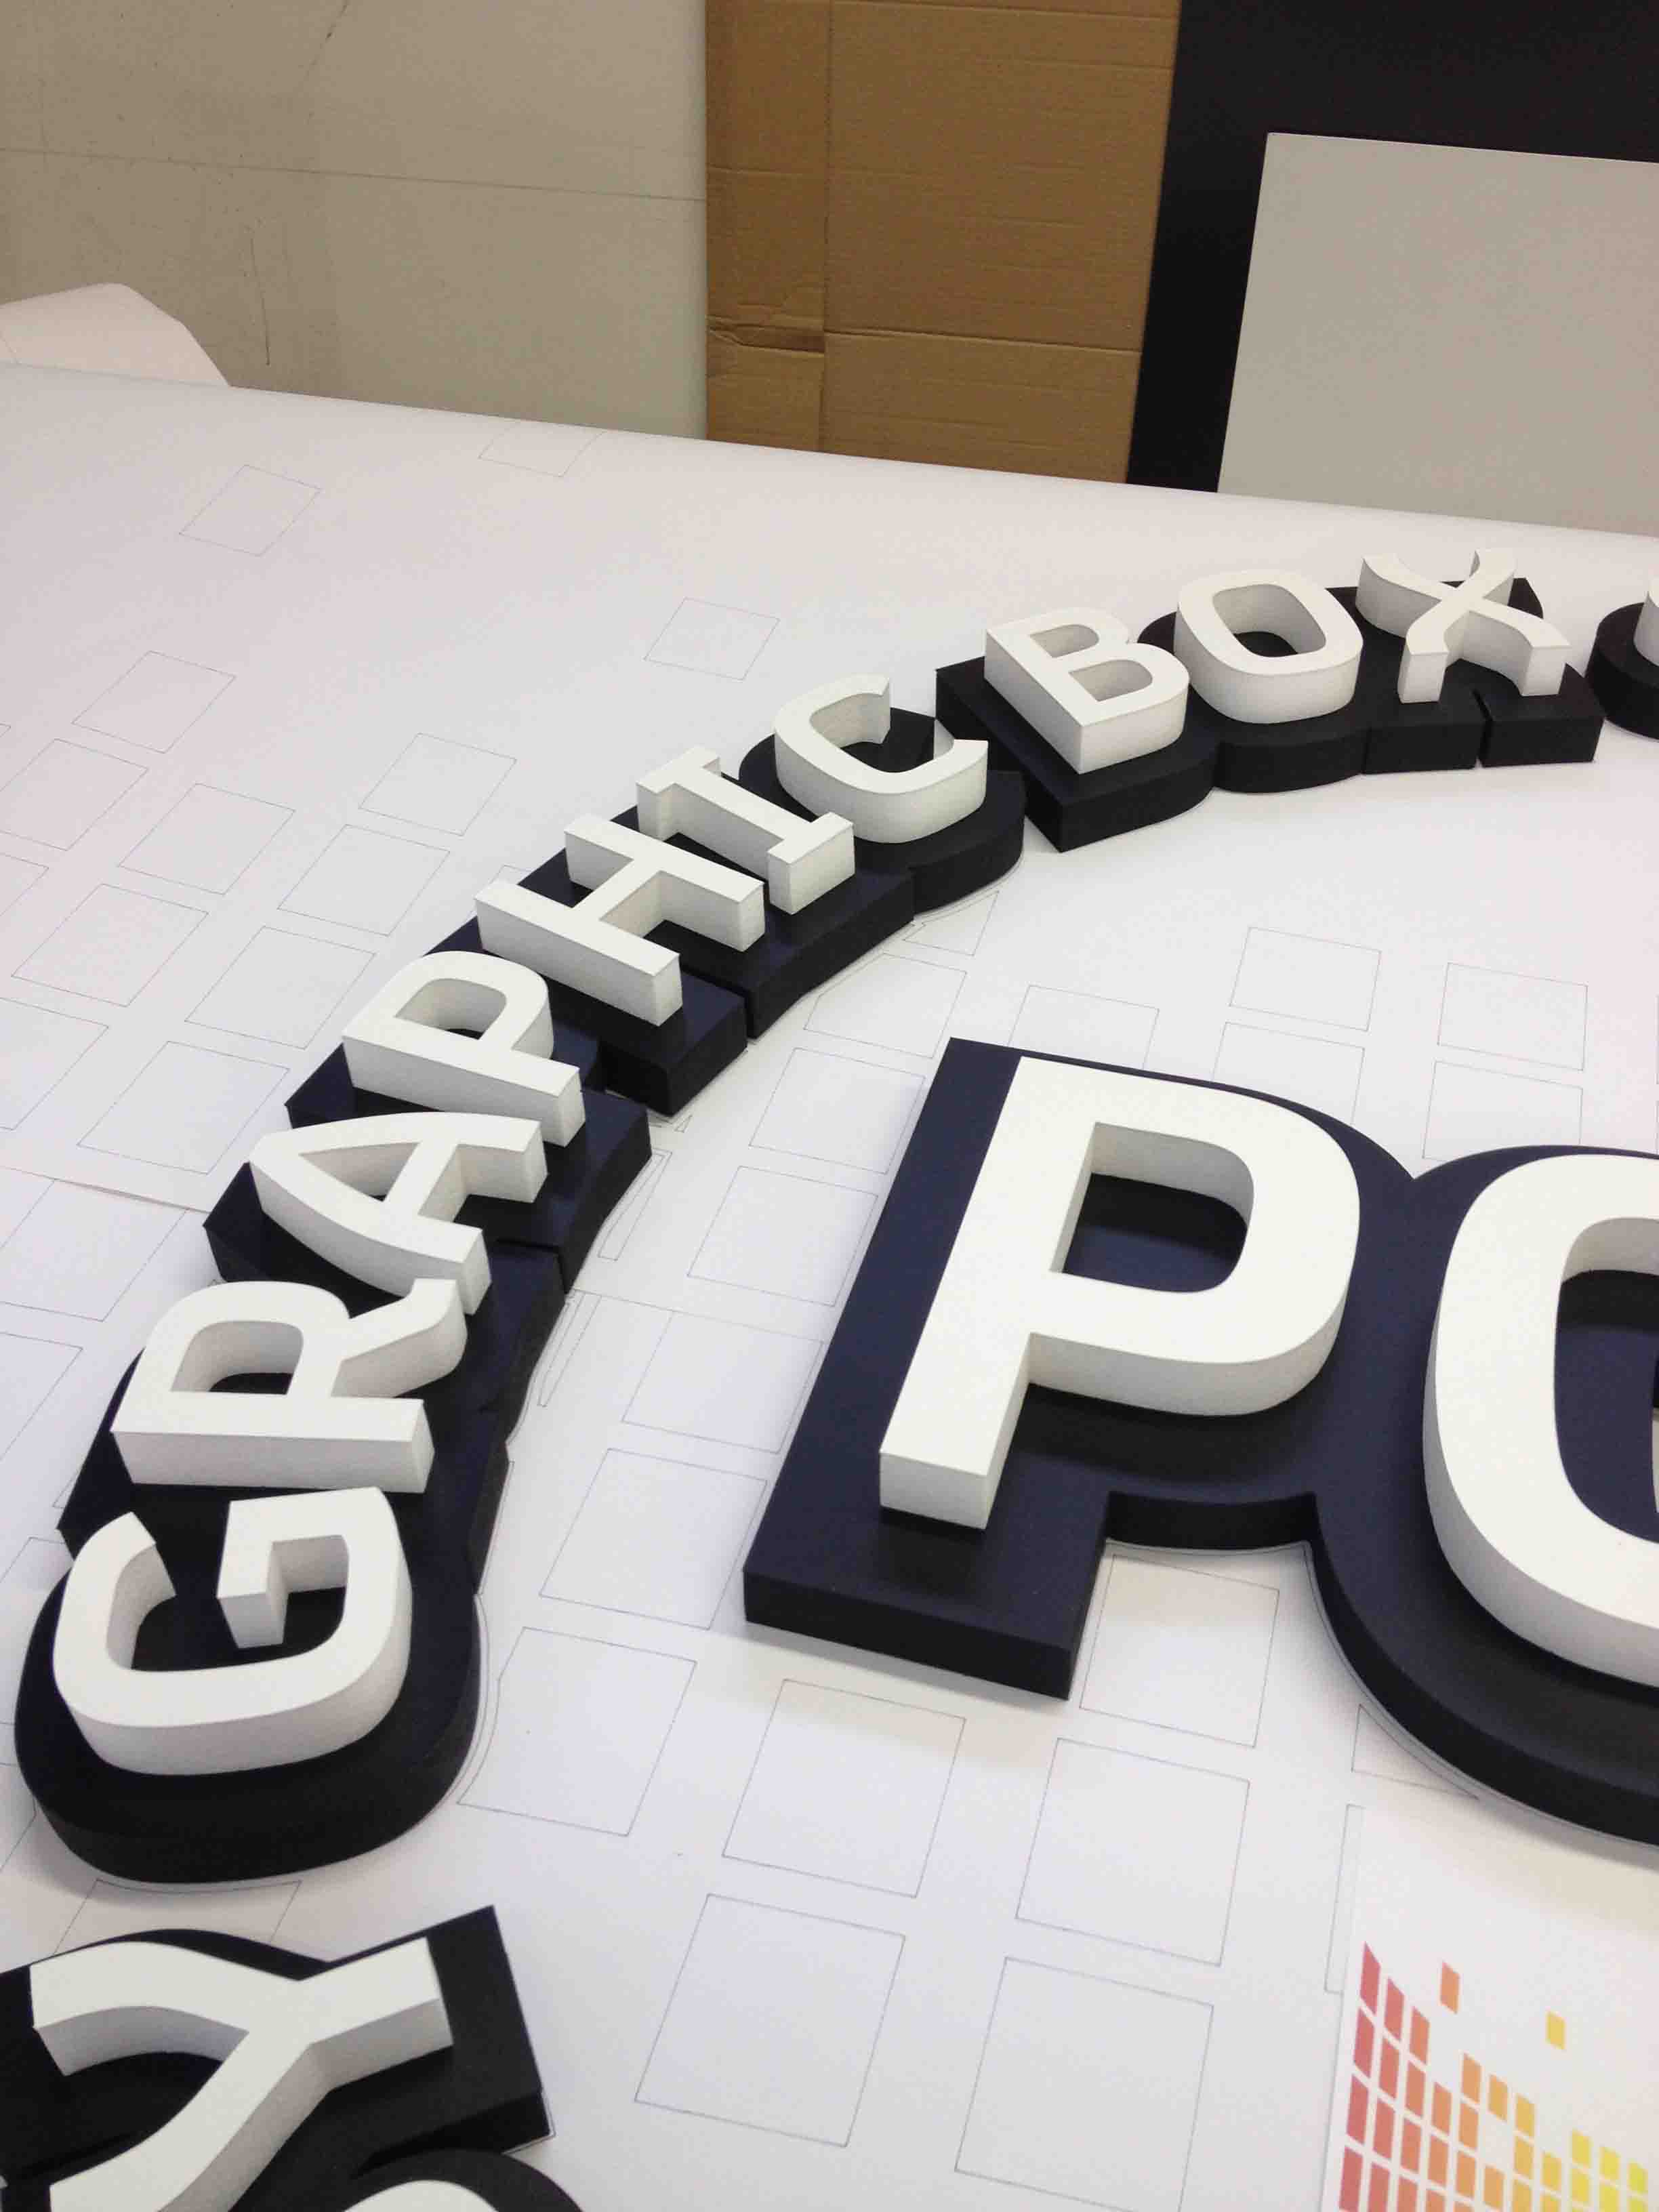
Wording is 25mm poly on a 25mm poly background (with painted sides), and the coloured blocks are 50mm poly. Over-all size 3500mm x 1700mm.
All hand hot-wired and stuck on the wall with a bit of wood glue.
A few pictures to show the progress.Hope you like
Paul….
Attachments:


 Robert Lambie replied 13 years, 6 months ago 10 Members · 14 Replies
 -
14 Replies
-

Love that, I think customers will be mightily impressed with it.
-

love it Paul, top-notch mate….
Polystyrene is not something i would get heavily into, but i do plan dabbling in it.
We have some existing customers that could really take to this "if we offered it" so i plan using them for a bit of a learning curve on this.. i actually have a couple of things i want to try for nothing other than a bit more knowledge on how its done. -

Thanks for your kind comments everyone.
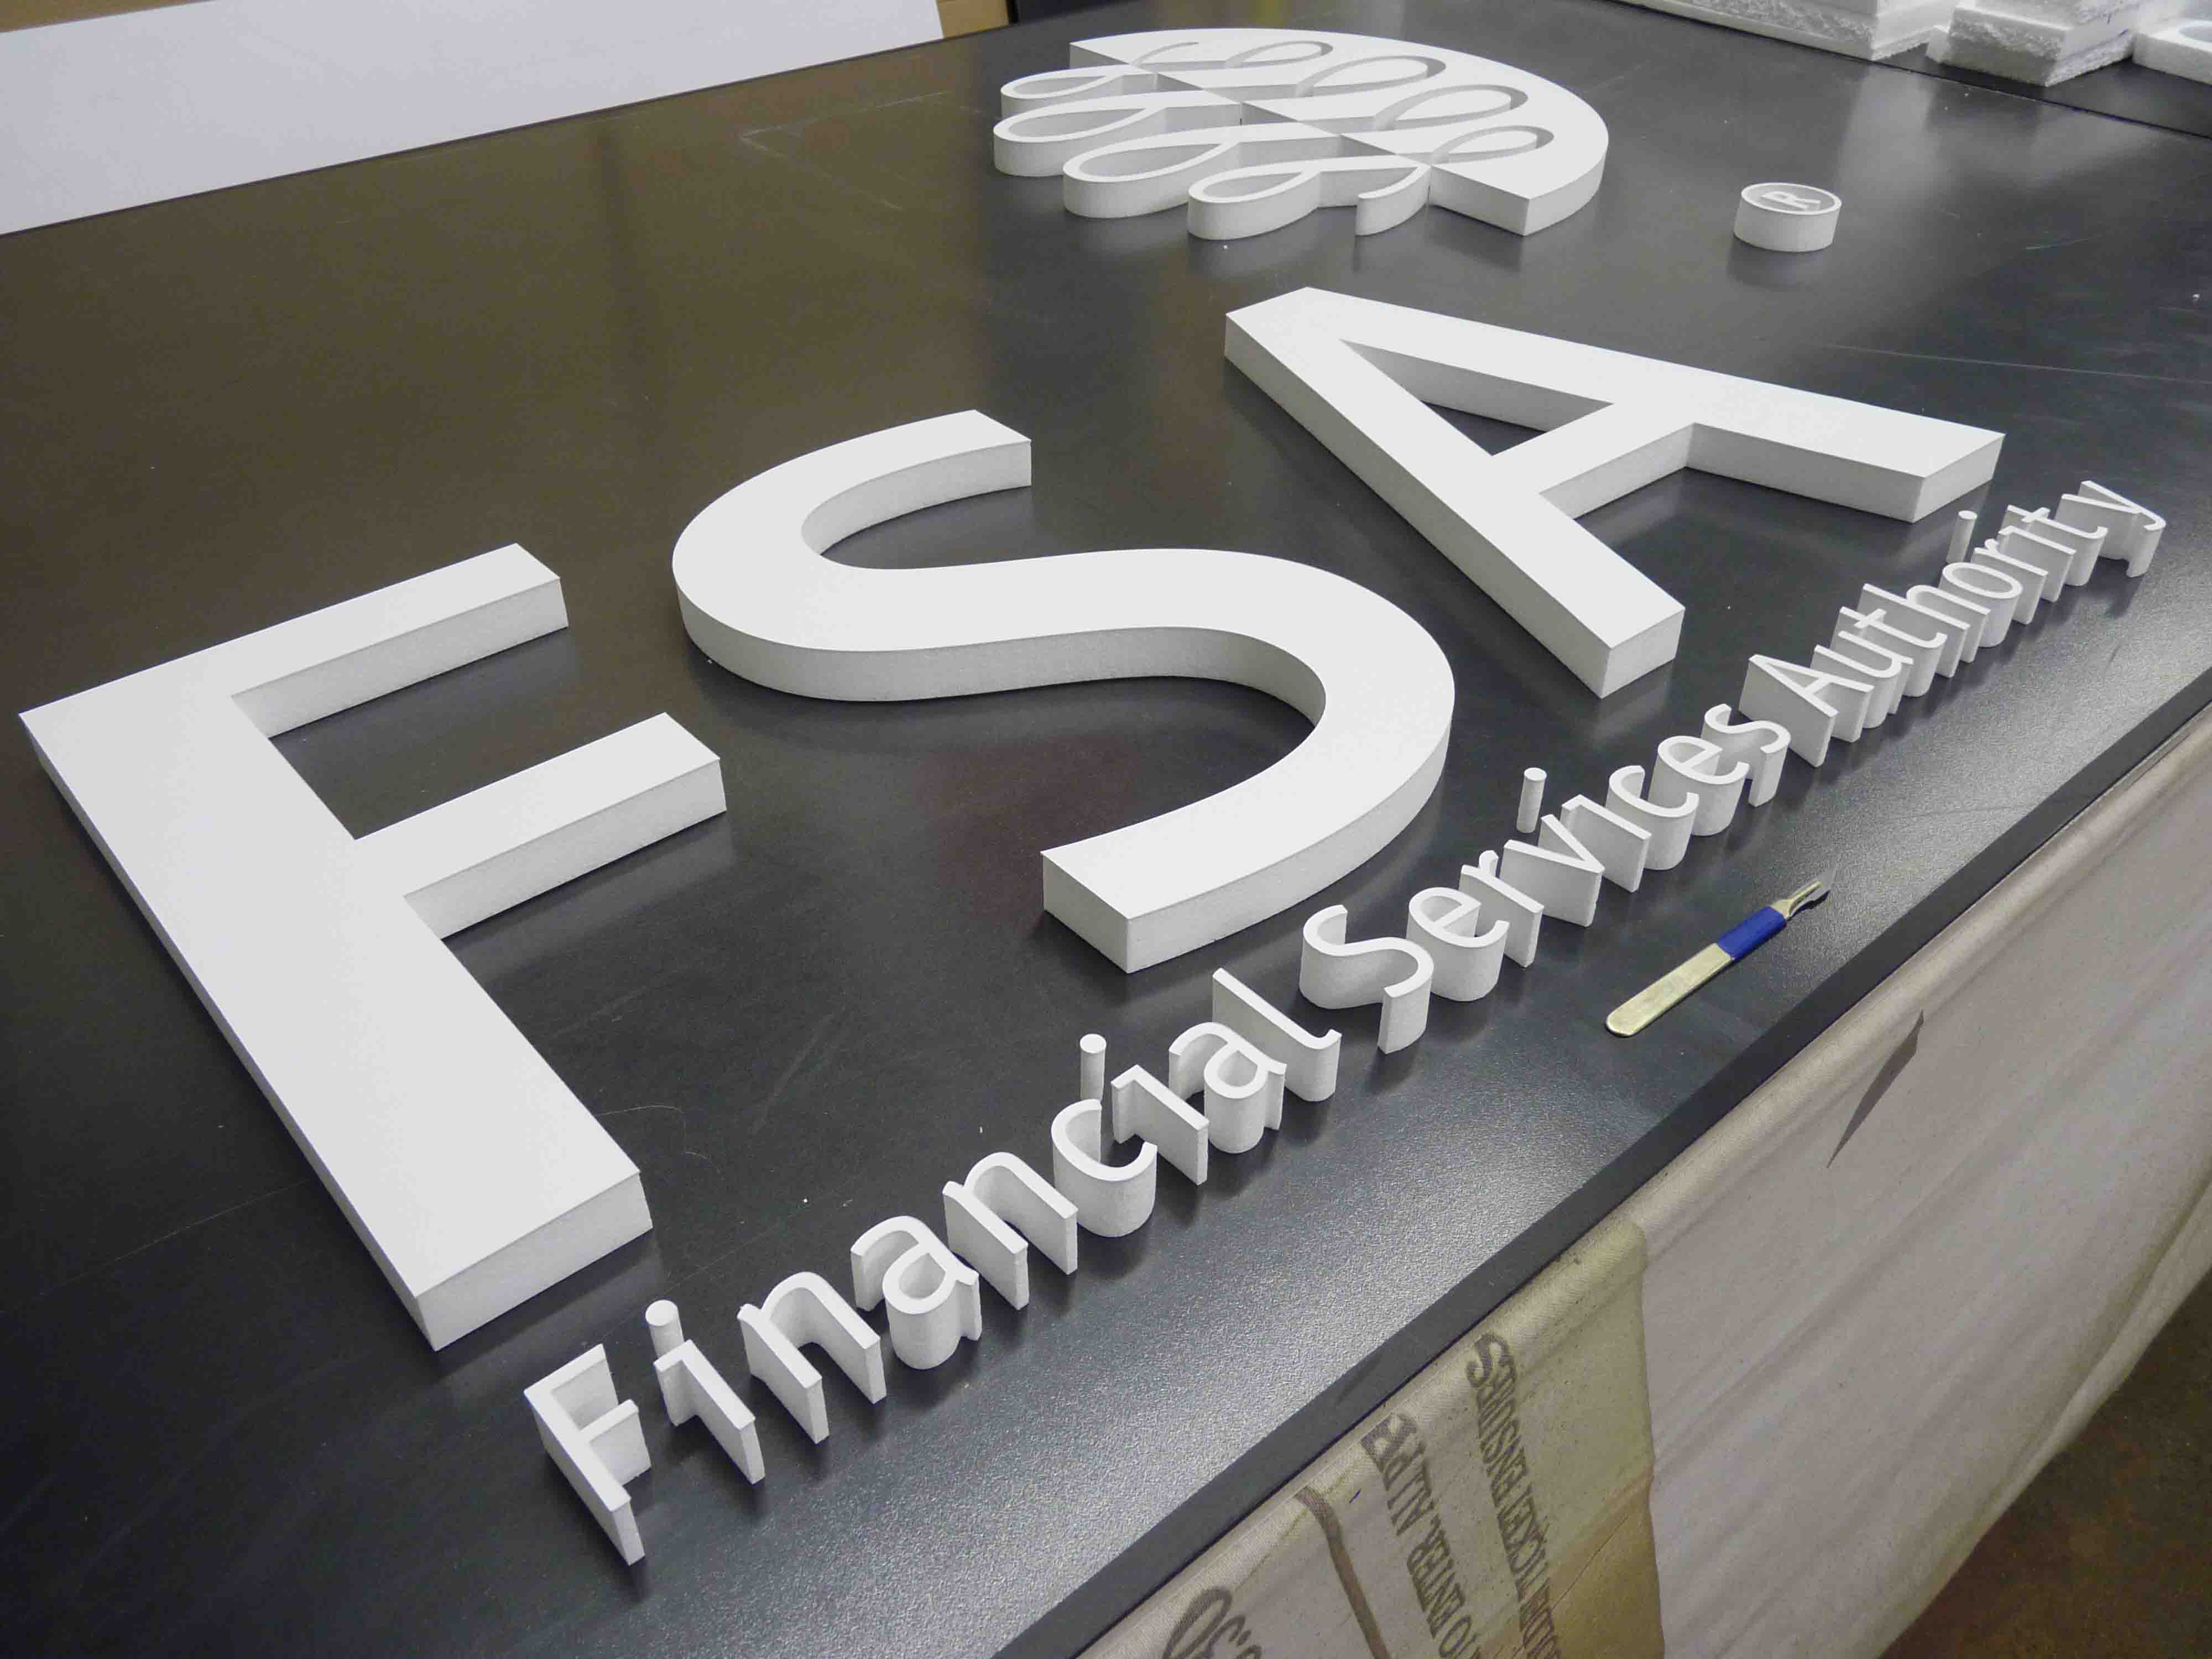
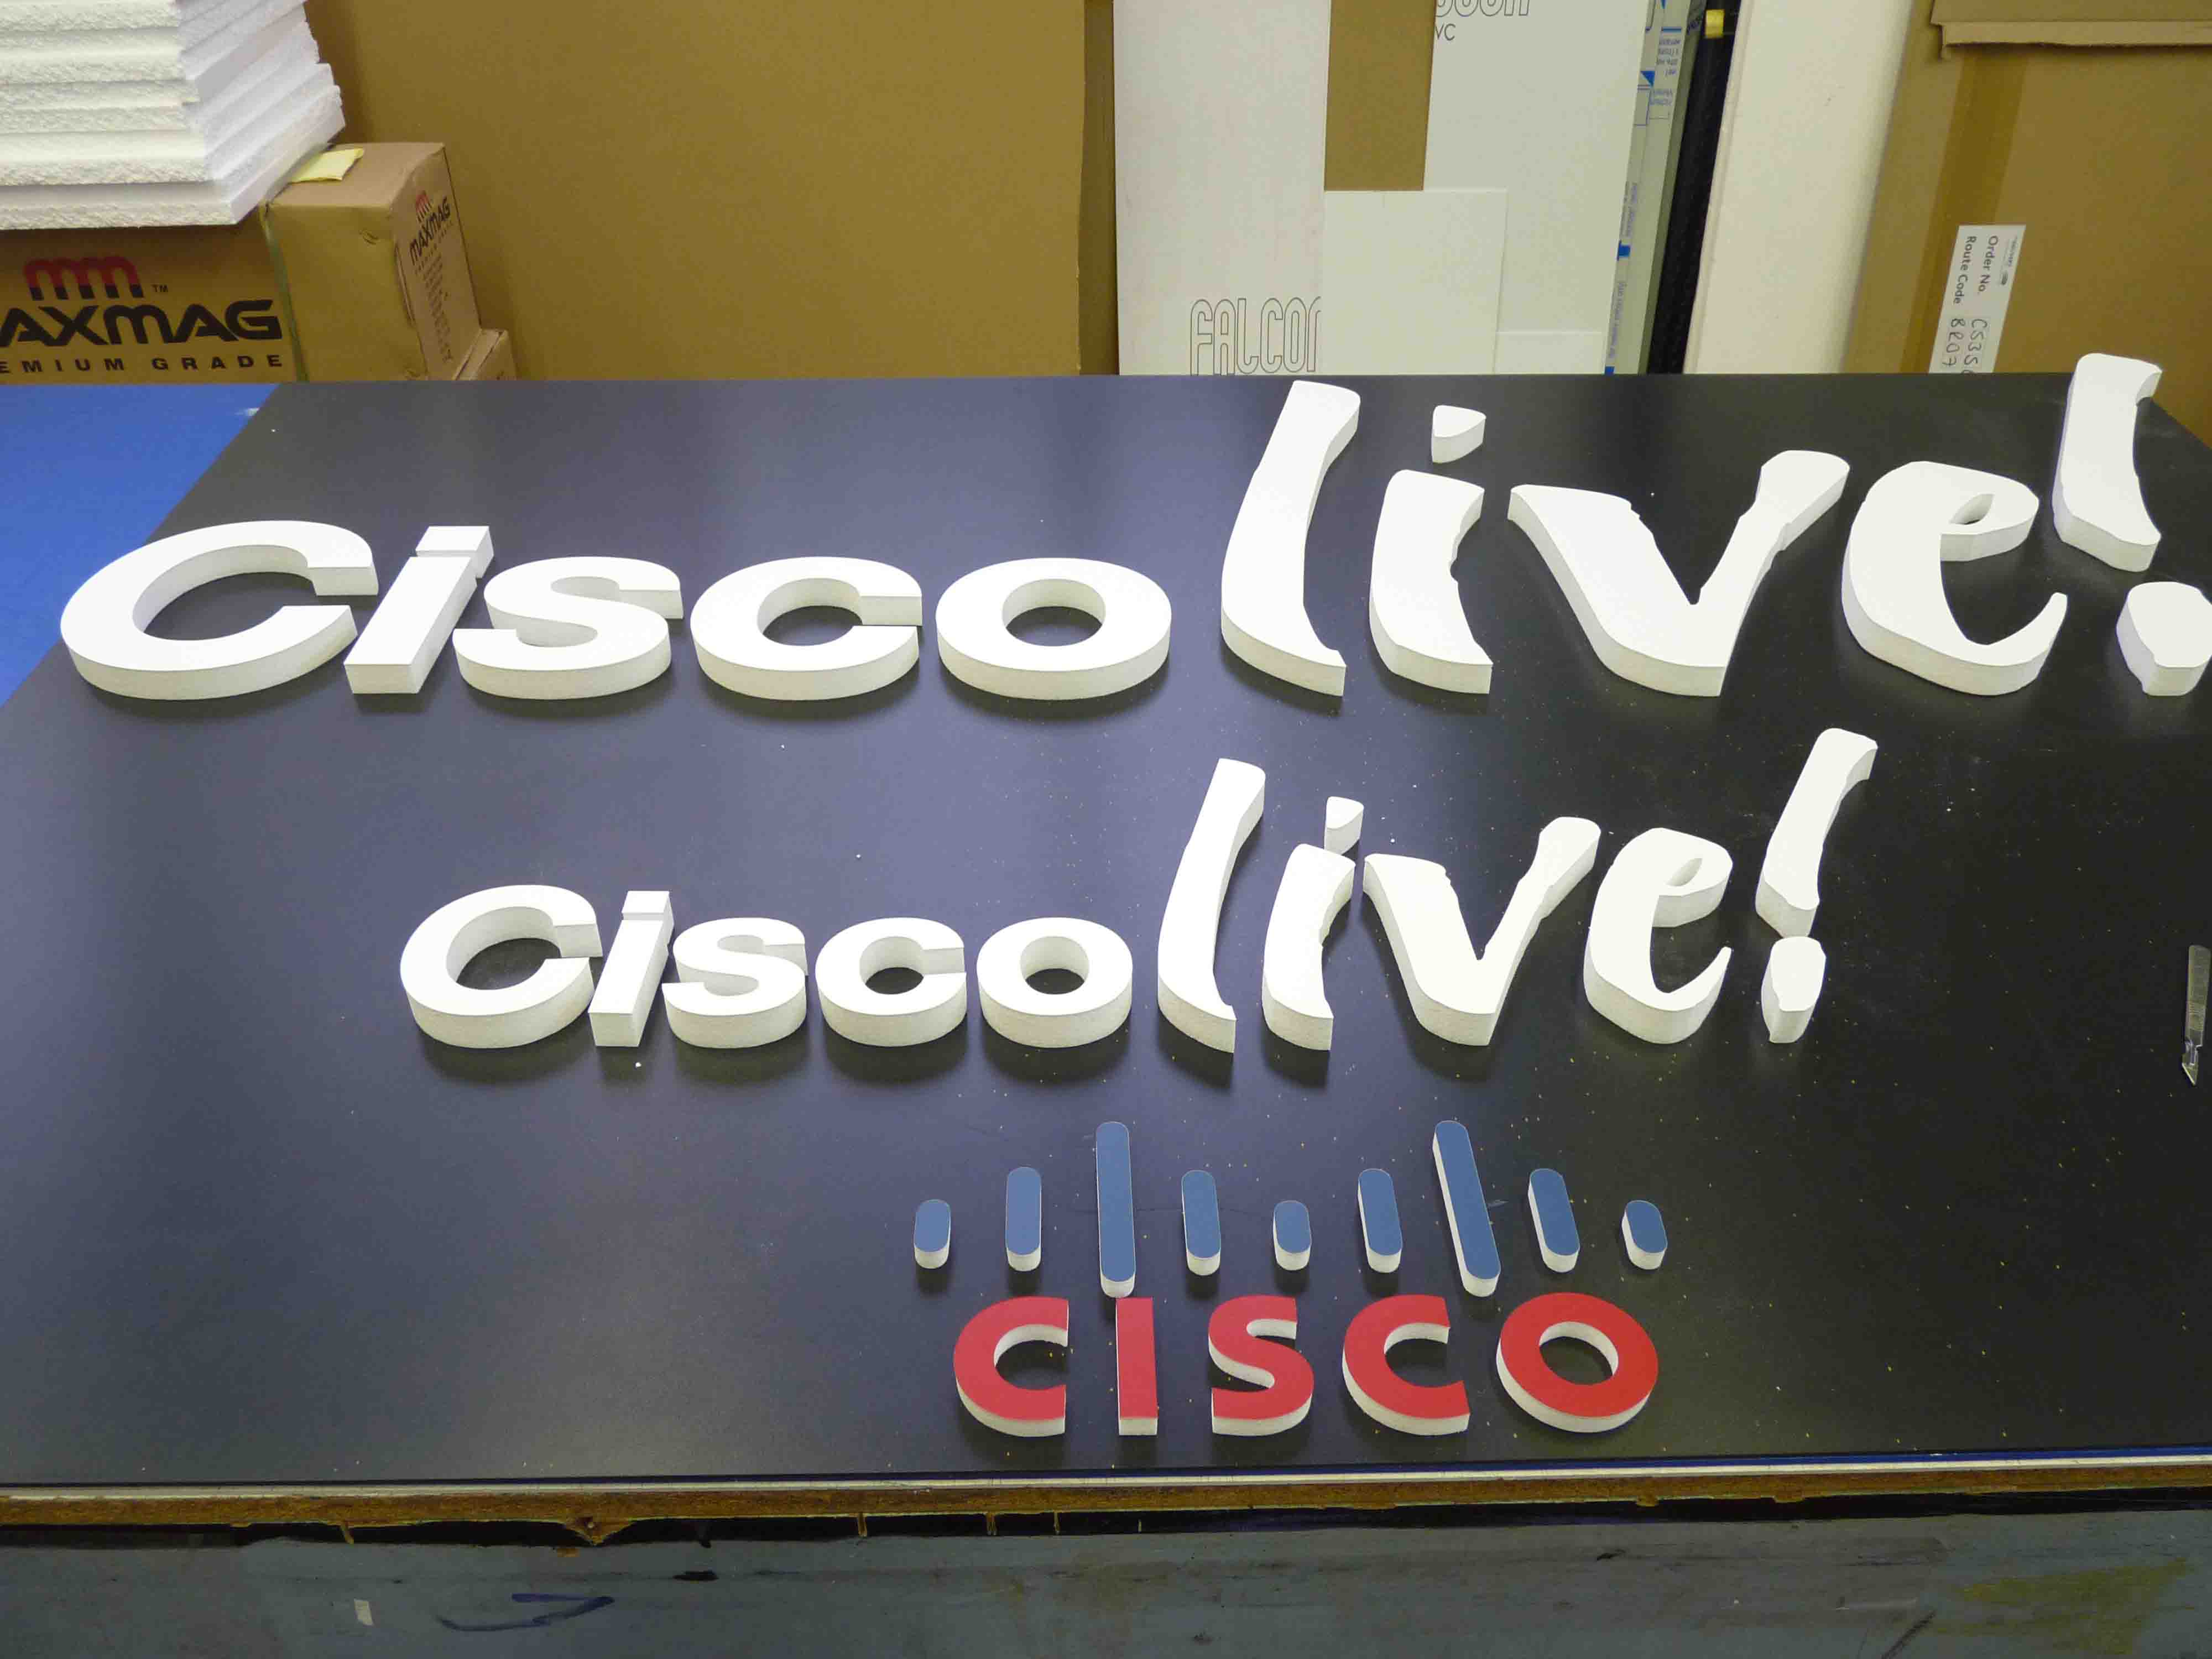
quote Harry Cleary:That’a fantastic! What’s on the face of the poly?Harry, the poly is faced with card. Gives it a much cleaner look I think than painting.
-

Hi Paul
Very inspiring mate, great job.
Any chance you can give. More detailed explanation of how you went about it from start to finish and what machinery was involved to achieve it?
Thanks for showing
Cheers
Warren
-

like that a lot very well done.
i have cut model wings with a hot bow as said a little more insight please, -
[quote]as said a little more insight please,
It’s quite simple really, all you need is a good bit of patience when cutting the poly.
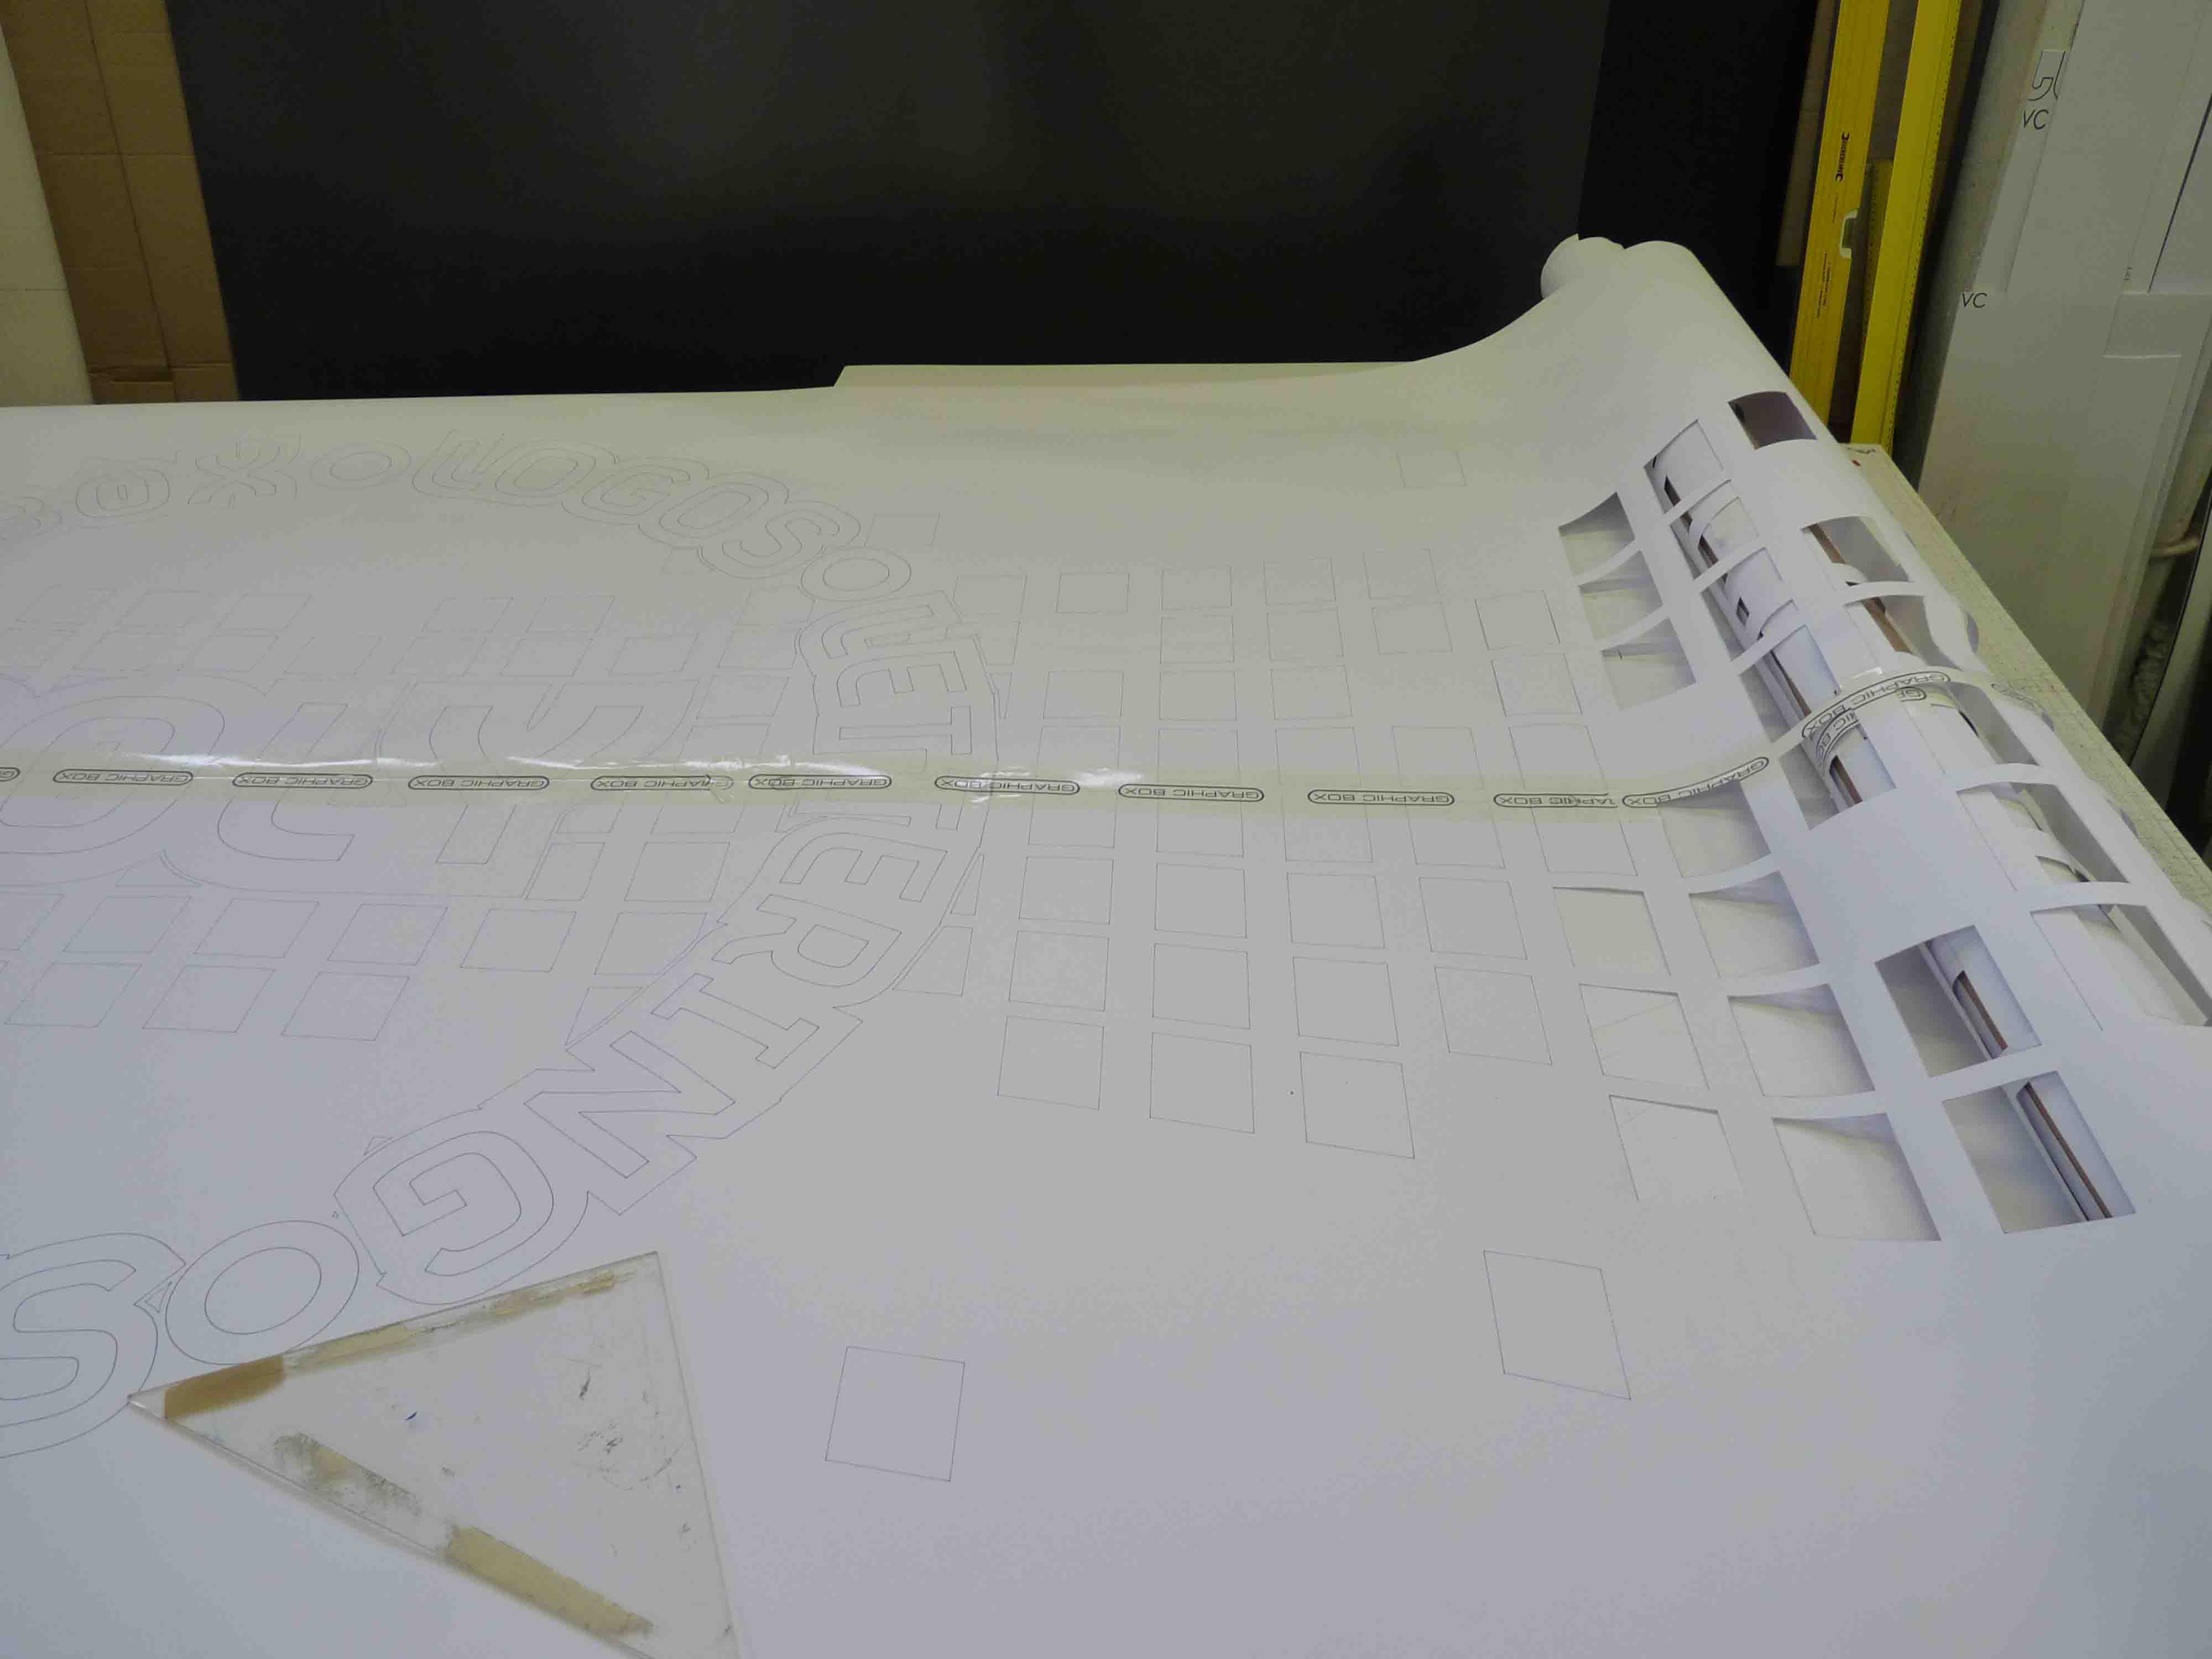
We do all our artwork in Illustrator (has to be a vector file) which we export to our Zund P1200 (plotter, router) with Omega. Then we face some card, if needed, with vinyl in the appropriate colour on our laminator. The card is then cut on the Zund. The card letters/logos are then stuck onto the poly (we’re currently using a SHD FRA poly which is very tightly packed with small beads), with 3M spray glue and then its over to our faithful hotwire machine (which looks like its as old as me!!!). Its not a quick process I must admit, even before its cut on the hotwire, and when your cutting/burning the poly as I said above a good bit of patience is needed (but I think in the sign business its one trait we all have!)
After all that your left with things like below, which is easily fixed to a conference set (which is usually stretched felt) with a bit of wood glue.(I’ve posted the FSA logo before but have put it in with a scalpel so you can judge the size)
Attachments:

-
just to add to this thread: 😀
<embed width=”650″ height=”520″ quality=”high” bgcolor=”#000000″ wmode=”transparent” name=”main” id=”main” allowfullscreen=”false” src=”http://www.isigntube.com/player/vPlayer.swf?f=http://www.isigntube.com/player/vConfig_embed.php?vkey=3e22e03d3076f98d83cb” type=”application/x-shockwave-flash”>
-
Paul, thank you for taking the time to post your work mate. always great to see variety of how us sign makers produce their work mate. i personally love seeing dimensional work…. great stuff!

Log in to reply.