Home › Forums › Sign Making Discussions › Gallery › Car Window Graphics: TNT Nails
-
Car Window Graphics: TNT Nails
Posted by John Simpson on 11 October 2006 at 17:59Just to add to Rob’s demo (which is brilliant by the way)
http://www.uksignboards.com/viewtopic.p … ows#132252
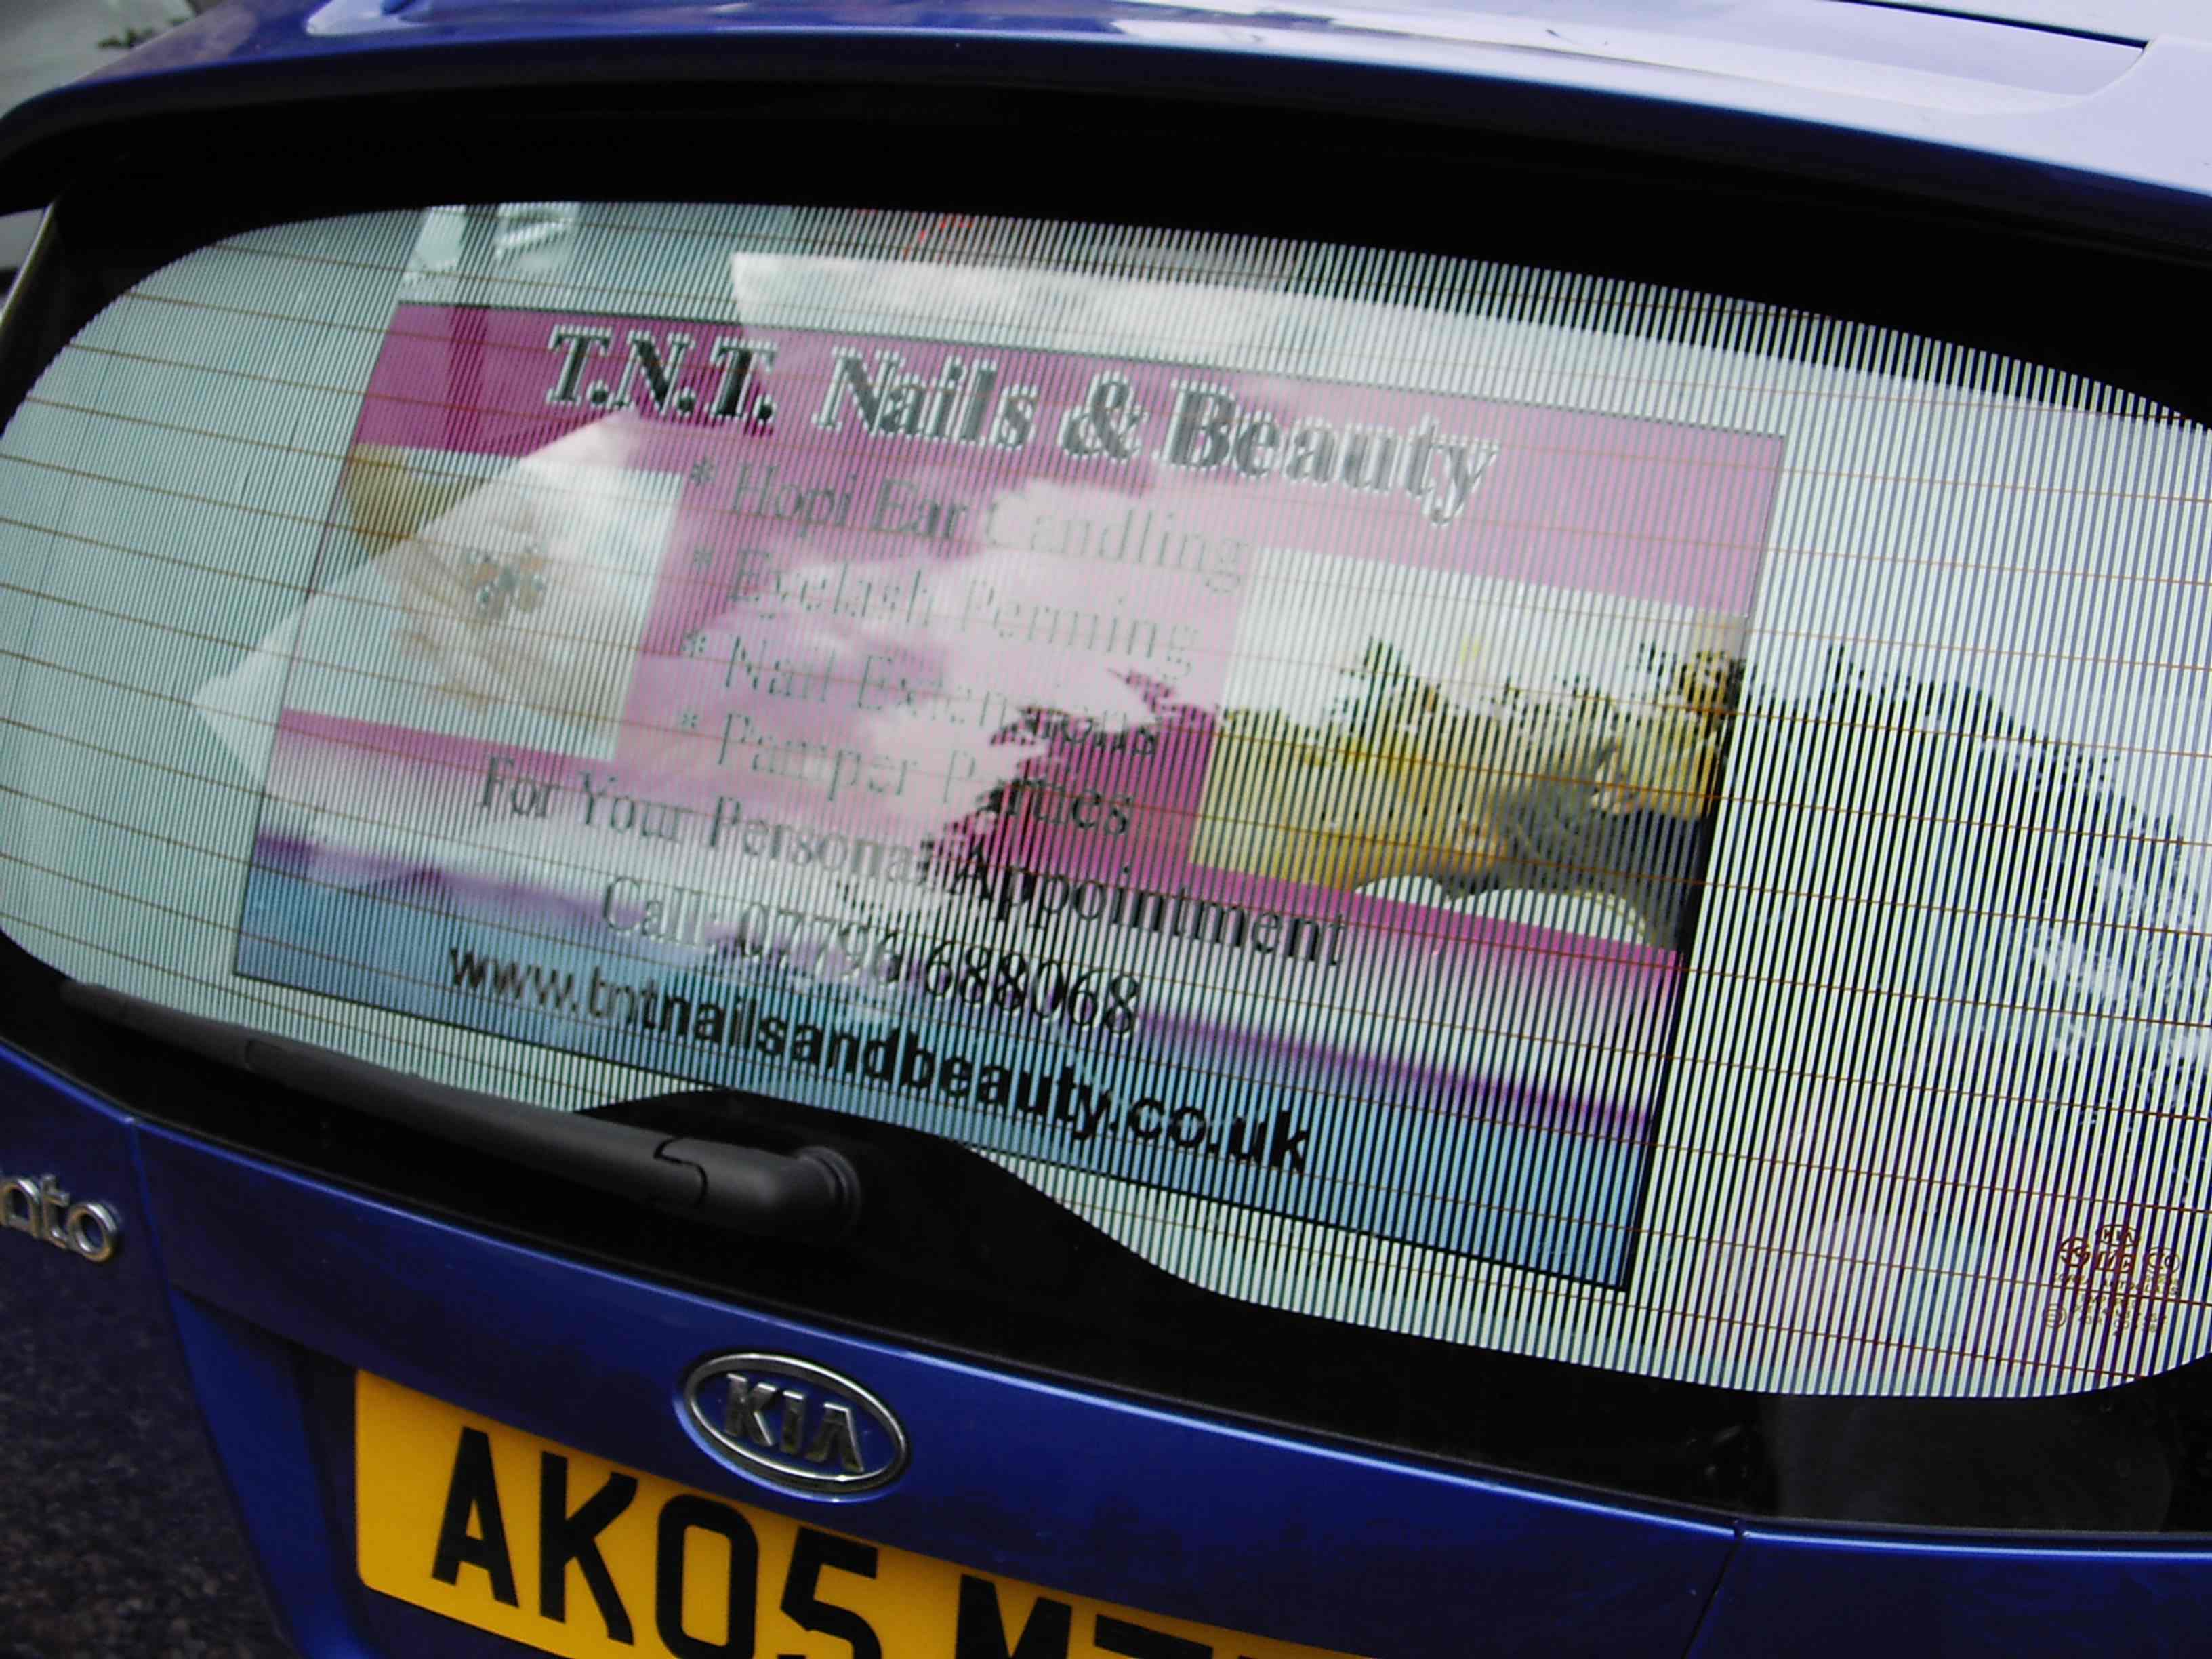
This i have used many times so far but the attached photo shows the printed version (in reverse on clear) then backed with white vinyl then put through the plotter to cut out the 2 mm stripes.
End result is brilliant, according to my customer.
L J
sorry the picture is cr*p
Attachments:
 J_J_O replied 19 years, 1 month ago 6 Members · 8 Replies
 -
8 Replies
-

very nice looks great john another fine job
nice with the added print work 😀 😀 -

Looks great…….. any chance of a pic from the inside to see visable the outside is?
-

Thanks Richard, sorry John i didn’t take pic from inside & customer is down at Huntingdon………..to far to nip down to re shoot.
I also printed 2 pairs of mag panels 1 set for this car & 1 set for her Mothers car exactly the same as back window & also same pic on the bonnet.
-

hi John, great work, how did you get it to go inside the window? the contravision I use is outside stick only which is a pain, cos when it rains the water stays in the holes and you cant see outside, also it fades fairly quickly……..cant wait to be let in on the secret!!
Cx -
Thanks Ian.
Hi Cheryl,
If you look through the link to Robs post as above, you will get the general idea but the only difference with this job is that i printed onto clear vinyl in reverse.
This i then laminated with white vinyl of the same grade.
I then designed the 2mm stripes on the computer to fit the whole area & then sent the whole lot through the plotter …….weeded it out ……..then app tape over the top. (Don’t forget to increase your plotters down force)You are then left with the clear printed layer still with it’s backing paper on & once you lay it on to the inside of rear window the print is then the right way.
I have also found by experience that the easiest way to "hinge" this job is to tape it down the centre of back window or if you are doing a square window then hinge it across the centre.
Hope this helps.L J
-
Blimy, a true revelation! for some reason I had it in my mind you would not be able to see out of the window unless it was blackened on the inside, but that is such a myth, such a simple idea and so effective and TONNES cheaper than contravision!! Wicked, cant wait to sell this to someone!!
Cheryl
-

Nice work John
I did use this technique on my own car and I worked with black as the background colour and I can tell that the effect you have with black is not as impressive as it is with light colours.
JJ

Log in to reply.